Every packet of seed you buy started life on somebody's plant. There's nothing stopping that somebody being you. Save your own and you get next year's crop for free, you build up a variety that's quietly getting used to your soil and your weather, and you become a tiny bit less dependent on the seed catalogue landing in January. It's a proper homesteading skill, and the good news is that the easy version really is easy.
Let's get you saving your first seeds this season.
Why bother saving your own seed?
A few reasons, and they stack up nicely.
The obvious one is money. A single ripe tomato holds dozens of seeds, and one good bean plant gives you a fistful of pods. Save from a handful of plants and you'll have more seed than you can sow, with plenty spare to swap or give away.
Then there's self-reliance. If you grow your own food, seed is the one input you still buy in every year. Saving it closes that loop. You're not at the mercy of a variety being discontinued or a bad year in the seed trade.
There's a quieter benefit too. When you save seed from your best plants year after year, you're slowly selecting for the ones that do well in your exact conditions. The variety adapts to your plot. And you're helping keep older heritage varieties alive, the ones the big catalogues dropped because they didn't ship well or ripen all at once. Groups like Garden Organic's Heritage Seed Library exist precisely because home savers kept those going.
What's the difference between F1 hybrid and open-pollinated seed?
This is the bit that trips up every beginner, so read it twice.
Seed comes in two broad camps. Open-pollinated (which includes heirloom and heritage) varieties are stable. Save seed from them and the offspring look and taste like the parent. They come true.
F1 hybrids are different. An F1 is a deliberate first-generation cross between two carefully bred parent lines, made fresh every year by the seed company. That first generation is uniform and often vigorous, which is why F1s are popular. But save seed from an F1 and sow it, and the next generation scrambles back into a lottery of the grandparents' traits. You get uneven plants, odd shapes, and usually a disappointment. The RHS and Garden Organic both spell this out plainly: F1 seed does not come true.
None of this makes F1s bad. They're fine to grow and eat. They're just a dead end for seed saving, so build your saving around open-pollinated varieties from the start.
Which crops should a beginner start with?
Start with the self-pollinating crops. These fertilise their own flowers, mostly before an insect can carry pollen in from a different variety, so the seed stays true even if you're growing other kinds nearby. That's a huge shortcut.
The classic four to begin with:
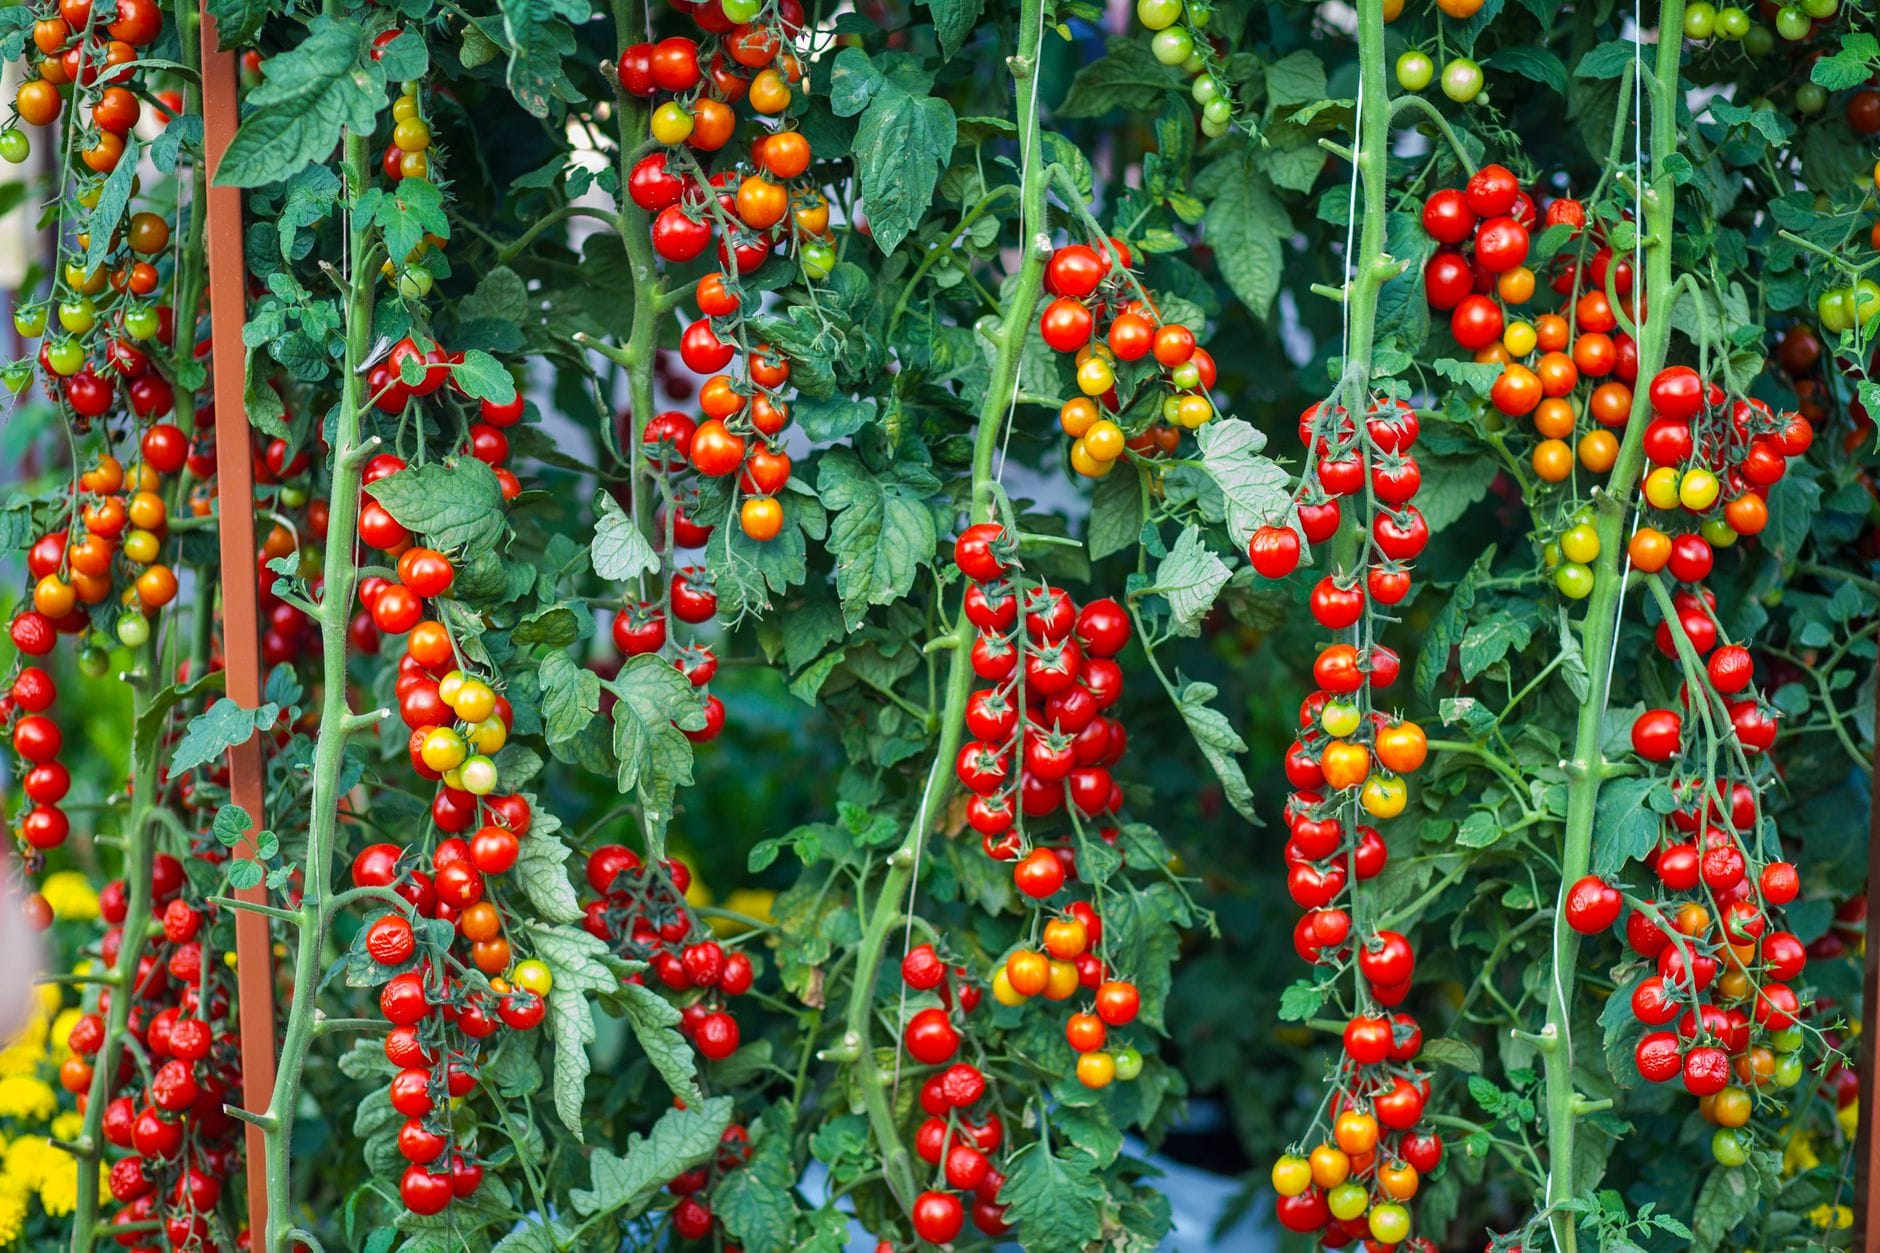
- Tomatoes. The flower structure keeps pollen contained, so they rarely cross. Reliable and generous.
- Peas. Almost entirely self-pollinating. Leave a few pods on the plant and you're done.
- French beans. Self-pollinating and dead simple. (Runner beans are the exception, since bees cross them readily, so treat runners as a harder crop.)
- Lettuce. Self-pollinating too, though you'll need patience while it bolts and flowers.
Get one or two of these working before you go any further. They forgive mistakes, they don't need isolating, and they give you the confidence to tackle the fiddly ones.
Master the self-pollinators first. They come true with almost no fuss, and they'll teach you everything you need before you take on the tricky crops.
Which crops are harder, and why?
The trickier crops are the cross-pollinators. These rely on wind or insects to move pollen between plants, which means one variety happily crosses with another growing nearby, and the saved seed turns out to be a mongrel that's true to neither parent.
The usual suspects:
- Squash, courgettes and pumpkins. Insect-pollinated and quick to cross within their species. Different varieties need real distance apart, or you hand-pollinate and bag the flowers.
- Brassicas (cabbage, kale, cauliflower, sprouts, broccoli). Most of these are the same species, so they cross each other freely. They're also biennial, meaning they only flower and set seed in their second year, which ties up space and demands patience.
- Carrots, onions, beetroot, parsnips. Also biennial or insect-pollinated, and carrots will even cross with wild cousins like Queen Anne's lace in the hedgerow.
To keep any of these true you need isolation: growing a single variety, spacing varieties well apart, staggering flowering times, or physically covering and hand-pollinating the flowers. The Heritage Seed Library's guidelines go into the isolation distances if you want to graduate to these. It's absolutely doable, just not where you start.
How do I actually save the seed? (the easy crops)
The core idea is simple: let the crop go well past the point where you'd eat it, so the seed is fully mature, then collect and dry it.
For beans and peas, that means leaving a few of your best pods on the plant and not picking them. Let them swell, then let them dry right out until the pods are brown, papery and rattling. Shell the seeds out, check they're hard, and dry them a little longer indoors before storing.
For lettuce, let a healthy plant bolt and flower, then wait for the fluffy seed heads. Shake or rub the dried heads over a bowl and winnow out the chaff.
Tomatoes have one extra step, because each seed sits in a jelly coating that stops it germinating inside the fruit. The classic fix is a short ferment.
- 1
Scoop the seeds
Choose a ripe, healthy tomato from a strong plant. Cut it open and squeeze the seeds and jelly into a jam jar or cup.
- 2
Add a splash of water and wait
Pour in a little water, cover loosely so air can get in, and leave it at room temperature for two to four days. Give it a stir once a day.
- 3
Let it ferment
A layer of scum or bubbles on top is normal and means it's working. The ferment breaks down the jelly coating and knocks back some seed-borne diseases.
- 4
Rinse clean
Top up with fresh water and stir. The good, viable seeds sink; pulp and duds float. Pour off the floaters, refill and repeat until the water runs clear and you're left with clean seed.
- 5
Dry thoroughly
Tip the seeds onto a plate, coffee filter or piece of ceramic (not kitchen paper, which they stick to). Spread them out and leave somewhere warm and airy, out of direct sun, for a week or more until hard and brittle.
You can skip the ferment and simply rinse and dry tomato seeds on paper, but the fermented ones tend to store better and come apart more cleanly.
What's the golden rule for drying and storing?
If you remember one thing from this whole guide, remember this: seed must be bone dry before it goes into storage. Damp seed rots, moulds or sprouts in the packet, and there's no coming back from that. This is the single most common way beginners lose a season's saving.
So how dry is dry enough? The seed should be hard and brittle, not bendy. A bean or pea should resist a fingernail. A tomato or lettuce seed should snap rather than fold. If you're unsure, dry it longer. You genuinely cannot over-dry seed at normal room conditions, but you can very easily under-dry it.
Once it's properly dry, store it cool, dark and dry. The three enemies of stored seed are warmth, damp and light, so a spare bedroom, a cupboard or a drawer beats a warm kitchen windowsill.
Practical storage:
- Use paper envelopes, not airtight plastic, for seed you'll sow within a year or two. Paper lets any last trace of moisture escape. (Avoid sealing barely-dry seed in a pill bottle, which traps damp and invites mould.)
- Label everything the moment you bag it: variety name and the year you saved it. You will not remember. Nobody does.
- For longer keeping, once the seed is genuinely bone dry, an airtight jar with a sachet of silica gel in the fridge slows ageing right down.
How long will my saved seed last?
It depends a lot on the crop, and it's worth knowing which ones to use up quickly.
The tough, long-lived seeds are tomatoes, beans and peas, which stored cool and dry will often stay viable for three to five years or more. Lettuce sits in the middle, roughly two to three years.
The short-lived ones to watch are onions, carrots, parsnips and leeks. These fade fast and are best sown the very next year, so don't stockpile them.
A quick sanity check before sowing older seed: scatter ten seeds on damp kitchen paper, keep them warm, and see how many sprout after a week or two. Six out of ten means sow a bit thicker; one or two means start fresh. It saves a lot of empty rows.
Where to go next
Saving seed is one thread in the wider business of feeding yourself from your own patch, so once you've got a few varieties banked, it feeds naturally into the self-sufficiency side of homesteading. And if you want more on the growing that comes before the saving, the Grow section has the sowing, care and harvesting that gets you to a plant worth taking seed from in the first place.
Save a jar of tomato seed this autumn and you've started. Everything else is just repeating it.
Frequently asked questions
Sources
- F1 Hybrids Explained , Royal Horticultural Society
- How To Save Your Own Seed at Home , The Real Seed Catalogue
- The difference between open-pollinated seeds and F1 hybrids , Garden Organic
Kit for this job (Ad)
![wisedry 50 Gram [10 Packs] Silica Gel Desiccant Sachets Microwave Fast Reactivate Desiccant Bags with Indicating Beads for Closet Gun Safes Bathroom Food Grade](https://m.media-amazon.com/images/I/71VQSWYSWYL._SL300_.jpg)
wisedry 50 Gram [10 Packs] Silica Gel Desiccant Sachets Microwave Fast Reactivate Desiccant Bags with Indicating Beads for Closet Gun Safes Bathroom Food Grade
Check price on Amazon →
wisedry Silica Gel Sachets Bags 10 Gram x 30 Packs with Orange Beads Humidity Indicator Desiccant Packs Moisture Absorber for Air Dryer Moisture Removal, Food Grade
Check price on Amazon →
Sieves and Strainers Set - Metal Sieve Stainless Steel, Fine Mesh Strainer | Pack of 3 | Kitchen Sieve Fine Mesh, Sive Cooking, Flour for Baking Rust Free Seive, Dishwasher Safe SIV, Colander
Check price on Amazon →
Vegetable Seeds Variety Pack - 30 Different Varieties of Vegetables, Beans, Herbs and Tomato Seeds. Grow Indoor and Outdoor. Father's Day Gardening Gifts for Women and Men
Check price on Amazon →We may earn a small commission, at no cost to you. We only list kit we'd use.
Written by
UK Homesteading Team
Editorial team
The UK Homesteading editorial team, offering UK-specific, evidence-led guidance on growing, keeping, preserving and the law.