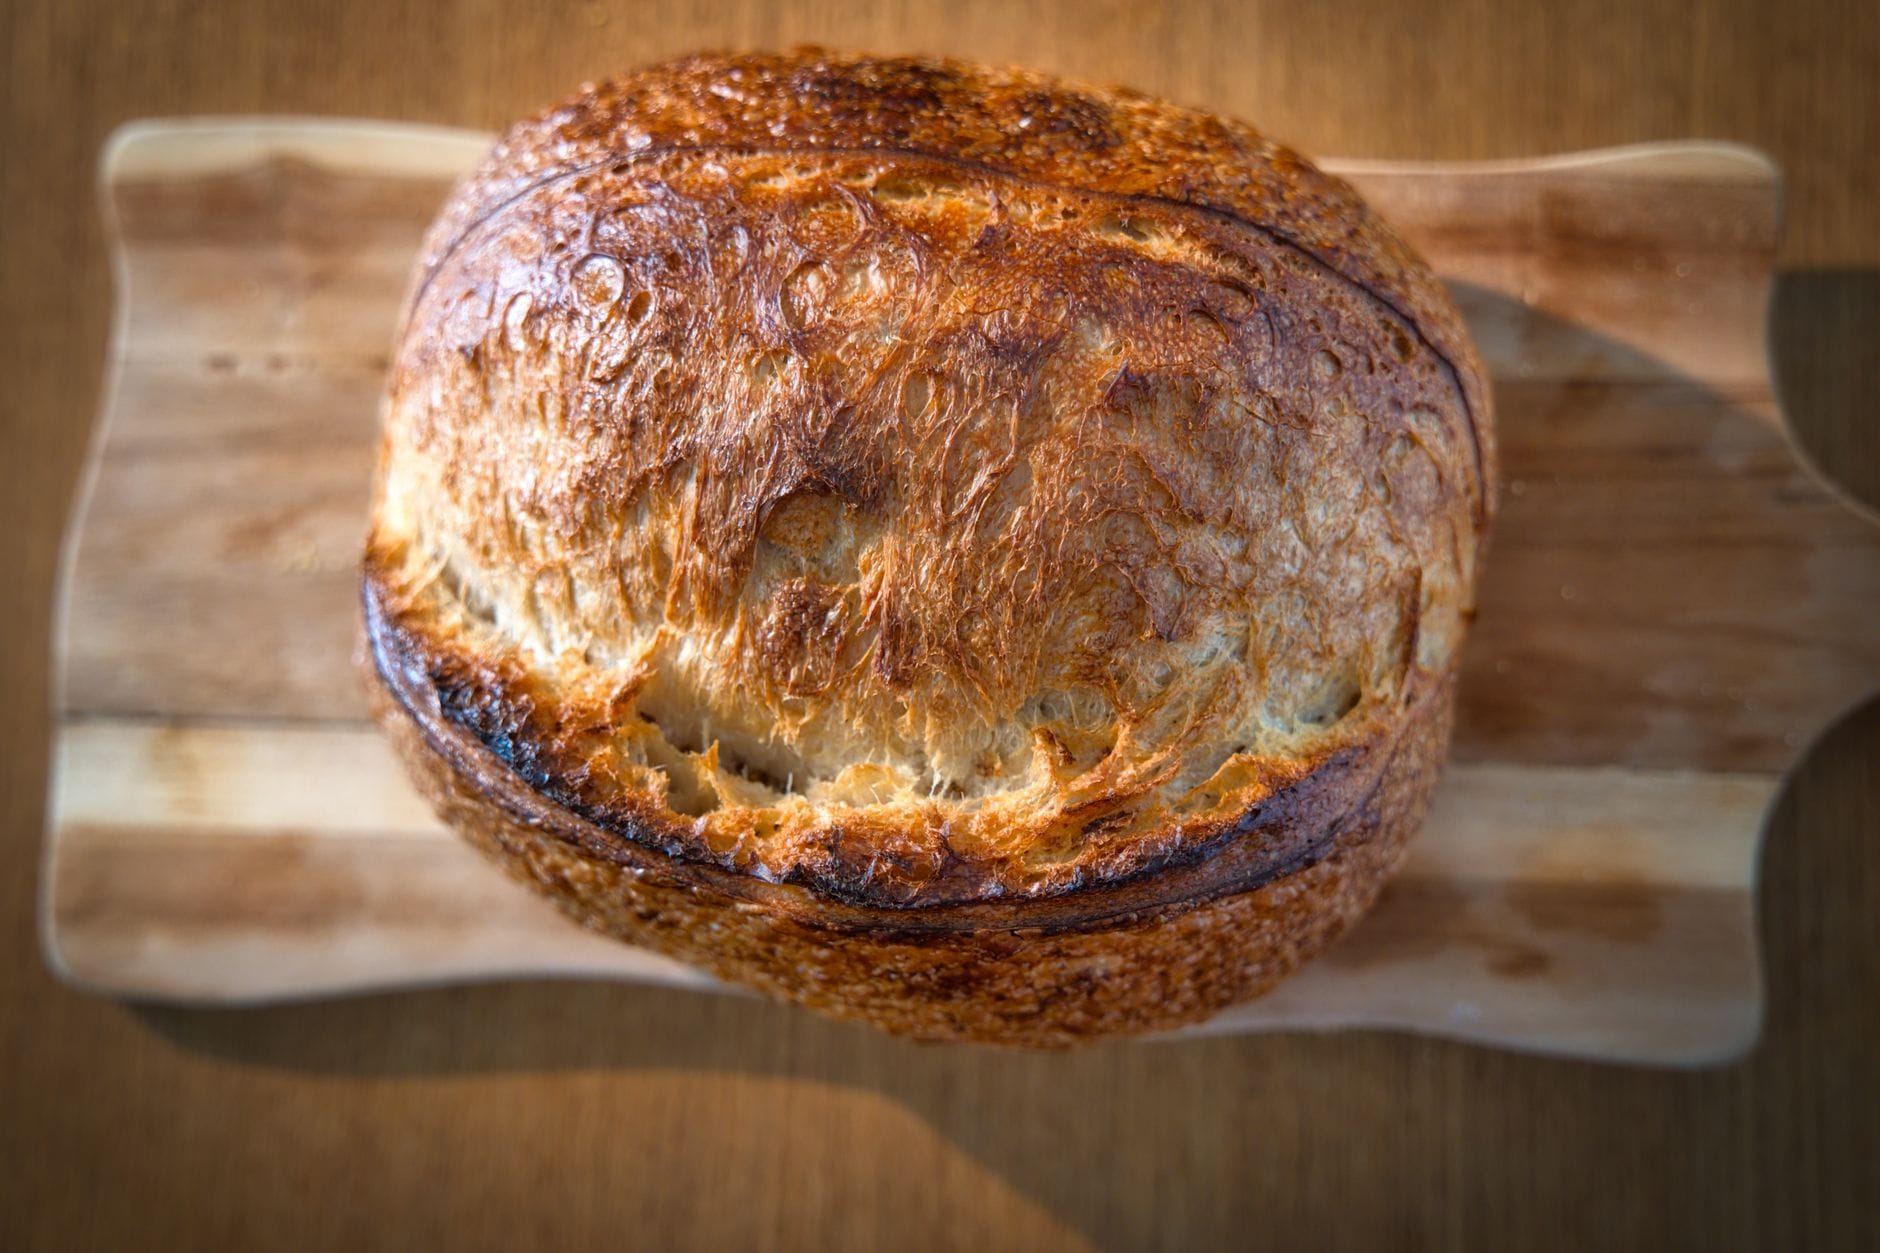
There's very little in the kitchen as satisfying as your own loaf out of the oven, and a plain white tin loaf is the one to learn on. Flour, water, yeast and salt, a bit of kneading and a couple of rises, and you have proper bread with a crackly crust and a soft crumb.
Nothing here is difficult; it just needs a little time and a light touch. The recipe is below, with more on what kneading and proving are actually doing underneath it.
How to Make Bread: A Simple UK Everyday Loaf
Makes One 2lb (900g) loaf
Prep
20 min
Cook
35 min
Total
55 min
Makes
One 2lb (900g) loaf
Ingredients
Method
- 1
Put the flour in a large bowl. Add the salt to one side and the yeast to the other, since salt kills yeast on direct contact, then add the sugar and the soft butter.
- 2
Pour in about three-quarters of the water and mix, adding the rest a little at a time until you have a soft, slightly sticky dough.
- 3
Knead for about 10 minutes by hand, or 5 to 7 in a mixer, until it's smooth and elastic and passes the windowpane test: a small piece stretches thin enough to see light through without tearing.
- 4
Cover and leave to rise for 1 to 1½ hours, until doubled in size.
- 5
Knock the dough back gently, shape it into a tight log the length of your tin, and drop it seam-side down into a greased 2lb (900g) tin.
- 6
Cover loosely and prove for another 45 to 60 minutes, until the dough has domed about a centimetre above the rim of the tin.
- 7
Meanwhile, heat the oven to 200°C fan (220°C conventional, gas 7). For a crisper crust, put a small tray of boiling water in the bottom of the oven.
- 8
Bake for 30 to 35 minutes, until deep golden. Turn the loaf out and tap the base; it should sound hollow, and if you have a thermometer the inside should read about 96 to 98°C.
- 9
Cool the loaf completely on a wire rack before slicing. It carries on cooking as it cools, and cutting in warm gives a gummy crumb.
Cook’s notes
- White or wholemeal? White strong flour is what we'd recommend as standard; it gives the lightest, softest, most reliable everyday loaf. To go part-wholemeal, swap up to half the flour for strong wholemeal; for a full wholemeal loaf use all wholemeal. Wholemeal drinks up more water, so add a splash more, starting with an extra 15 to 25ml, and expect a denser, nuttier crumb.
- Where fat is used, real butter beats seed or vegetable oil for flavour, a softer crumb and better keeping. Olive oil is a fine dairy-free alternative if you'd rather.
- Overnight option: do the first rise in the fridge overnight, up to about 18 hours, for a deeper flavour, then bring the dough back to room temperature before shaping.
- This loaf freezes beautifully. Cool it fully, slice it, and freeze in a bag; toast slices straight from frozen.
- For a softer sandwich loaf, replace 100ml of the water with milk and add a teaspoon more sugar.
- Allow about 2 to 2½ hours of proving between the mixing and the baking, most of it hands-off.
What you’ll need
- Large mixing bowl
- 2lb (900g) loaf tin
- Wire cooling rack
Troubleshooting
The loaf is dense.
Usually under-kneaded or under-proved. Knead to the windowpane and let both rises finish properly, judging by size rather than the clock.
It didn't rise.
The yeast may be dead, whether out of date, killed by water that was too hot, or by salt touching it directly. Use fresh yeast and lukewarm water, and keep salt and yeast apart.
The crumb is tight and close.
The dough was too dry or didn't build enough gas. Add a splash more water next time and give it a fuller first rise.
The top sank or collapsed.
It over-proved, or there was too much yeast. Shorten the second prove and bake when a poke springs back slowly, not when the dough is straining.
The crust is pale and soft.
The oven wasn't hot enough, or there was no steam. Preheat fully and add a tray of boiling water; for extra crunch, return the turned-out loaf to the oven for 5 minutes.
More about making bread
What kneading does. Kneading develops gluten, the stretchy protein network that traps the gas the yeast gives off. Without it there's no structure, and the loaf bakes dense and tight. The windowpane test tells you it's ready: a small piece of dough should stretch thin enough to see light through without tearing.
What proving does. As the dough proves, the yeast ferments its sugars and gives off carbon dioxide, which inflates all those gluten pockets. That's the rise. It also produces the acids and alcohols that build flavour, which is why two proves, a bulk rise then a final one, give both a good volume and a good taste.
Hydration. This is the weight of water as a percentage of the flour. Around 60 to 65 per cent is the sweet spot for an everyday loaf: wet enough to hydrate the gluten and give a soft, open crumb, but dry enough to shape easily. Wetter dough gives a more open crumb but is stickier to handle.
Yeast types. Fast-action or instant dried yeast is stirred straight into the flour and is the easy default. Fresh yeast from a bakery counter needs about double the weight and is usually mixed with the liquid first. Both do the same job.
The poke test. Press the proved dough with a floured finger. If the dent springs back slowly and only part of the way, it's ready to bake. If it springs straight back it needs longer; if it stays fully dented, it's over-proved.
Frequently asked questions
Kit for this job (Ad)

TempPro TP03H Meat Thermometers with IPX6 Waterproof, Cooking Thermometer | Foldable Temperature Probe with Calibration&Lock Function, Instant Read for Air Fryers, Kitchen, BBQ (Previously ThermoPro)
Check price on Amazon →
Amazon Basics Digital kitchen scales with LCD display (with batteries), Black and Stainless Steel, BPA free, Weighs up to 11 pounds
Check price on Amazon →
TempPro TP19H Digital Meat Thermometer, Food Thermometer, Temperature Probe | Food Probe, Waterproof/Ambidextrous Backlit/Calibration/Lock/Instant Read for BBQ Grill Smoker Fry Jam(Previously ThermoPro)
Check price on Amazon →
TempPro TP19HB Meat Thermometer Probe, Temperature Probe, Food Thermometer | Food Probe, Waterproof/Ambidextrous Backlit/Calibration/Lock/Instant Read for BBQ Grill Smoker Fry Jam(Previously ThermoPro)
Check price on Amazon →We may earn a small commission, at no cost to you. We only list kit we'd use.
Written by
UK Homesteading Team
Editorial team
The UK Homesteading editorial team, offering UK-specific, evidence-led guidance on growing, keeping, preserving and the law.