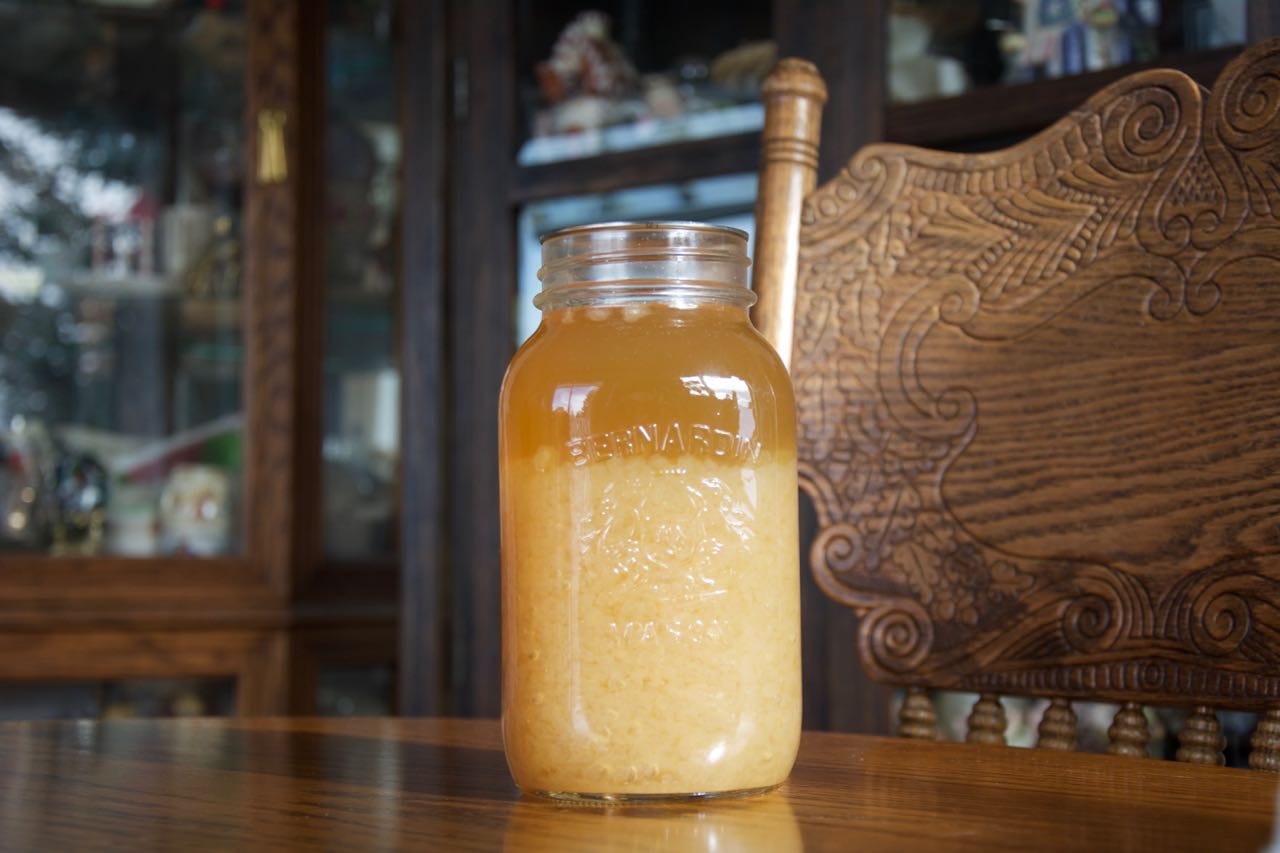
If you've got a cabbage going soft in the bottom of the fridge and a spare jar, you already have almost everything you need. Fermenting has a slightly mysterious, expert-only reputation, all crocks and cultures and jargon. It really isn't like that. People have been doing this at kitchen tables for thousands of years, long before anyone had a thermometer, let alone an airlock lid.
This is your friendly starting point. We'll cover what's actually happening in the jar, why it's safe, the one bit of maths worth learning, and how to make a first batch of sauerkraut you'll be proud of. Once you've done one, the rest is variations on a theme.
What is lacto-fermentation, and why is it safe?
Lacto-fermentation sounds technical, but the idea is homely. Every vegetable that comes out of the ground carries harmless lactic-acid bacteria (Lactobacillus and friends) on its surface. Give those bacteria the right conditions and they get to work, eating the natural sugars in the veg and producing lactic acid as they go. That acid is what makes a good ferment taste tangy, and it's also what keeps you safe.
Here's the clever part. As the bacteria produce acid, the pH of the jar drops. Salt slows down the organisms you don't want while the lactic-acid bacteria carry on happily. Keeping the veg under the brine cuts off the oxygen that mould and many spoilage microbes need. Within the first few days the acidity falls below pH 4.6, and that's the number that matters: below it, the bacteria that cause botulism simply cannot grow. So the environment quickly becomes hostile to the bad stuff and welcoming to the good.
You're not sterilising the food. You're stacking the odds so heavily in favour of the good bacteria that nothing else gets a look in.
That's why fermented vegetables have such a strong safety record. It's a living, self-protecting process, not a gamble. Do the simple things right and the ferment looks after itself.
How much salt do I need? The 2% rule
If you remember one thing from this guide, make it this. A 2% salt concentration by weight is the reliable, forgiving standard for fermenting vegetables. It's salty enough to keep spoilage organisms in check, but not so salty that it stalls the ferment or tastes like the sea.
The maths is easier than it looks. Weigh your prepared veg in grams, then work out 2% of that number. That's your salt.
- 500g of veg needs 10g of salt.
- 1kg of veg needs 20g of salt.
- 2kg of veg needs 40g of salt.
Just multiply the weight of your veg by 0.02. A cheap set of digital kitchen scales that reads in single grams is easily the most useful bit of kit you'll buy for this.
For sauerkraut specifically, some guides nudge slightly higher, to around 2 to 2.5%, which gives a crisper result and a touch more insurance. Anywhere in that range is fine. If you're making a separate brine to pour over chunkier veg like whole cucumbers or cauliflower, use roughly 20g of salt per litre of water for a 2% brine, or up to 30g per litre if you want it firmer.
One firm rule on the salt itself, coming up in the warning below. It matters more than the exact percentage.
What kit do I actually need?
Less than the internet would have you believe. You can make excellent sauerkraut with things you already own.
The essentials are a clean glass jar (a 1-litre Kilner or a large jam jar is perfect), kitchen scales, plain salt, and something to keep the veg pushed down under the brine. That weight can be a smaller jar filled with water, a food-grade freezer bag part-filled with brine that moulds itself over the surface, or a proper glass fermentation weight if you fancy one. A large mixing bowl and your own clean hands do the rest.
You do not need a traditional stoneware crock, an airlock lid, or a starter culture. Those things are lovely and they make life a little tidier, but they're upgrades, not entry requirements. Wash everything in hot soapy water and rinse well. There's no need to sterilise jars as you would for jam. The ferment's own acidity is doing the protective work here.
How do I make my first sauerkraut?
Sauerkraut is the ideal first ferment: one main ingredient, very forgiving, and ready to eat in a couple of weeks. Here's the whole thing.
- 1
Weigh and prep the cabbage
Take a white or green cabbage, remove the outer leaves (keep one back), and quarter it. Cut out the hard core, then shred the rest finely. Weigh the shredded cabbage in a big bowl and note the number in grams.
- 2
Add your 2% salt
Multiply the cabbage weight by 0.02 to get your salt in grams. For a 1kg cabbage that's 20g. Sprinkle the salt over the shredded cabbage.
- 3
Massage it
Now get your clean hands in and scrunch, squeeze and massage the cabbage for five to ten minutes. It'll go limp and start releasing its own liquid. Keep going until there's a decent pool of brine in the bottom of the bowl. This brine is your preservative, so don't tip it away.
- 4
Pack the jar
Press the cabbage firmly into your clean jar, pushing down hard to knock out air pockets, until the brine rises up and covers it. Leave a few centimetres of space at the top. Pour in any brine left in the bowl.
- 5
Weigh it down
Lay that reserved outer leaf over the top, then add your weight (a small water-filled jar or a brine-filled bag) to keep everything submerged. The cabbage must sit under the liquid.
- 6
Leave it to ferment
Loosely cover or lid the jar and stand it on a plate (it may bubble over). Keep it out of direct sun at normal room temperature. If using a screw lid, loosen it briefly once a day for the first week to release gas.
- 7
Taste and store
After about a week, start tasting. When it's as sour as you like, usually two to four weeks, screw the lid on properly and move it to the fridge. It'll keep for months.
That's it. Your first jar might be a little rough round the edges, but it'll teach you what a healthy ferment smells and looks like, which is worth more than any recipe.
How warm should my kitchen be, and how long will it take?
Fermenting is happiest at ordinary UK room temperature, roughly 18 to 22°C. That's a normal kitchen or larder for most of the year, which is one reason this hobby suits our climate so well.
Temperature is really a speed dial. A warm summer kitchen ferments fast, sometimes ready in a week to ten days, though it can turn softer. A cool room in autumn takes its time, three, four, even six weeks, and tends to give a crunchier, cleaner result. Neither is wrong. Avoid the extremes: a hot windowsill in July can push the ferment too fast and encourage off-flavours, while a cold garage below about 15°C slows it to a crawl.
So don't watch the calendar, watch (and taste) the jar. Ready is a flavour, not a date.
How do I tell a good ferment from a bad one?
This is the question that puts people off, so let's be clear and calm about it. A healthy ferment gives you plenty of signs to read.
Good signs. A pleasant, sour, pickle-like smell. Bubbles, especially in the first week. The brine turning cloudy. The colour of the veg softening and mellowing. A tangy, clean taste. All completely normal and exactly what you want.
The white film question. A flat, white, sometimes wrinkly skin on the surface is almost always kahm yeast. It's harmless. It can smell a touch yeasty or taste slightly off, but it won't hurt you. Skim it off with a clean spoon, make sure the veg is pushed back under the brine, and carry on.
When to throw it out. Fuzzy, raised, coloured growth is mould, and it's a different animal. Blue, green, black, grey or pink fuzz means the batch goes in the compost, no debate. Mould can send threads down into food you can't see, so you don't scoop it off and eat the rest. Bin the lot, wash the jar well, and start again. Likewise, if it smells truly rotten, putrid or off in a way that makes you recoil rather than pucker, trust your nose and throw it away. Slimy, stringy brine on veg like green beans is another sign to bin it.
When in doubt, your senses are a good guide. Sour and clean is right. Fuzzy or foul is wrong.
Isn't this the same as canning?
It really isn't, and the difference is the heart of why fermenting is safe. It's worth understanding so you don't apply the wrong worries to the wrong process.
Water-bath and pressure canning work by heating sealed jars to kill microbes and drive out air. The risk with canning comes when someone seals a low-acid food (green beans, say) without enough heat or acidity. That creates exactly the oxygen-free, low-acid pocket where botulism can thrive. This is why low-acid canning needs a proper pressure canner and careful method.
Fermenting is the opposite approach. You aren't sealing and heating anything. You're deliberately letting living bacteria make the food more acidic, dropping it well below the pH 4.6 danger line while it sits open to release gas. The acid is the safety mechanism. So the botulism headlines you sometimes see are almost always about botched canning, not about a jar of sauerkraut on the counter. Different process, different risks, different rules.
If you're weaving fermenting into a bigger plan to eat more of what you grow and waste less, it sits beautifully alongside the rest of the kitchen skills worth having, and it's a genuine building block of self-sufficiency in the UK. Master one jar of kraut and you've picked up a whole preserving habit that costs pennies and pays you back all winter.
This guide is general information, not formal legal, financial, medical or veterinary advice. UK rules, prices and best practice change, and some rules differ across England, Scotland, Wales and Northern Ireland, so always check the current position with the relevant official source (such as gov.uk, the NHS, the FSA, DEFRA or APHA, or the RHS) or a qualified professional before acting. Last checked July 2026.
Frequently asked questions
Sources
- Food safety and hygiene at home , Food Standards Agency
- Fermenting: salt ratios, submersion and temperature guidance , University of Illinois Extension
- Making Safe Fermented Foods and Beverages , Virginia Cooperative Extension, Virginia Tech
- Tips to Safely Ferment at Home , Utah State University Extension
Kit for this job (Ad)

The Noma Guide to Fermentation: Including koji, kombuchas, shoyus, misos, vinegars, garums, lacto-ferments, and black fruits and vegetables (Foundations of Flavor)
Check price on Amazon →
Masontops Complete Mason Jar Fermentation Kit - Easy Small/Regular Mouth Jars Vegetable Fermenting Set - DIY Equipment Essentials
Check price on Amazon →
The Art of Fermentation: New York Times Bestseller (Chelsea Green Publishing Co)
Check price on Amazon →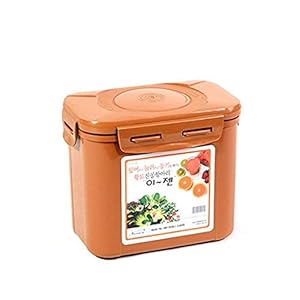
E-Jen ( 1.7l 1.7L, Earthenware Brown) - Premium Kimchi, Sauerkraut Container Probiotic Fermentation with Inner Vacuum Lid (Earthenware Brown, 1.7l1.7L)
Check price on Amazon →We may earn a small commission, at no cost to you. We only list kit we'd use.
Written by
UK Homesteading Team
Editorial team
The UK Homesteading editorial team, offering UK-specific, evidence-led guidance on growing, keeping, preserving and the law.