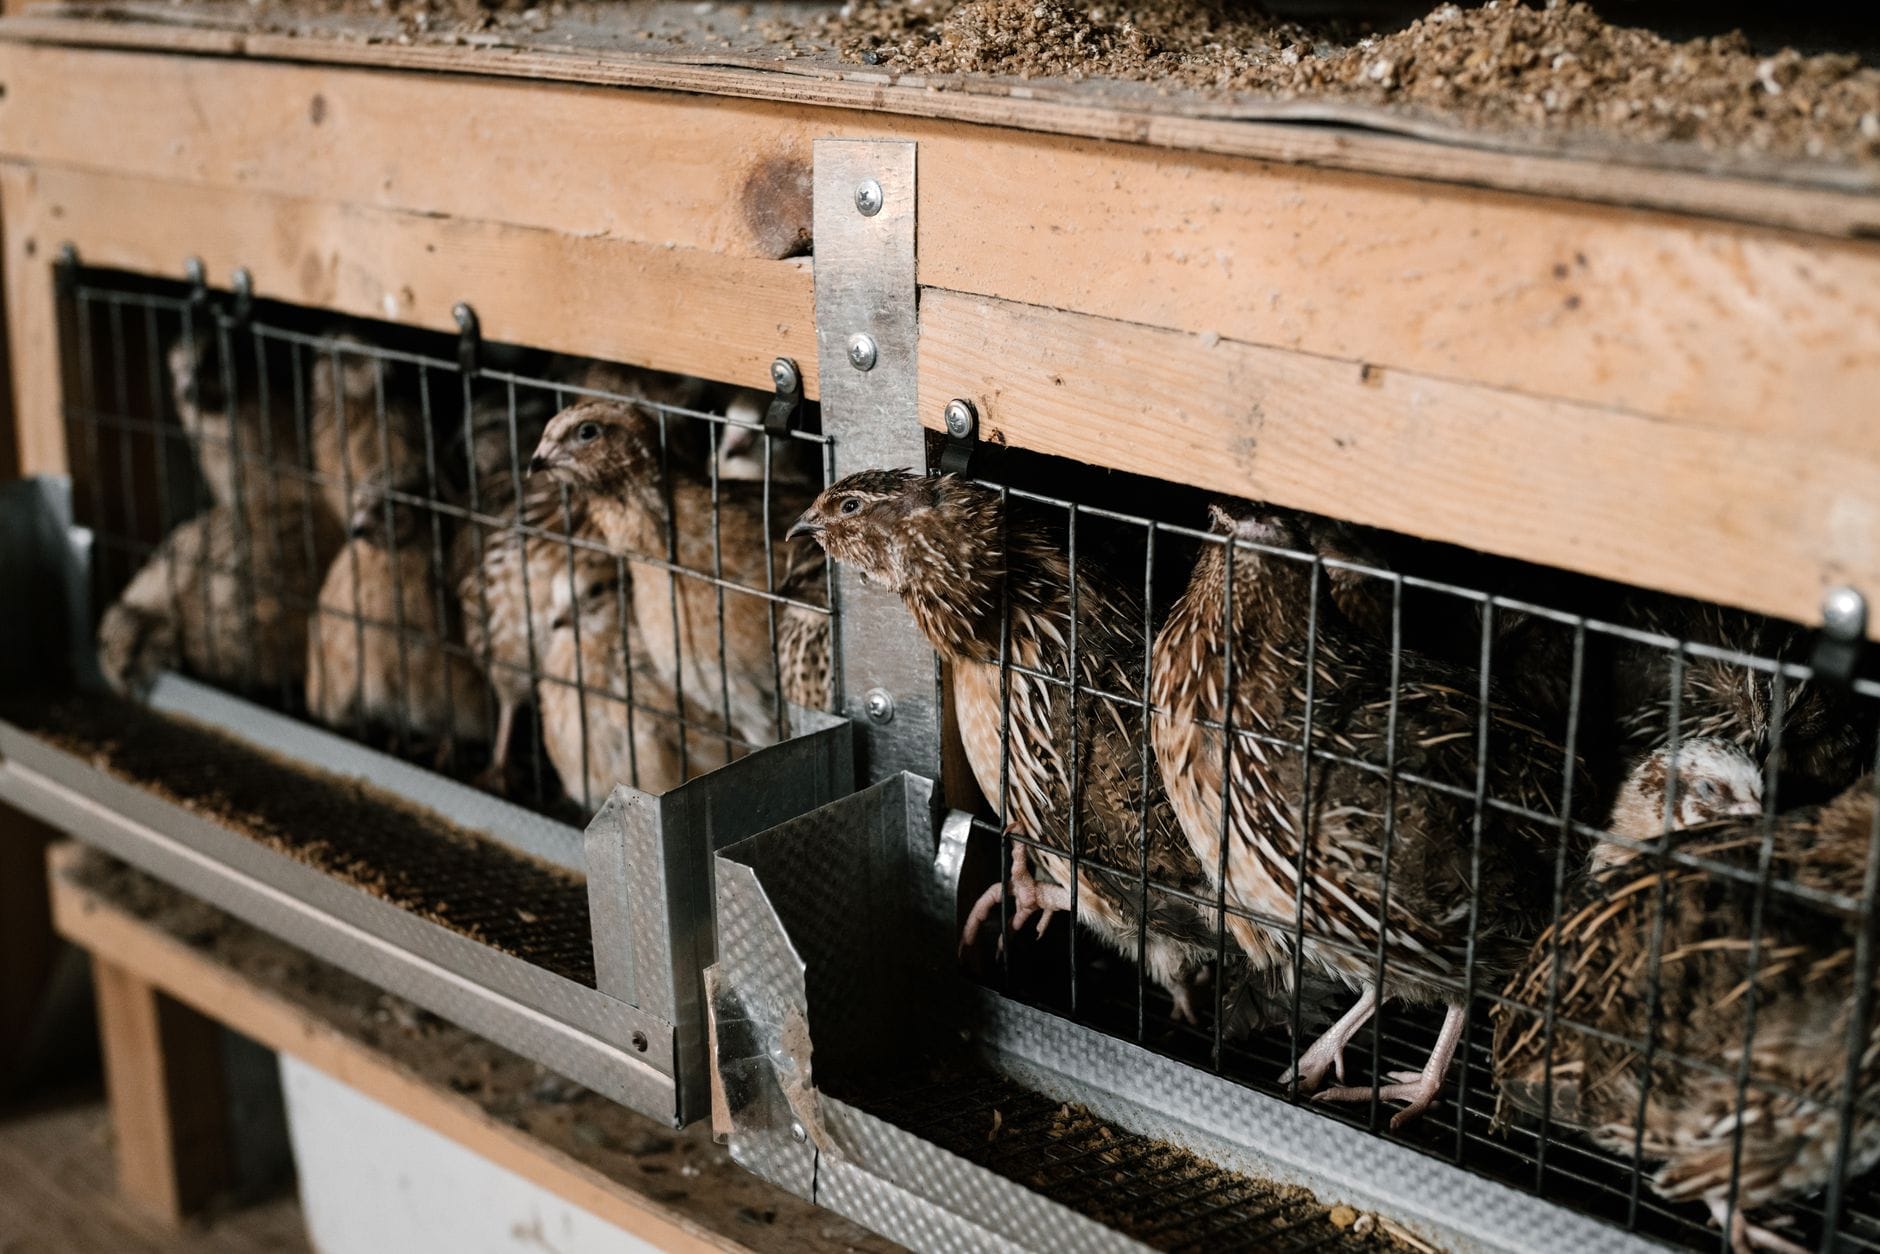
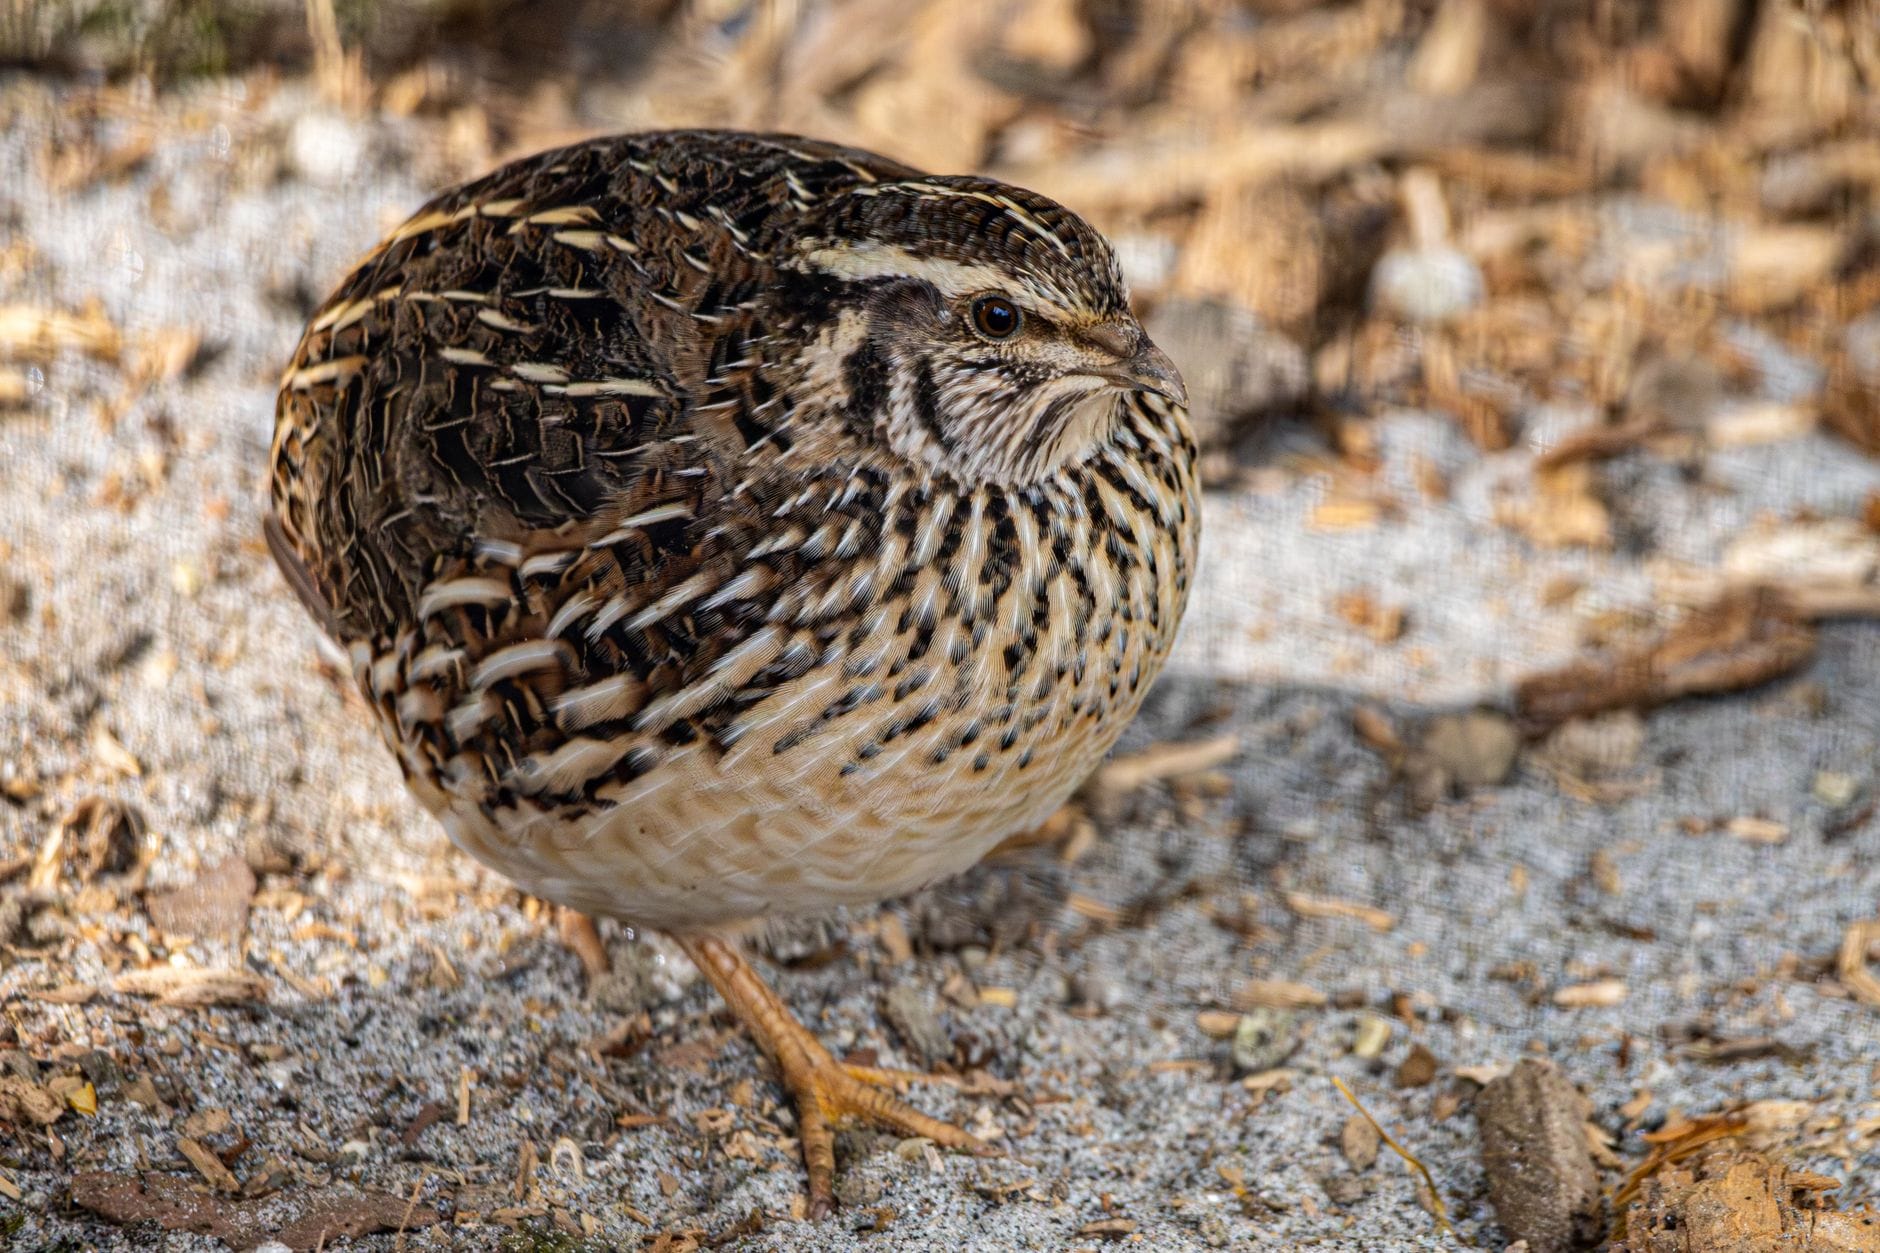
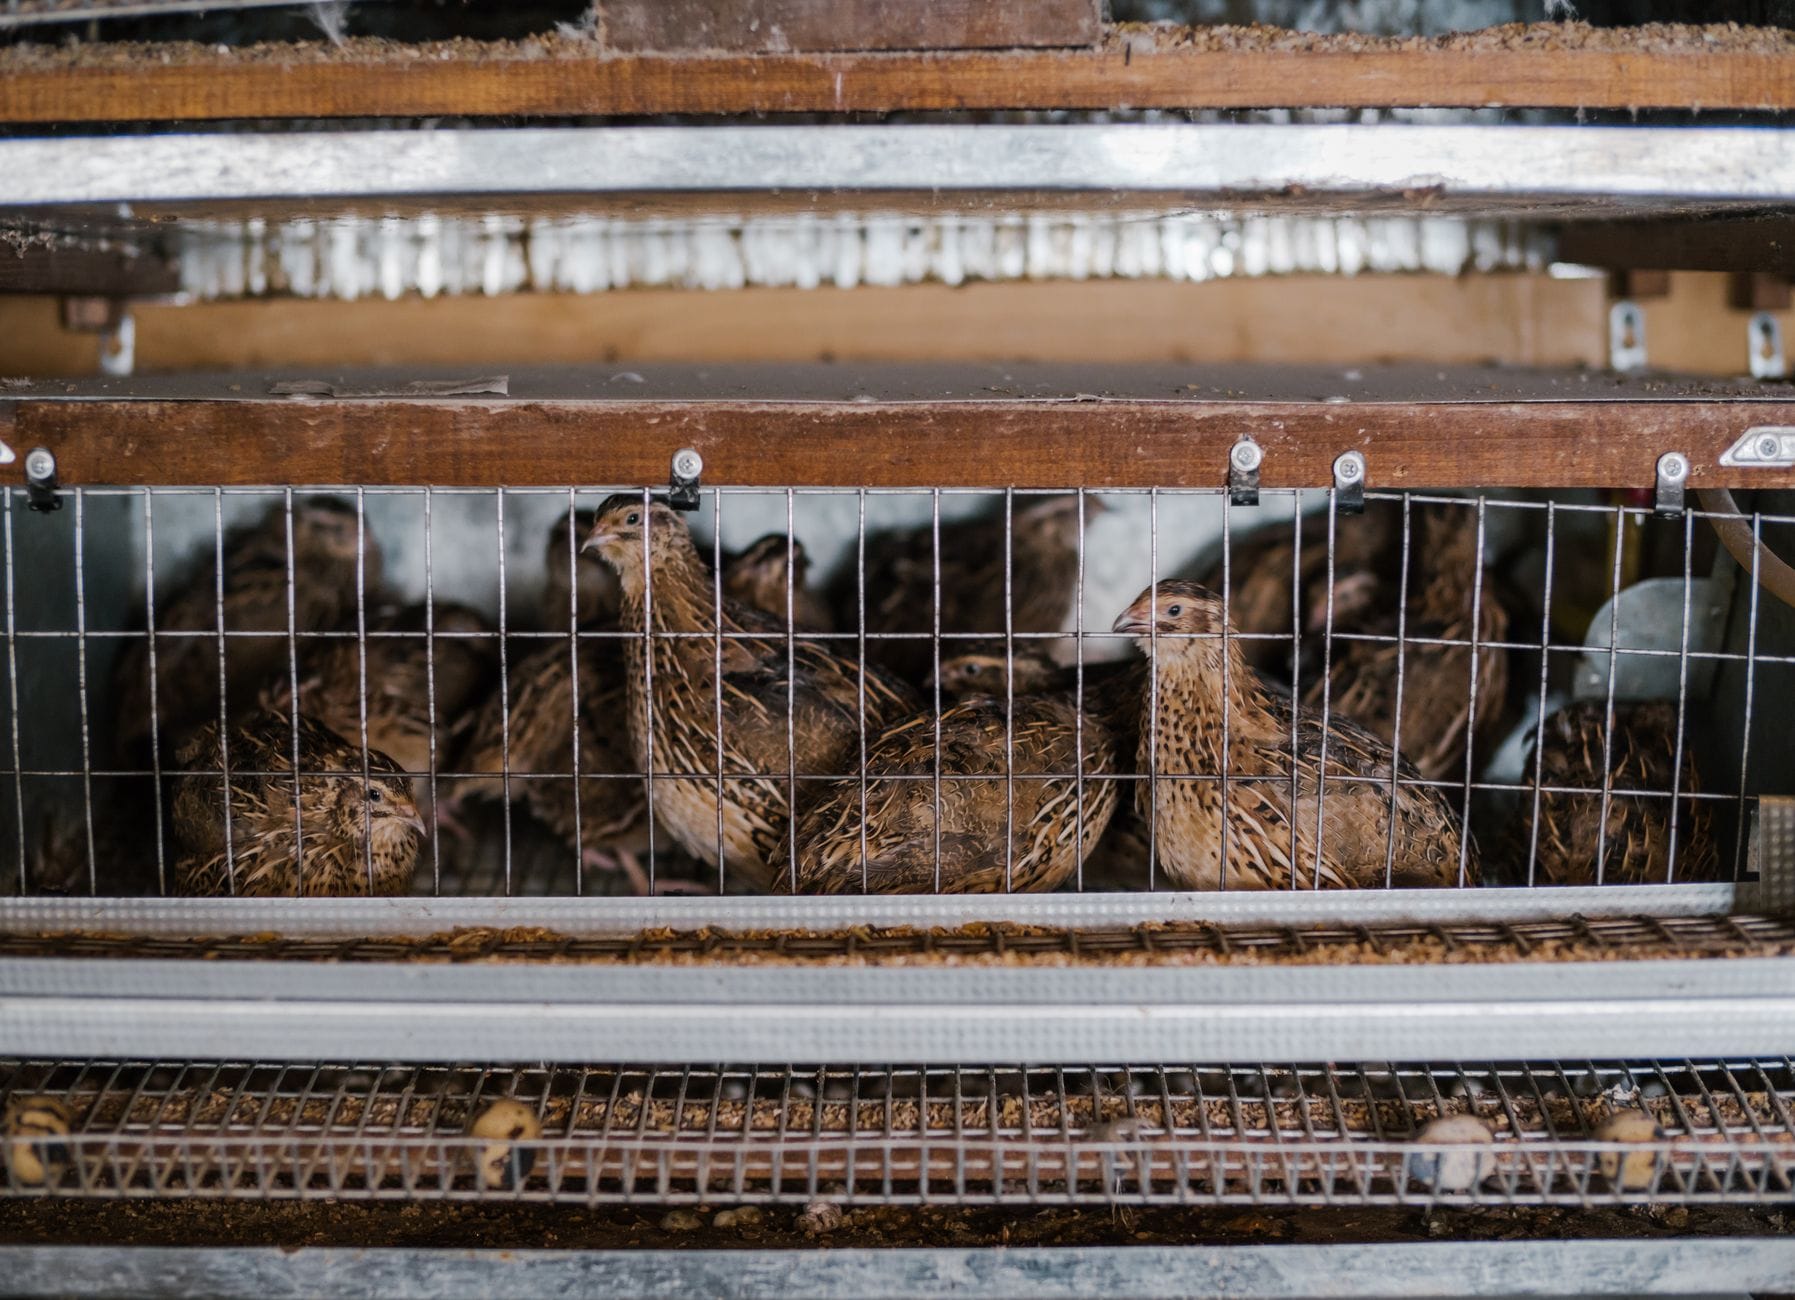
If you keep Coturnix quail and want more of them, there is one thing you have to accept from the start: the hen almost certainly will not do it for you. Unlike a broody chicken settling contentedly on a clutch, laying quail have had the sitting instinct all but bred out of them over generations selected for eggs and meat. So hatching quail means becoming the broody hen yourself, with an incubator standing in for her warmth and a brooder standing in for the shelter of her body. The good news is that it is quick and genuinely satisfying: about 17 to 18 days in the incubator, then a few attentive weeks in the brooder, and you can go from a bowl of tiny speckled eggs to a laying flock inside a couple of months.
This guide walks you through the whole run, from choosing and storing fertile eggs, through incubation and the all-important lockdown, to raising chicks that are so small the first week needs real care. If you are new to the birds themselves, start with our beginner's guide to keeping quail and sort their housing and feeding before the chicks arrive, because with quail the point of lay comes round fast.
Choosing and storing fertile eggs
A good hatch starts before the incubator is even switched on. You need fertile eggs, which means eggs from a pen with a cockerel running with the hens, ideally at a ratio of about one male to three or four females. If you are buying in hatching eggs, buy from a keeper who can tell you the birds are laying and mated, and be aware that posted eggs take a knock in transit and often hatch less well than eggs you collect yourself.
Freshness matters more than almost anything else. Set eggs within about a week of laying for the best results: hatchability holds up reasonably to seven days, then falls away noticeably after that, so a fortnight-old egg is a long shot. While you collect a clutch, store the eggs somewhere cool and stable, around 12 to 15C, out of direct sun and away from radiators. Do not put them in the fridge, which is too cold and too dry.
Two small habits make a real difference to stored eggs:
- Store them pointy-end down. The rounded end holds the air cell, and keeping it uppermost helps the cell stay where it should. A clean egg box or tray does the job.
- Turn them once or twice a day. Gently tilting the whole tray from side to side stops the yolk settling against the shell. You only need to do this while they wait; the incubator takes over turning once they are set.
When you are ready to start, bring the eggs up to room temperature for a few hours first rather than putting cold eggs straight into a warm incubator, which causes condensation and thermal shock. Only set clean, well-shaped eggs. Cracked, very small, very large or misshapen eggs rarely hatch well and can leak and spoil, fouling the others.
Incubation: the 17 to 18 day run
Coturnix eggs hatch in about 17 to 18 days, sometimes as quick as 16 if the incubator runs a touch warm. That is several days shorter than a chicken, so reset any habits or timers carried over from hens. The two numbers that decide your hatch are temperature and humidity, and holding them steady beats chasing the perfect figure.
In a forced-air (fan-assisted) incubator, hold 37.5C. Steadiness is everything: a persistent degree too high can bring the chicks early and weak, and too low brings them late or not at all. Still-air incubators without a fan run a temperature gradient, so you measure at the top of the eggs and follow the manufacturer's slightly higher target. Whatever the machine, trust a separate calibrated thermometer over the digital readout.
For humidity, aim for roughly 45 to 55 per cent for the first fortnight. This lets the air cell inside the egg grow to the right size as water evaporates, which the chick needs for a clean hatch. Too wet in this phase and the chick can drown in its shell; too dry and it struggles later. Top up the water channels rather than opening the lid more than you must.
Turning is the third job. Turn the eggs at least three times a day, and an odd number of times, so they are not always resting on the same face overnight. Turning stops the embryo sticking to the membrane. An automatic turner is worth having for quail because the eggs are small, and it removes the temptation to keep opening the incubator by hand.
The quail incubation timeline
- 1
Days 1 to 14: incubate and turn
Hold 37.5C in a forced-air incubator and 45 to 55 per cent humidity. Turn at least three times a day, or let an automatic turner do it. Resist opening the lid; every peek drops the temperature and humidity.
- 2
Around day 7: candle if you can
Shine a bright, focused torch against the egg in a dark room to look for a spider of veins or a dark mass. Be quick and gentle, and expect it to be difficult, because many quail eggs are heavily speckled and dark, so candling is far harder than with a pale chicken egg. If in doubt, leave the egg in rather than binning a viable one.
- 3
Day 14 to 15: lockdown
Stop turning and, if you have a turner, take the eggs off it and lay them on the incubator floor or in a hatching basket. Raise humidity to about 65 to 70 per cent. Now keep the lid shut and leave it shut.
- 4
Day 17 to 18: hatch
Chicks pip, then unzip the shell and struggle out, usually over several hours and often close together. Leave them in the warm, humid incubator until they are fluffed up and dry before moving them to the brooder. Do not help a struggling chick unless you really know what you are doing.
Candling deserves a word of honest warning. With chickens you can watch veins develop through a pale shell. Quail eggs are typically mottled brown on cream, and some are almost black, so shining a light through them tells you very little. Do not rely on candling to cull eggs. If you cannot see clearly, leave the egg to run its course.
Lockdown: the last three days
Lockdown is the single stage most first-timers get wrong, so it earns its own heading. Around day 14 to 15, three things change at once. First, you stop turning the eggs completely, because the chicks now need to settle into the position they will hatch from. Second, you raise the humidity to about 65 to 70 per cent, which keeps the inner membrane soft so the chick can turn and cut its way out instead of getting glued into a half-open shell. Third, and hardest for the anxious, you keep the lid shut.
That last point matters more than it sounds. Every time you open the incubator during lockdown, the humidity crashes and the membrane around a pipping chick can dry and tighten, a problem keepers call shrink-wrapping, which can trap and kill a chick that was otherwise fine. Top up water through a port if your machine has one, watch through the window, and otherwise leave it alone until the hatch is well and truly over. Quail often hatch close together across a few hours, so patience now pays off.
Brooding: keeping tiny chicks alive
Newly hatched quail are astonishingly small, and that size drives everything about the brooder. They cannot regulate their own temperature, they can drown in a teaspoon of water, and within a week or two they can flutter surprisingly high. Set the brooder up and bring it up to heat a couple of hours before the chicks are ready to move.
Warmth is first. Under the heat source, aim for about 37 to 38C in week one, then drop it by roughly 3C each week until the chicks are feathered and can go without added heat, usually around four to five weeks depending on the weather. Do not heat the whole brooder to one temperature. Put the heat at one end so there is a warm zone and a cooler zone, and let the chicks choose. Watch them: chicks spread evenly and busy means the heat is right; huddled in a pile under the lamp means too cold; pressed to the far corners and panting means too hot. A heat plate is safer than a lamp indoors, both for even warmth and because it removes the fire risk of a bulb.
Feed them a proper starter from day one. Quail chicks need far more protein than chicken chicks: a game-bird or quail chick starter crumb at around 24 to 28 per cent protein is right, where ordinary chicken chick crumb at 18 to 20 per cent falls short. Their beaks are tiny, so if the crumb feels coarse, crush it a little first, or they simply cannot eat enough to survive. For the first day or two, scatter some crumb on a paper towel on the floor so they find it easily, then move to a shallow chick feeder. Keep food available all the time.
Two more practical points. Quail chicks are a flight risk far earlier than you expect: from around the second week they can flutter and jump, so the brooder needs a secure, close-fitting lid or you will be chasing escapees around the utility room. And keep the floor non-slip, with kitchen paper or a fine litter rather than smooth plastic or newspaper, so their legs develop properly and they do not splay.
From brooder to laying flock, fast
The thing that surprises everyone the first time is the speed. Coturnix quail grow from hatchling to full-sized bird in a matter of weeks, and hens often start laying from around 6 to 8 weeks old. That is a huge part of their appeal for a small UK plot, but it means you cannot treat the hatch as the finish line. Have the adult housing ready, know where the layer feed is coming from, and be prepared to separate or move on surplus cockerels well before then, because they crow and the ratio in a laying pen wants far more hens than males.
By three to four weeks old they will be mostly feathered and can usually come off heat if the weather is mild, moving into their grown-up quarters soon after. Read across to our feeding guide for the switch from starter crumb to a grower and then a layer ration, and get the housing ready before that point of lay arrives, because with quail it always arrives sooner than you think.
If you also keep chickens, our guide to incubating and hatching hen eggs covers the same principles over the longer 21-day run, where broody hens are a real option and candling is far easier. The quail version is simply faster, fiddlier and, because the birds so rarely sit, almost always down to you and a good incubator.
This guide sets out the consensus approach used by UK and established quail keepers and is for general guidance. Incubators vary, so always follow your machine's manual for its specific temperature and humidity targets, and calibrate with a separate thermometer and hygrometer. Last checked July 2026.
Frequently asked questions
Sources
- Incubating Quail Eggs: Complete Beginner's Guide , Incubator Warehouse
- How to Brood Baby Quail Chicks: Temperature, Feed & First Weeks , Incubator Warehouse
- Quail eggs (incubation temperature and hatching) , Poultry Keeper Forum
- Quails: keeping and care guide , Omlet
- Coturnix Quail Egg Candling Guide , BackYard Chickens
- How to incubate Coturnix quail eggs , BackYard Chickens
Kit for this job (Ad)

MATICOOPX 20 Egg Incubator with Humidity Display, Egg Candler, Automatic Egg Turner, for Hatching Chickens
Check price on Amazon →
Incubators for Hatching Eggs, 12-24 Egg Incubator with Automatic Egg Turning and Humidity Control, Automatic Water Adding, LED Egg Candler, for Hatching Chickens, Duck, Quail, Goose Eggs
Check price on Amazon →
Urban Quail-Keeping
Check price on Amazon →
Practical Quail-keeping
Check price on Amazon →We may earn a small commission, at no cost to you. We only list kit we'd use.
Written by
UK Homesteading Team
Editorial team
The UK Homesteading editorial team, offering UK-specific, evidence-led guidance on growing, keeping, preserving and the law.