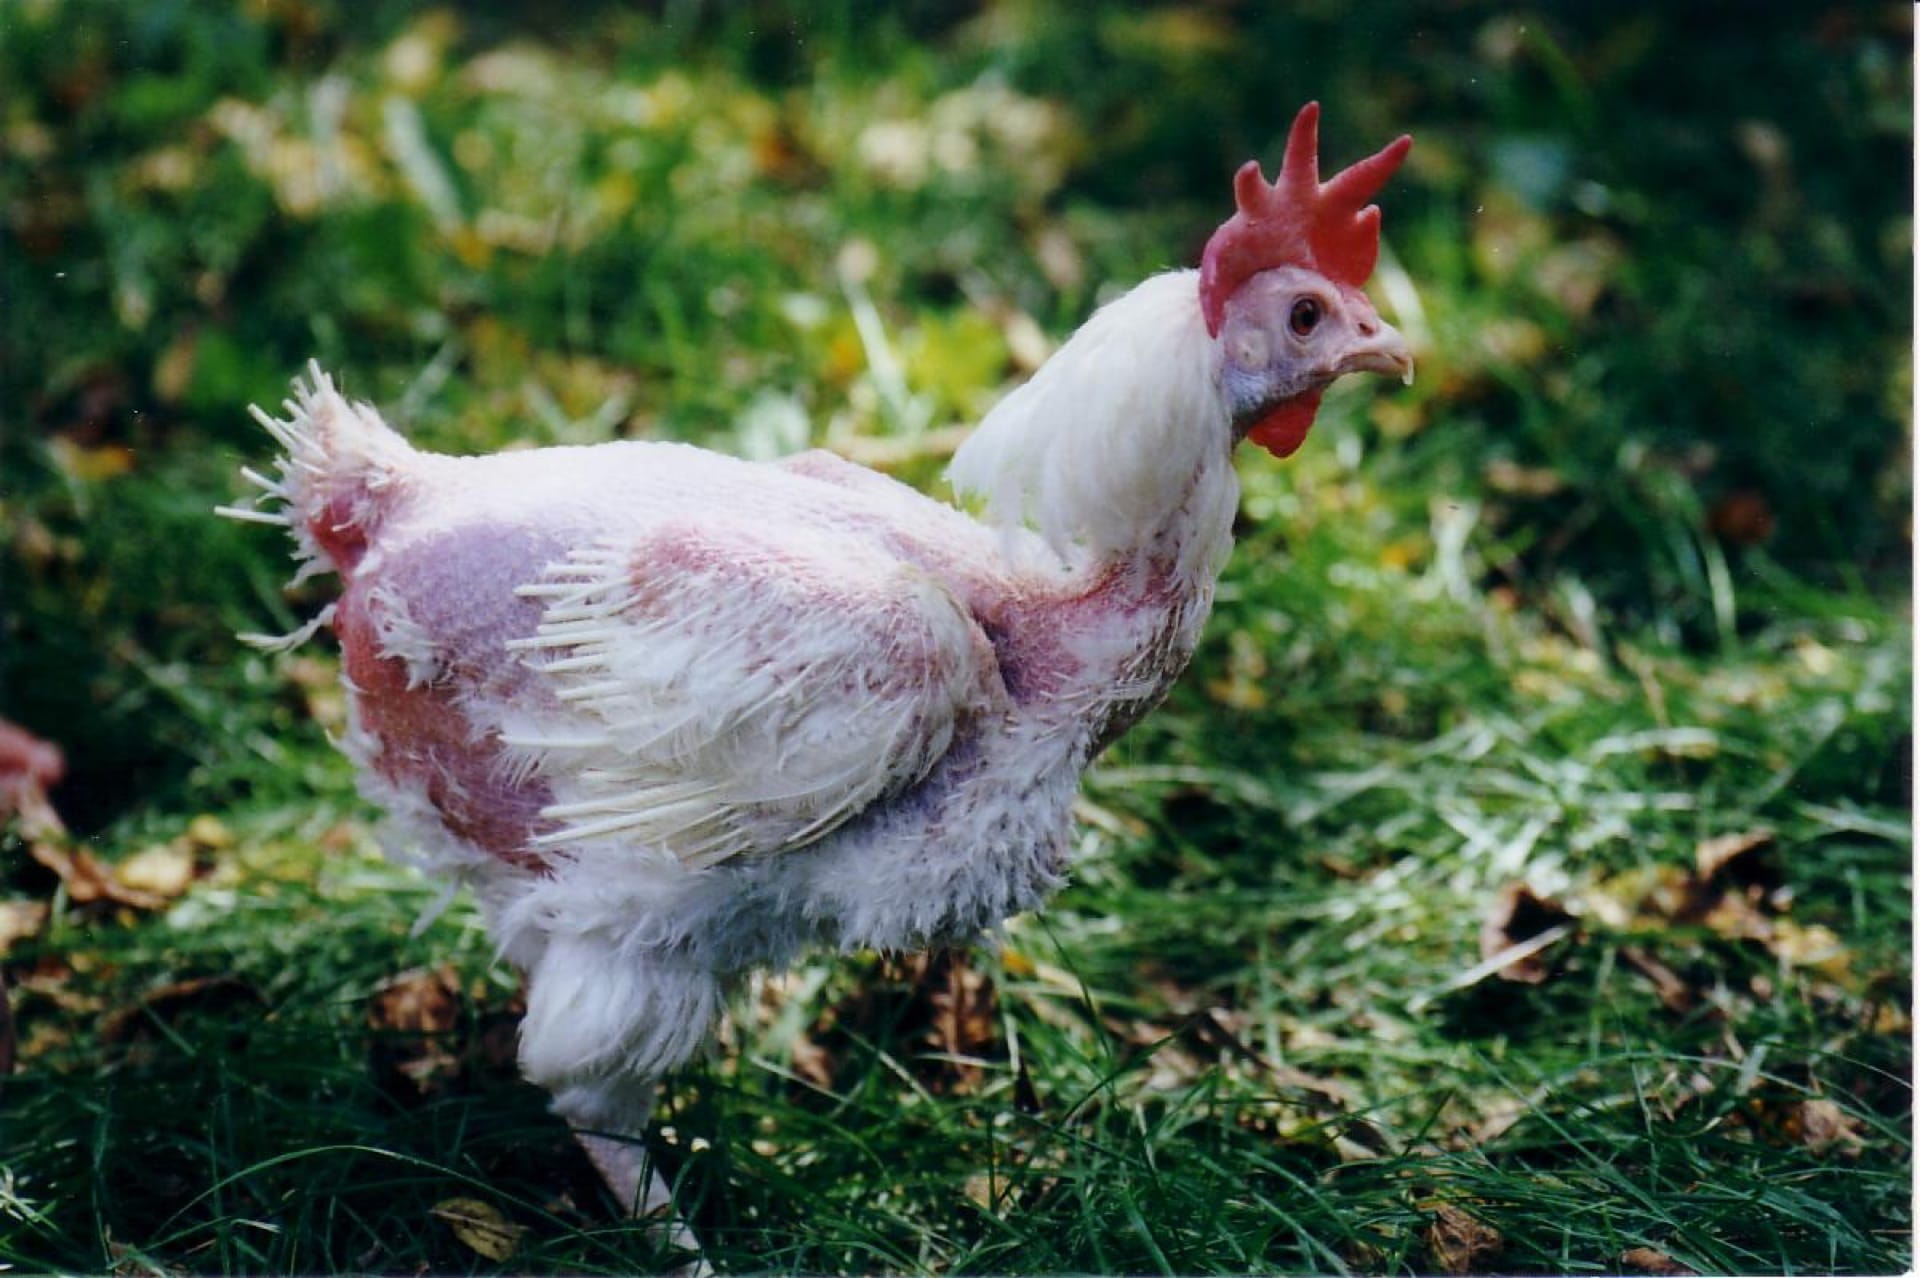
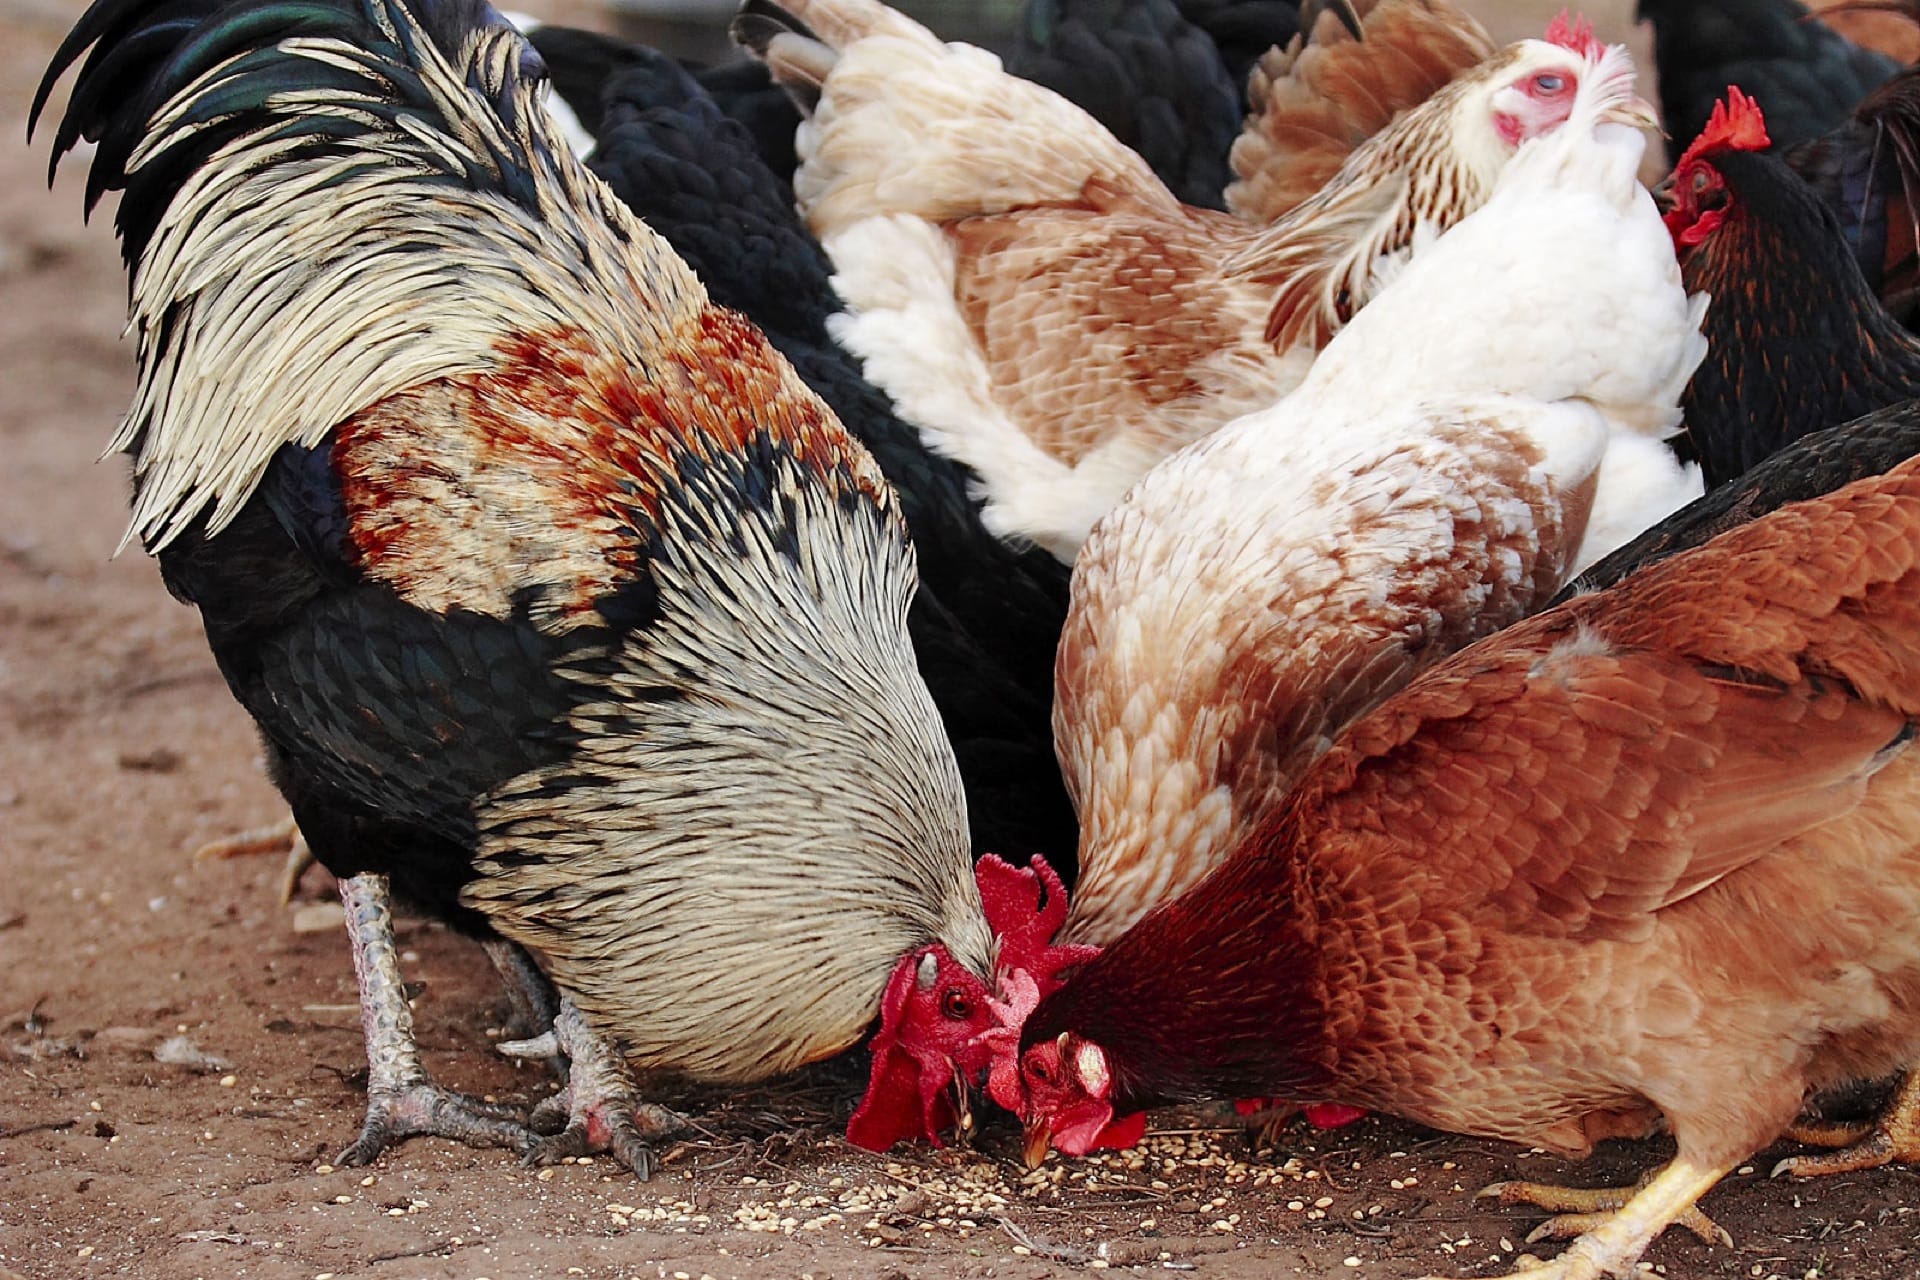
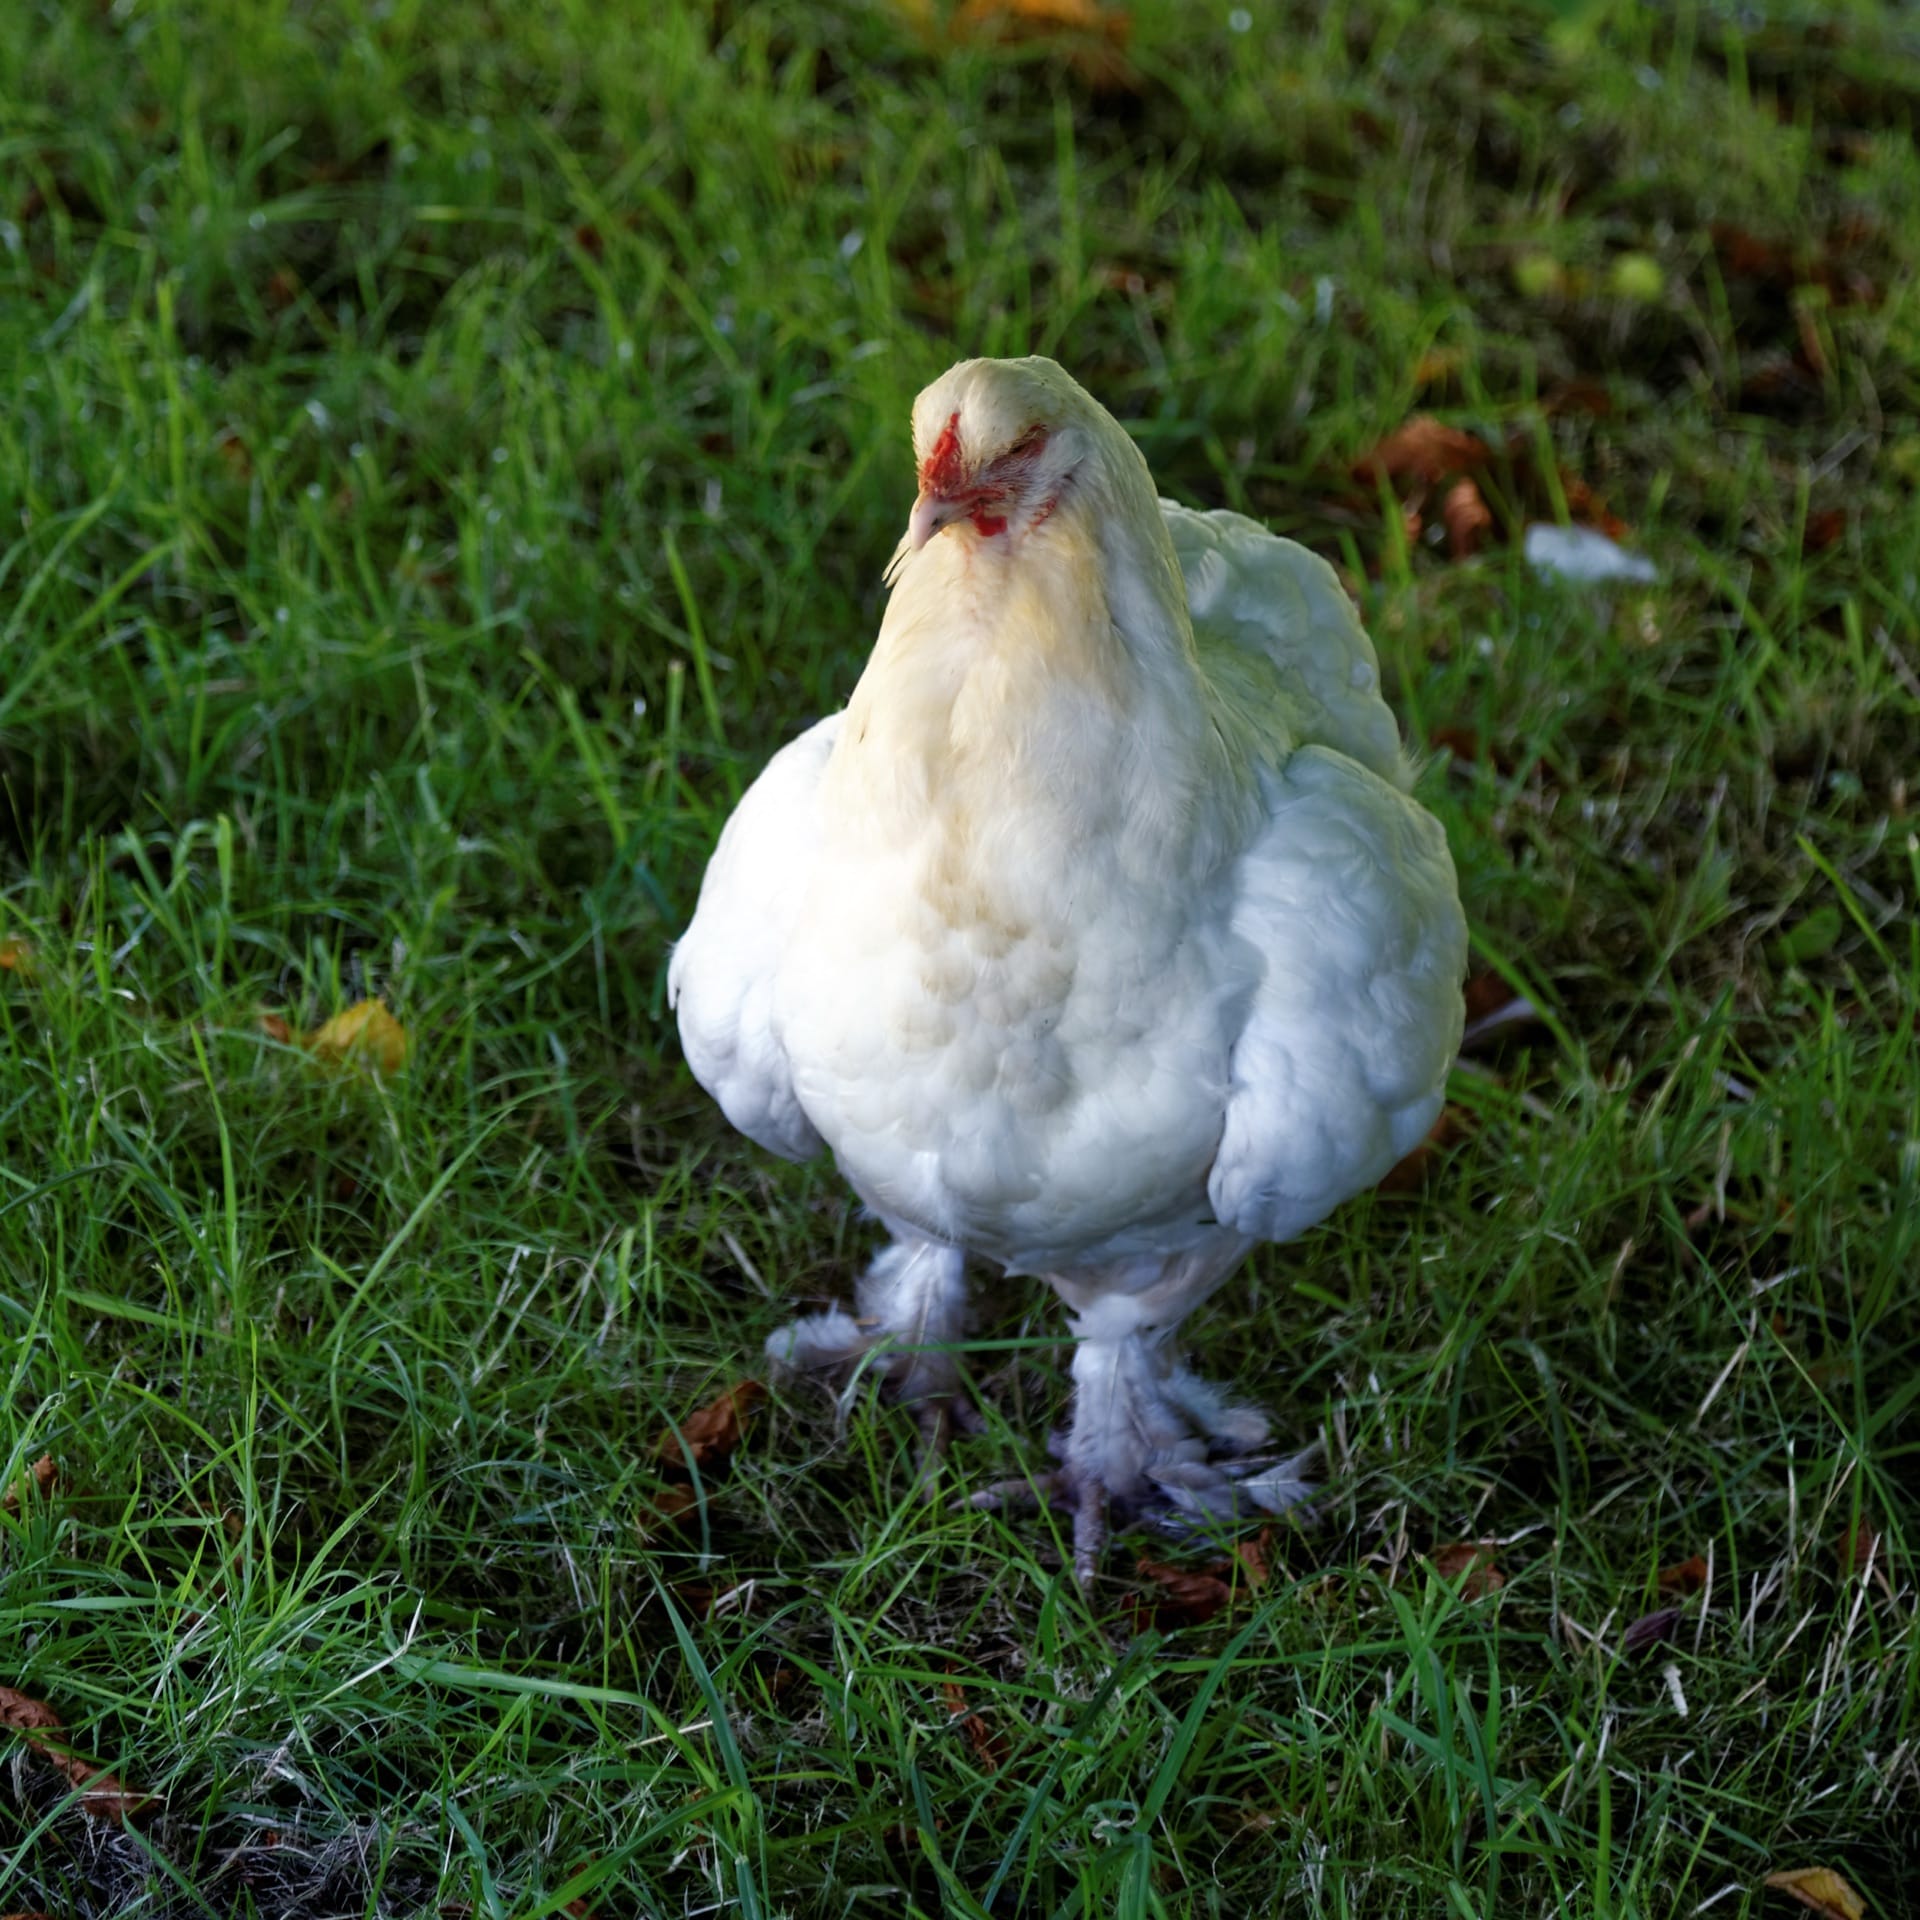
Watching a chick tap its way out of an egg is a small miracle you never quite get used to, even after years of doing it. It's also a proper commitment with a few sharp edges, and one big one that too many people ignore until it's crowing at 5am. This guide walks you through hatching chicken eggs at home in the UK, honestly, from where to get fertile eggs right through to the hard question of what to do with the boys.
If you're still finding your feet with a flock, start with our wider keeping chickens guides first, then come back here when you're ready to breed.
Broody hen or incubator: which way should you hatch?
There are two routes to a box of fluffy chicks, and they suit different people.
The natural way is to let a broody hen do it. When a hen goes broody she stops laying, sits tight in the nest, puffs up and gets grumpy if you go near her. Slip fertile eggs under a good broody and she handles everything: temperature, humidity, turning, and then raising the chicks afterwards. It's lovely to watch and almost no work. The catch is that you can't summon a broody to order. Some breeds go broody at the drop of a hat (Silkies are famous for it), while modern hybrids rarely bother. You're at the mercy of her mood.
The controlled way is an incubator. You set fertile eggs in a heated box, dial in the conditions, and take charge of the whole process. The upside is that you decide when to hatch and how many, and you can do it whether or not a hen fancies the job. The downside is that everything the hen would do instinctively is now your responsibility, and small mistakes cost you chicks. For most beginners wanting a reliable result, an incubator is the sensible choice, so that's where this guide spends most of its time.
Where do you get fertile hatching eggs?
Here's the bit people forget: a normal shop egg, or an egg from a flock of hens with no cockerel, will never hatch. It has to be fertile, which means a cockerel must have mated with the hen that laid it.
You've got three main sources:
- Your own flock, if you keep a cockerel with your hens. This is the freshest option and gives you the best hatch rates, because the eggs are minutes old and never posted anywhere.
- A local breeder, collected in person. You can see the parent birds, ask about the strain, and the eggs don't get bounced around in the post.
- Posted hatching eggs, bought online. This opens up rare and interesting breeds you'd never find nearby, but it comes at a cost. Eggs take a battering in transit, which can damage the air cell inside, and hatch rates from posted eggs are noticeably lower. A 50% hatch from posted eggs is considered a fair result, and some batches do worse.
Whatever the source, use eggs that are clean, well shaped and no more than about a week old. Store them somewhere cool, point downwards, and let posted eggs rest and settle for a day before you set them.
How does an incubator work, and what are the key settings?
An incubator is basically a well-insulated box that holds warmth and moisture steady while a fan (in a forced-air model) keeps the temperature even throughout. Most also have an automatic turning cradle that rocks the eggs for you. Get the three settings right, temperature, humidity and turning, and the machine does the rest.
Temperature. For a forced-air incubator, hold a steady 37.5°C for the whole run. This is the single most important number. Too high and chicks develop too fast or die, too low and they hatch late or not at all. Run the empty incubator for a day before setting eggs, so you know it holds temperature reliably.
Humidity. Keep it around 45 to 50% for the first 18 days. This lets the egg lose the right amount of moisture, so the air cell grows to the correct size and the chick has room to move when it's time to hatch. Then, for the final days, you raise humidity to roughly 65 to 70%. That extra moisture stops the inner membrane drying out and shrink-wrapping the chick while it's trying to break free. British air is often damp to begin with, so watch your readings rather than blindly chasing a number, and always check what your incubator's manual recommends.
Turning. In nature a hen nudges her eggs constantly. Your incubator (or you, by hand) should turn the eggs several times a day, an odd number of times so they don't rest on the same side every night. Turning stops the embryo sticking to the shell membrane. Keep this up until day 18, then stop completely.
Run the empty incubator for a full day first. If it can't hold a steady 37.5°C with no eggs in it, it won't with them either.
What happens across the 21 days?
The 21 days fall into a rhythm. Here's the whole process from setting the eggs to the first chick.
- 1
Day 1: Set the eggs
Bring the eggs to room temperature, then place them in the pre-warmed incubator. Note the date. Don't expect to see anything for a while; the magic is invisible at this stage.
- 2
Days 1 to 7: Steady as she goes
Hold 37.5°C and 45 to 50% humidity, turning several times a day. Resist the urge to keep opening the lid. Top up the water reservoir as needed to keep humidity stable.
- 3
Around day 7: Candle the eggs
In a dark room, shine a bright torch or candling lamp against each egg. A developing embryo shows as a dark spot with fine veins spreading out like a spider's web. Clear eggs with no veins are infertile, and eggs with a ring or a rattling loose mass have died. Remove these gently so they can't rot and burst.
- 4
Days 8 to 17: The long wait
Keep conditions steady and carry on turning. You can candle again around day 14 if you like, watching the dark mass grow until the egg looks almost solid against the light.
- 5
Day 18: Lockdown begins
Stop turning. Take out any turning cradle, lay the eggs on their sides, and raise humidity to 65 to 70%. From now on, keep the incubator shut. Every time you open it, humidity crashes and you risk a chick getting stuck to its membrane.
- 6
Days 19 to 21: The hatch
Listen for cheeping from inside the shells. You'll see a first crack, the pip, then hours later the chick works its way around the shell and pushes out, wet and exhausted. Leave the lid shut and let them get on with it.
What about the hatch itself and looking after the chicks?
Hatching is hard work for a chick, and it can take a full day from first pip to fully out. This is the moment your patience gets tested. Don't help too early. A chick that looks stuck is usually just resting between efforts, and it's absorbing the last of its yolk and sealing off its blood vessels while it waits. Pull it out too soon and it can bleed out or fail to thrive. Only ever consider intervening after a good 24 hours of no progress, and even then, cautiously. As tempting as it is, keep that incubator shut through lockdown; a blast of dry air at the wrong moment can shrink-wrap a chick that was doing fine.
Leave newly hatched chicks in the incubator until they're dry and fluffy, which can take several hours. They don't need food or water yet, as the absorbed yolk keeps them going for a day or so. Once dry and steady on their feet, move them to the brooder.
A brooder is just a warm, safe, draught-free box or pen. Heat comes from either a heat plate (an electric pad the chicks huddle under, which mimics a hen and is much safer than a bulb) or a heat lamp. Aim for about 35°C directly under the heat in the first week, then drop it by roughly 3°C a week by raising the lamp or plate, until the chicks are feathered and hardened off at around five to six weeks. Watch the chicks themselves: if they're piled up under the heat they're cold, if they're pressed to the far corners they're too hot, and if they're spread about happily you've got it right.
Give them chick crumb (a starter feed) and fresh water in a shallow drinker with pebbles or marbles in it, so tiny chicks can't drown. Keep it all scrupulously clean. That's most of the job for the first few weeks.
The cockerel question, and the other honest bits
Now the part that catches people out.
That's the hard truth of hatching, and it's better to hear it now than in six weeks with a run full of crowing teenagers. Your options for cockerels are: keep one if your setup and neighbours really allow it, rehome through local poultry groups or a scheme like the British Hen Welfare Trust's cockerel adoption service, or humane culling. All three are legitimate. Pretending the problem won't arise is not.
The other reality is hatch rates. Even done well, incubating is not a sure thing. A hatch of 50 to 70% is completely normal and nothing to beat yourself up over. Fresh eggs from your own flock might do better, posted eggs often do worse, and a rogue power cut or a dodgy thermometer can wipe out a whole batch. Go in expecting to lose some, and treat a strong hatch as a bonus.
Finally, the law. Under the Animal Welfare Act 2006 you have a legal duty of care to every bird you keep, chicks and cockerels included. That means suitable warmth, food, water, space and a humane approach if you do have to cull. Hatching creates lives, and every one of them is your responsibility from the moment it pips.
Get all that straight in your head, and hatching is one of the most satisfying things on the whole homestead. For the wider picture on flock keeping, head back to our keeping chickens section or the main keep hub.
Frequently asked questions
Sources
- Guide to Incubation Humidity , Poultry Keeper
- Think Twice about Chick Hatching , British Hen Welfare Trust
- Keeping poultry and other birds , GOV.UK
- Chickens: facts, behaviour and welfare , RSPCA
Kit for this job (Ad)

MATICOOPX 20 Egg Incubator with Humidity Display, Egg Candler, Automatic Egg Turner, for Hatching Chickens
Check price on Amazon →
Incubators for Hatching Eggs, 12-24 Egg Incubator with Automatic Egg Turning and Humidity Control, Automatic Water Adding, LED Egg Candler, for Hatching Chickens, Duck, Quail, Goose Eggs
Check price on Amazon →![[2024 Upgrade] 25 Egg Incubator, Automatic Egg Turner with Thermometer Seat and Humidity Control, Egg Candler, 360° View with Clear Window, Incubators for Hatching Chicks (Sunlit Orange)](https://m.media-amazon.com/images/I/81F46WWKnwL._SL300_.jpg)
[2024 Upgrade] 25 Egg Incubator, Automatic Egg Turner with Thermometer Seat and Humidity Control, Egg Candler, 360° View with Clear Window, Incubators for Hatching Chicks (Sunlit Orange)
Check price on Amazon →
Chick Brooder Heat Plate for Chicks 10"x12" 20W Brooder Plate Heat Lamp Height Adjustable for Chicks Ducks Poultry
Check price on Amazon →We may earn a small commission, at no cost to you. We only list kit we'd use.
Written by
UK Homesteading Team
Editorial team
The UK Homesteading editorial team, offering UK-specific, evidence-led guidance on growing, keeping, preserving and the law.