Cling film is one of those kitchen habits that is genuinely hard to shift: cheap, convenient and completely single-use. Beeswax food wraps are the reusable answer that most people actually stick with. They are nothing more than a square of cotton coated in beeswax (sometimes with a little resin and oil added), and once you have made a set they cover bowls, wrap sandwiches and keep half a cucumber fresh for months on end. Best of all, they cost very little to make yourself, and it is a satisfying afternoon's craft. If you are working through the whole kitchen, they slot neatly into a wider plastic-free home.
What beeswax wraps are (and are not)
A beeswax wrap is cotton fabric that has been saturated with melted beeswax so the cloth becomes slightly stiff, water-resistant and, when warmed, tacky. You press it over the top of a bowl or fold it around a piece of food, and the heat of your hands softens the wax just enough for it to grip and hold its shape. As it cools it sets, giving you a snug reusable cover.
They are a brilliant swap for cling film and foil for a lot of jobs, but it helps to be clear about what they are not. They do not make an airtight or watertight seal, so they will not stop a strong-smelling cheese scenting the fridge entirely, and they are no good for liquids. And because of how they are cleaned, they are not suitable for raw meat or fish. Within those limits, though, they are genuinely useful and pleasant to use.
What you need
The simple version (beeswax only):
- 100% cotton fabric, washed and ironed (quilting-weight cotton is ideal; avoid synthetics, which will not take the wax well)
- Beeswax pellets, or a block grated on a coarse grater: roughly 20-25g per medium wrap (about 25cm square)
- Baking parchment and a baking tray, plus a low oven or an iron
- Pinking shears (the zig-zag scissors) to cut the edges and stop them fraying
The upgraded version (beeswax + resin + oil):
Some makers add two optional extras. Pine or tree resin, sold as rosin, adds real tack so the wraps cling more firmly and hold a seal better. Jojoba oil keeps the finished wrap supple so the coating flexes rather than cracks. A workable blend for a batch is around 100g beeswax, 25g pine resin (rosin) and 1 tablespoon (15ml) jojoba oil, melted together. You can push the resin higher for grippier wraps, but more resin also makes the mixture stickier to work with and slower to melt, so start modest. Neither extra is essential: a beeswax-only wrap works perfectly well, and it is the easiest first project.
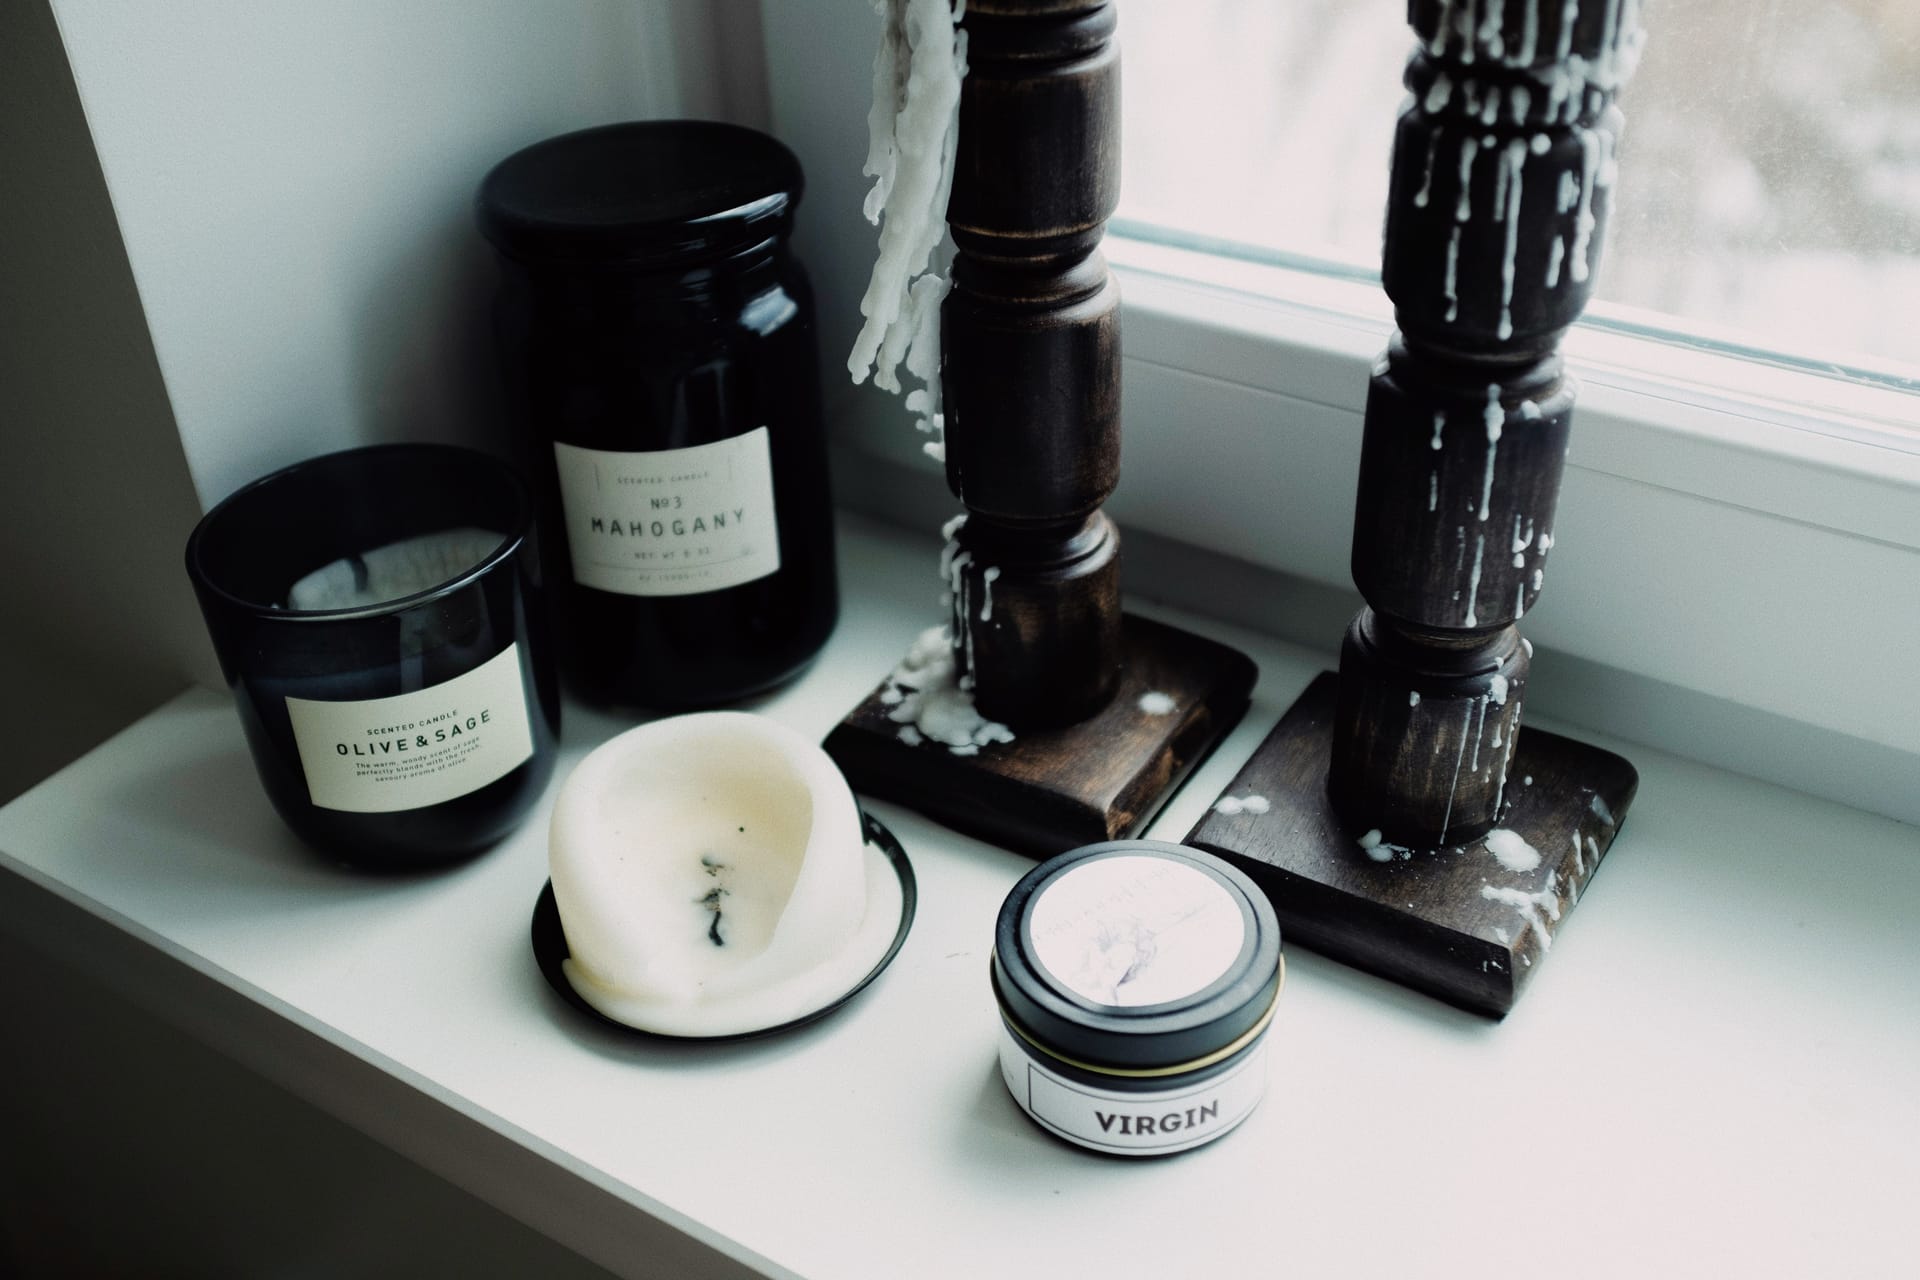
A quick word on the wax itself. Beeswax is the same natural material used for natural candle making, so if you already keep pellets in the house for candles you are halfway there. Buy cosmetic or food-grade beeswax where you can.
Method 1: the oven
This is the most forgiving method and the best for coating several wraps at once.
Making beeswax wraps in the oven
- 1
Prepare the fabric
Wash, dry and iron your cotton, then cut it to size with pinking shears. A 25-30cm square suits a medium bowl; make a few different sizes. The zig-zag edge stops the cotton fraying in use.
- 2
Line the tray
Line a baking tray with baking parchment (or a silicone mat) so no wax touches the metal. Lay one piece of fabric flat on top.
- 3
Add the wax
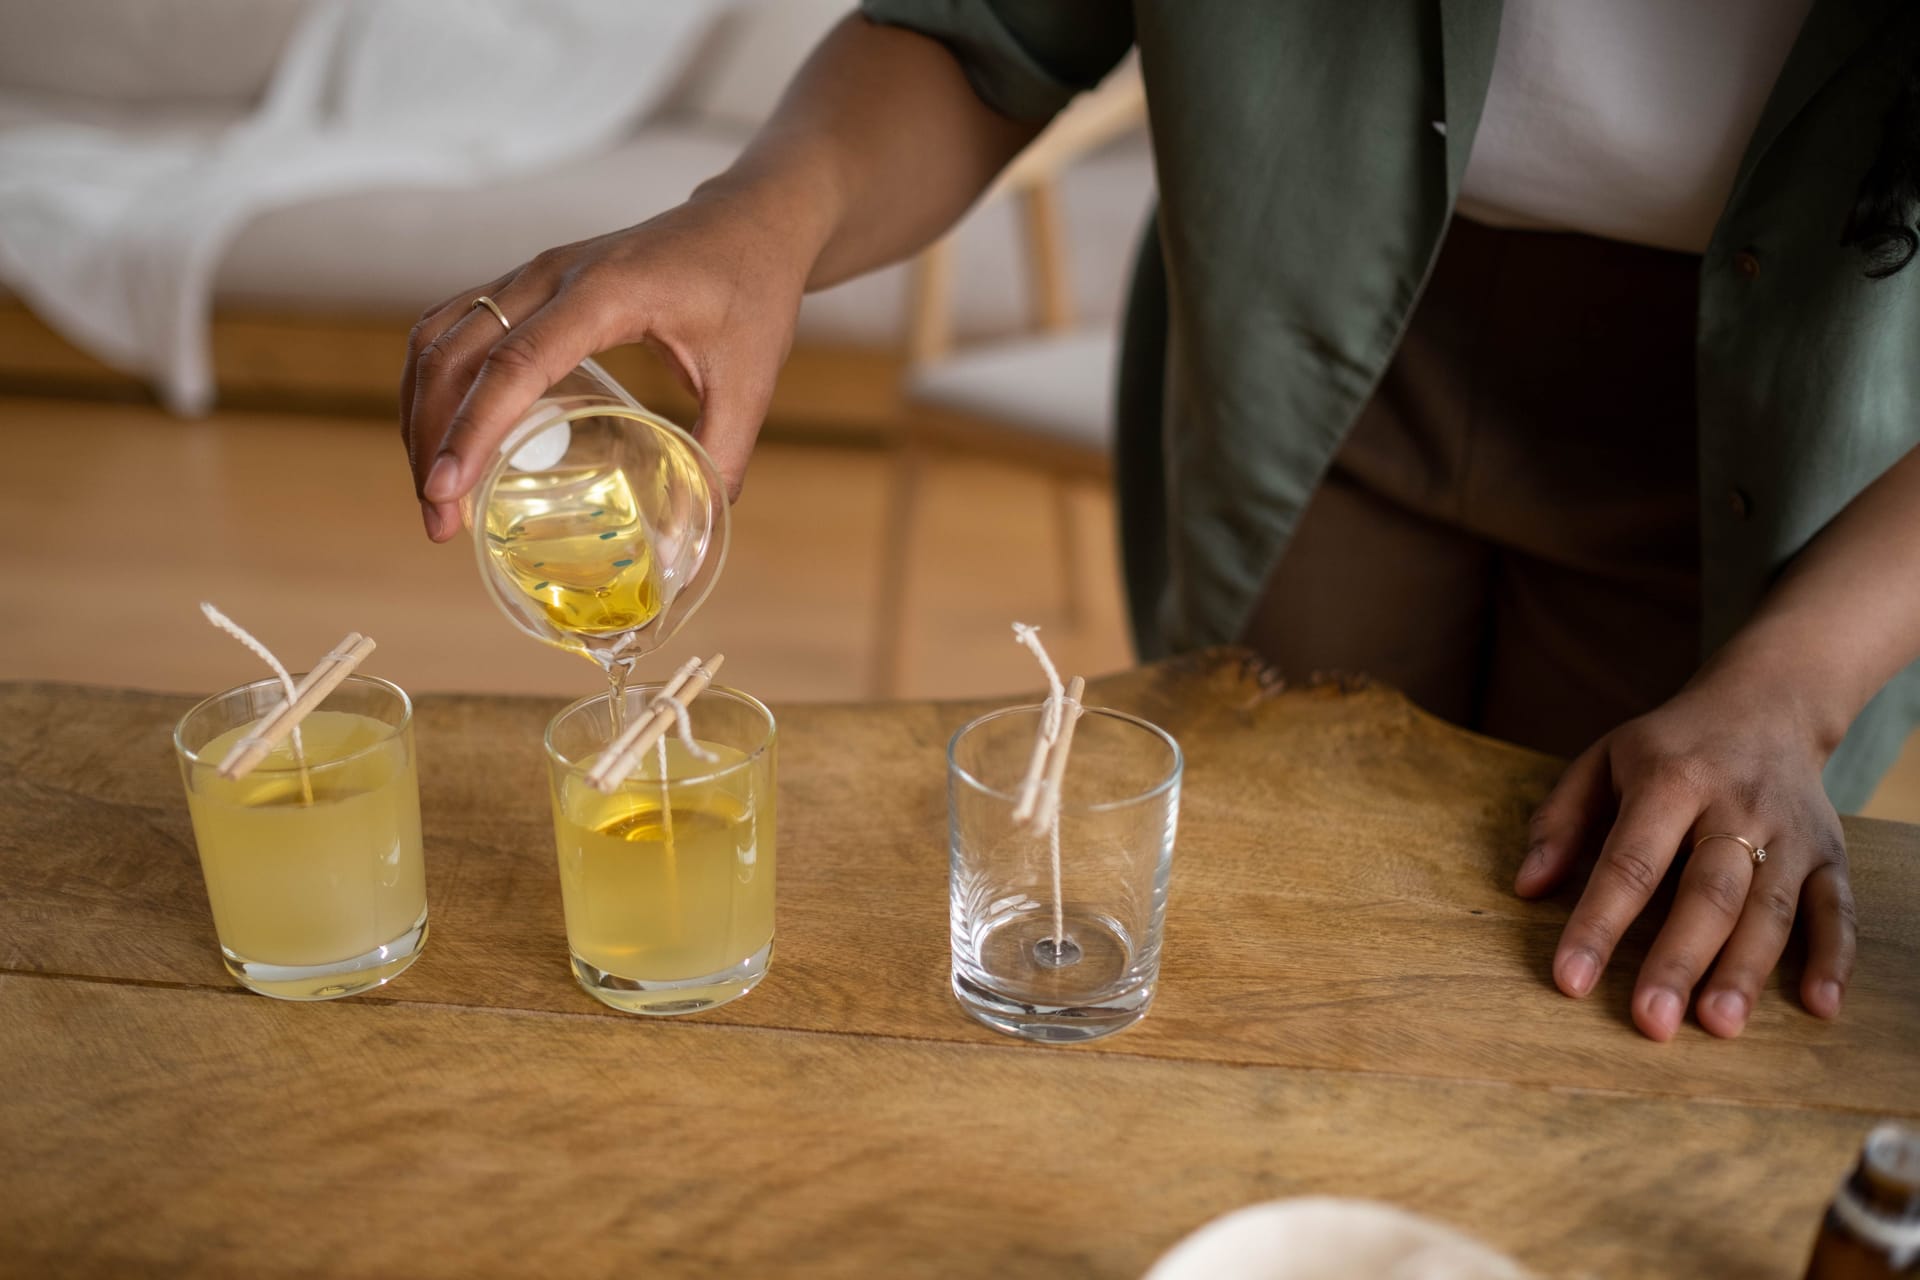
Scatter beeswax pellets or grated wax evenly across the fabric, roughly 20-25g for a medium wrap. If you are using the resin-and-oil blend, melt it together first in a heatproof jar set in a pan of simmering water, then brush it on instead.
- 4
Melt in a low oven
Put the tray into a low oven, around 80-100°C, for a few minutes until the wax has fully melted and gone clear. Watch it: you want it melted, not cooked. Beeswax melts at only about 62-64°C, so it does not need much heat.
- 5
Spread it thin and even
Take the tray out and quickly spread the molten wax right to the edges and corners with a clean brush (a silicone pastry brush is ideal). Add a few more pellets to any dry patches and return to the oven briefly if needed. The aim is a thin, even coating with no thick pooled spots.
- 6
Hang to dry
Lift the wrap by two corners and wave it in the air, or peg it on a line or over the tap. It sets and dries in under a minute. Once cool it is ready to use.
If a finished wrap feels stiff and cardboard-like it has too much wax; lay it back on parchment, cover with a second sheet and press with a warm iron to melt off the excess into the paper. If it looks patchy or pale it needs a little more.
Method 2: the iron
No oven space, or only making one or two? The iron method is quick.
Making beeswax wraps with an iron
- 1
Build a parchment sandwich
Lay a sheet of baking parchment on an ironing board or a folded towel. Put your cut cotton on top, scatter beeswax pellets or grated wax over it, then cover with a second sheet of parchment so the wax is enclosed.
- 2
Iron on a medium heat
Run a warm iron (a medium, no-steam setting) over the top sheet. The wax melts and spreads through the fabric; you will see it turn translucent. Keep the iron moving so nothing scorches.
- 3
Even it out
Peel back the top parchment to check coverage. Add a few pellets to any dry areas, re-cover and iron again until the whole piece is evenly saturated to the edges.
- 4
Peel and hang
Carefully peel the warm wrap away from the parchment and hang it to cool and set for a minute. Keep that parchment: it is reusable for the next batch.
How to use them
Using a wrap is the easy part. Warm it first: hold it flat between both hands for a few seconds so the wax softens and turns tacky, then mould it into place.
- Covering a bowl: press the warmed wrap over the rim and cup your hands around the sides so it grips and holds.
- Cheese: wrap it snugly like a parcel; wraps are a firm favourite for keeping cheese because they let it breathe a little.
- Bread, buns and baked goods: fold a large wrap around a loaf or roll.
- Half a fruit or vegetable: press a wrap over the cut face of a lemon, avocado, onion or cucumber.
- Sandwiches and snacks: fold into a little pouch for a lunchbox.
They are not for hot food or anything straight out of the oven, and they should not go in the microwave or oven themselves (the wax will simply melt). Cool or room-temperature food and the fridge are their home ground.
Care and washing
Looking after wraps comes down to one rule: keep them cool. Beeswax melts at around 62-64°C, so heat is the enemy.
- Wash by hand in cool or lukewarm water with a little washing-up liquid, using your hands or a soft sponge. A wipe with a damp cloth is often enough.
- Never use hot water, the dishwasher or the washing machine, all of which will melt or crack the coating.
- Air dry them: hang over the tap, on the dish rack or on a line. There is no need to wring them. Do not dry them on a radiator or near any heat source.
- Store them somewhere cool and dry, such as a kitchen drawer, out of direct sunlight, once fully dry.
If a wrap picks up a stubborn stain or a musty smell from food left too long, a wash in cool water usually sorts it; badly mouldy wraps are best refreshed with fresh wax (below) or composted.
Lifespan and refreshing
A homemade wrap usually gives you around a year of everyday use before the coating starts to wear thin and lose its cling. That is not the end of it. To refresh a tired wrap, lay it on a parchment-lined tray, scatter a few beeswax pellets on top and pop it into a low oven for a few minutes, then spread the melted wax evenly with a brush and hang it to dry, exactly as when you first made it. That brings the grip and water resistance straight back.
When a wrap is genuinely worn out, an all-natural one (100% cotton, beeswax, resin and jojoba) can be cut up for the compost heap or twisted into a very effective natural firelighter, so nothing goes to landfill. That whole cradle-to-compost cycle is a big part of why they beat cling film.
Guidance last checked July 2026. Melting-point and care details are drawn from UK beeswax-wrap makers and beekeeping sources; the food-safety steer on raw meat and fish reflects the fact that wraps cannot be washed hot enough to sanitise them.
Frequently asked questions
Sources
- How To Wash & Clean Beeswax Wraps Easily , Moral Fibres
- Beeswax Food Wrap DIY , Moral Fibres
- Queen Bee Wraps FAQs: Care, Use & Ingredients Guide , Queen Bee Wraps (UK)
- Frequently asked questions (beeswax wraps) , Honeybee Good (UK)
- How to make beeswax food wraps step by step , Honey Bee Suite
Kit for this job (Ad)

Beeswax Wraps | Set of 8 | Eco Friendly Sustainable Reusable Food Wraps | Biodegradable Zero Waste Plastic Free Food Storage | Bowl Covers | Organic Bees Wax Cheese Bread Sandwich Wrappers
Check price on Amazon →
SuperBee Beeswax Wrap 3-Piece Set | Reusable Food Wrap for Vegetables, Cheese, Bowls, and Sandwiches | Classical Pattern Sustainable Wax Paper
Check price on Amazon →
SuperBee Beeswax Block for DIY Beeswax Wrap Making Kit with Tree Resin & Coconut Oil, 75g Bar Makes Up to 10 Wraps, Natural Ingredients for Homemade Food Wax Wraps for Sustainable Living
Check price on Amazon →We may earn a small commission, at no cost to you. We only list kit we'd use.
Written by
UK Homesteading Team
Editorial team
The UK Homesteading editorial team, offering UK-specific, evidence-led guidance on growing, keeping, preserving and the law.