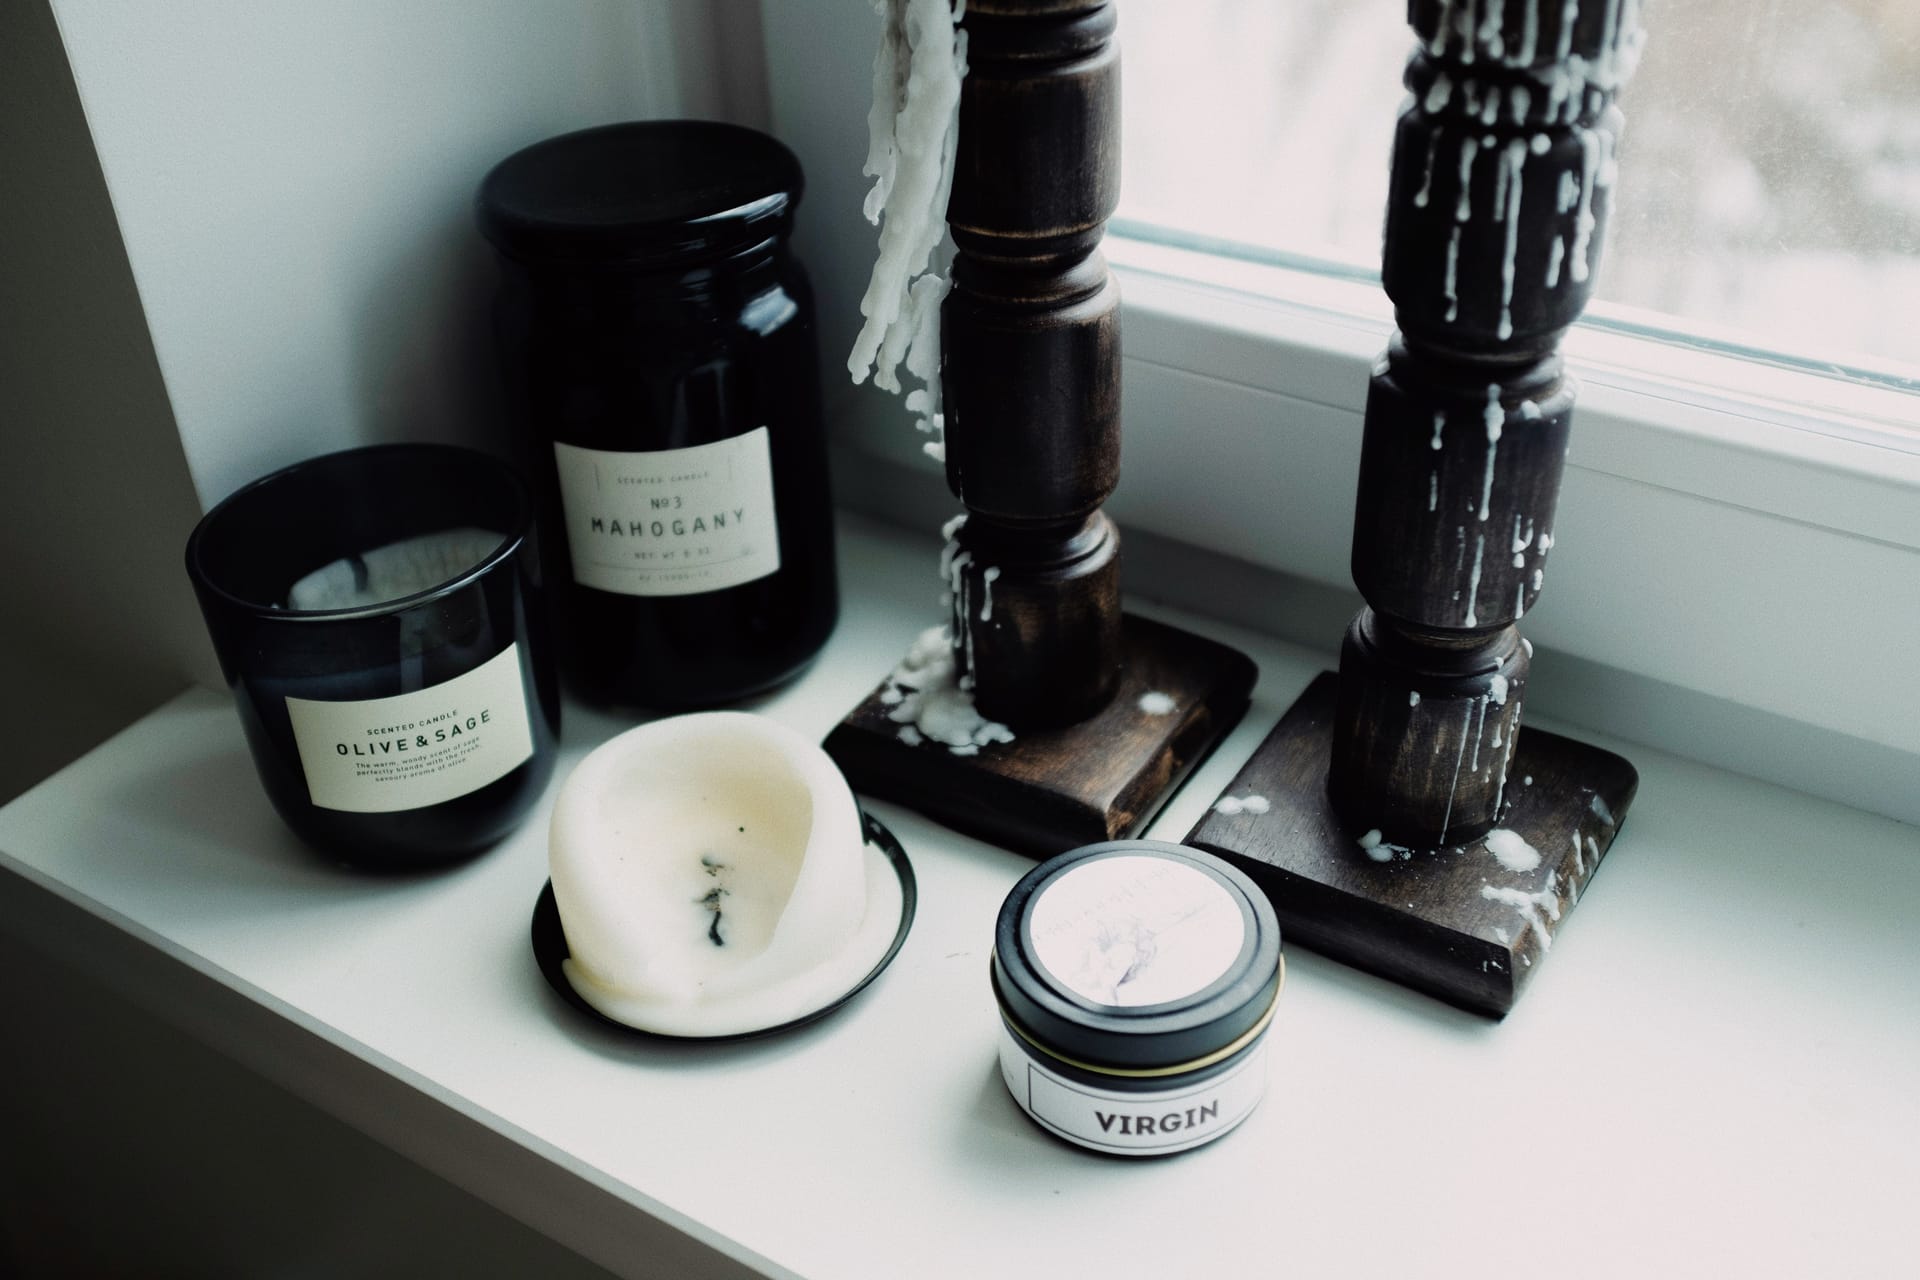
Making your own candles is one of those homesteading jobs that pays you back straight away. You control the scent, you control the ingredients, and you end up with something that costs a fraction of the fancy jarred candles in the shops. They make brilliant gifts too. Once you've got the kit, each batch is quick, and there's real pleasure in lighting something you poured yourself on a dark winter evening.
This guide walks you through choosing your wax, getting the right wick, the simple method for a container candle, and the safety that genuinely matters. Take the fire-safety bits seriously and everything else is good fun.
Which wax should I choose?
Your wax is the biggest decision, and there's no single "best" one. Here's the honest rundown of the four you'll come across in the UK.
Soy wax is where most beginners start, and for good reason. It's plant-based, it melts at a low temperature, and it's forgiving when you pour it into jars and tins. It's widely sold in flake form that's easy to weigh and melt. The main quirk is frosting, a white crystalline bloom that sometimes appears on the surface as it sets. It looks a bit rustic but does no harm at all to how the candle burns.
Beeswax is the natural favourite for a lot of people. It has a soft, honeyed scent of its own, it burns clean with little soot, and it feels lovely to work with. It's dearer than soy, and it doesn't hold added fragrance especially well, so it suits people who like that natural beeswax smell as-is. If you keep bees, it's the obvious choice and closes a satisfying loop.
Rapeseed wax is worth knowing about because a lot of it is UK-grown, which cuts the miles your ingredients travel. It burns cleanly, holds fragrance well, and tends to give a good long burn. It's a strong pick if buying British matters to you.
Paraffin wax is cheap and holds scent strongly, which is why so many mass-market candles use it. It is a petroleum by-product, though, and plenty of people making a natural home would rather steer clear of it for that reason. You'll see a lot of debate online about which waxes are "cleaner" or "healthier". The honest position is that all candles produce some soot and the differences are often smaller than the marketing suggests, so choose on ingredients and values rather than any bold health claim.
There's no perfect wax, only the one that suits your values, your budget and the candle you're trying to make.
What kit do I actually need?
You don't need much to start, and most of it you'll reuse batch after batch.
- Wax, in flakes or blocks, chosen from above.
- Wicks, and this is the one to get right. The wick size must suit the width of your container (more on that next). Cotton and wooden wicks are both popular.
- Containers or moulds. Heat-safe glass jars, tins and ceramic pots all work for container candles. Recycled jam jars are fine as long as the glass is sound. Moulds are for free-standing pillar candles and are a step up in difficulty.
- A thermometer. A simple digital or sugar thermometer lets you hit the right temperatures. This isn't optional; guessing leads to poor scent and messy pours.
- A bain-marie, also called a double boiler. A heatproof jug or pouring pitcher set in a pan of simmering water. You can buy a dedicated candle pitcher cheaply.
- Fragrance or essential oils, if you want scent. Candle-grade fragrance oils give the most reliable throw; essential oils are more natural but often subtler and less heat-stable.
- Wick stickers or a wick holder to fix the wick to the base and keep it centred and upright while you pour. A couple of pencils or a clothes peg laid across the top does the centring job.
Why does wick size matter so much?
This is the detail that separates a candle that burns beautifully from one that disappoints, so it's worth a moment.
Your wick has to be matched to the internal diameter of your container. Measure the inside width, not the volume or the outside. A wick that's too small can't pull up enough wax to melt right to the edges, so the flame burrows a hole straight down the middle and leaves a wall of unburnt wax around it. That's tunnelling, and it wastes wax and kills the scent throw. A wick that's too big burns too hot, smokes, soots up the glass and can make the container dangerously hot.
As a rough starting point, a narrow jar of around 50 to 60mm across wants a small wick, a standard 70mm-ish jar wants a medium one, and anything over about 90mm may need a larger wick or even two wicks. Every wick range is different, though, so use the wick chart from your supplier as your guide. A correctly wicked candle should reach a full melt pool, edge to edge, within two to three hours with a steady flame about 2 to 3cm tall. Serious candle makers always burn-test a sample before making a batch, and it's a habit worth copying.
How do I make a simple container candle?
Here's the basic method for a scented soy container candle. Read it through once before you start, and have everything to hand.
- 1
Prep your container and wick
Make sure your jar is clean and dry. Stick the wick to the centre of the base with a wick sticker or a dab of melted wax, then rest a peg or two pencils across the rim to hold it upright and centred.
- 2
Weigh your wax
Weigh out enough flakes to fill your container, plus a bit extra as wax shrinks as it sets. A kitchen scale in grams is ideal.
- 3
Melt gently in a bain-marie
Put the wax in your pouring jug, set it in a pan of simmering (not boiling) water, and let it melt slowly. Stir now and then and watch the thermometer. Never melt wax in a pan directly on the hob.
- 4
Add fragrance at the right temperature
Once melted, take it off the heat and let it reach the temperature your wax data sheet gives for adding fragrance, commonly around 82 to 85°C for soy. Weigh in your fragrance at the recommended load (often 6 to 10 percent) and stir gently for about two minutes so it binds.
- 5
Let it cool, then pour
Allow the wax to cool to the recommended pouring temperature, often around 55 to 60°C for soy. Pour slowly and steadily into the container, leaving a small gap at the top. Keep the wick centred.
- 6
Set, trim and cure
Leave it somewhere warm and still to set for several hours, ideally overnight. Trim the wick to about 5mm. Then leave it to cure for at least a week, ideally two, before the first burn.
What safety do I really need to know?
This is the part to read twice. Candle making is safe when you respect the hot wax, and dangerous when you don't.
A few more sensible habits: keep water and wet hands well away from your hot wax, work on a clear heatproof surface, keep children and pets out of the way while you pour, and let everything cool before you wash up.
The finished candle needs care too, and the UK fire services are clear on this. Always trim the wick to about 5mm before lighting, because a long wick burns high and erratically. Stand candles on a stable, heat-resistant surface in a proper holder, well away from curtains, cushions and anything else that can catch. Keep them out of draughts, out of reach of children and pets, and never leave a burning candle unattended. Put it out before you leave the room or go to bed.
Why won't my candle behave, and what can I fix?
Even with the right method, candles have moods. Here are the common ones.
Tunnelling, where it burns down the centre and leaves wax on the sides, almost always means the wick is too small for the container. Size up and test again, and always let the first burn form a full melt pool to the edges.
Sinkholes, those cavities that open up around the wick as the candle cools, are a cooling quirk of natural waxes. A gentle second top-up pour of leftover wax once the first pour has set usually fills them, and pouring a touch cooler and cooling slowly helps prevent them.
Frosting, the white crystalline film you sometimes see on soy candles, is completely normal and harmless. It's just the natural wax crystallising. Pouring at the right temperature and warming your containers slightly first can reduce it, but it never affects the burn.
Poor scent throw usually comes down to too little fragrance, fragrance added at the wrong temperature, or not enough curing time. Check your load, mind your temperatures, and give it that full week or two to cure.
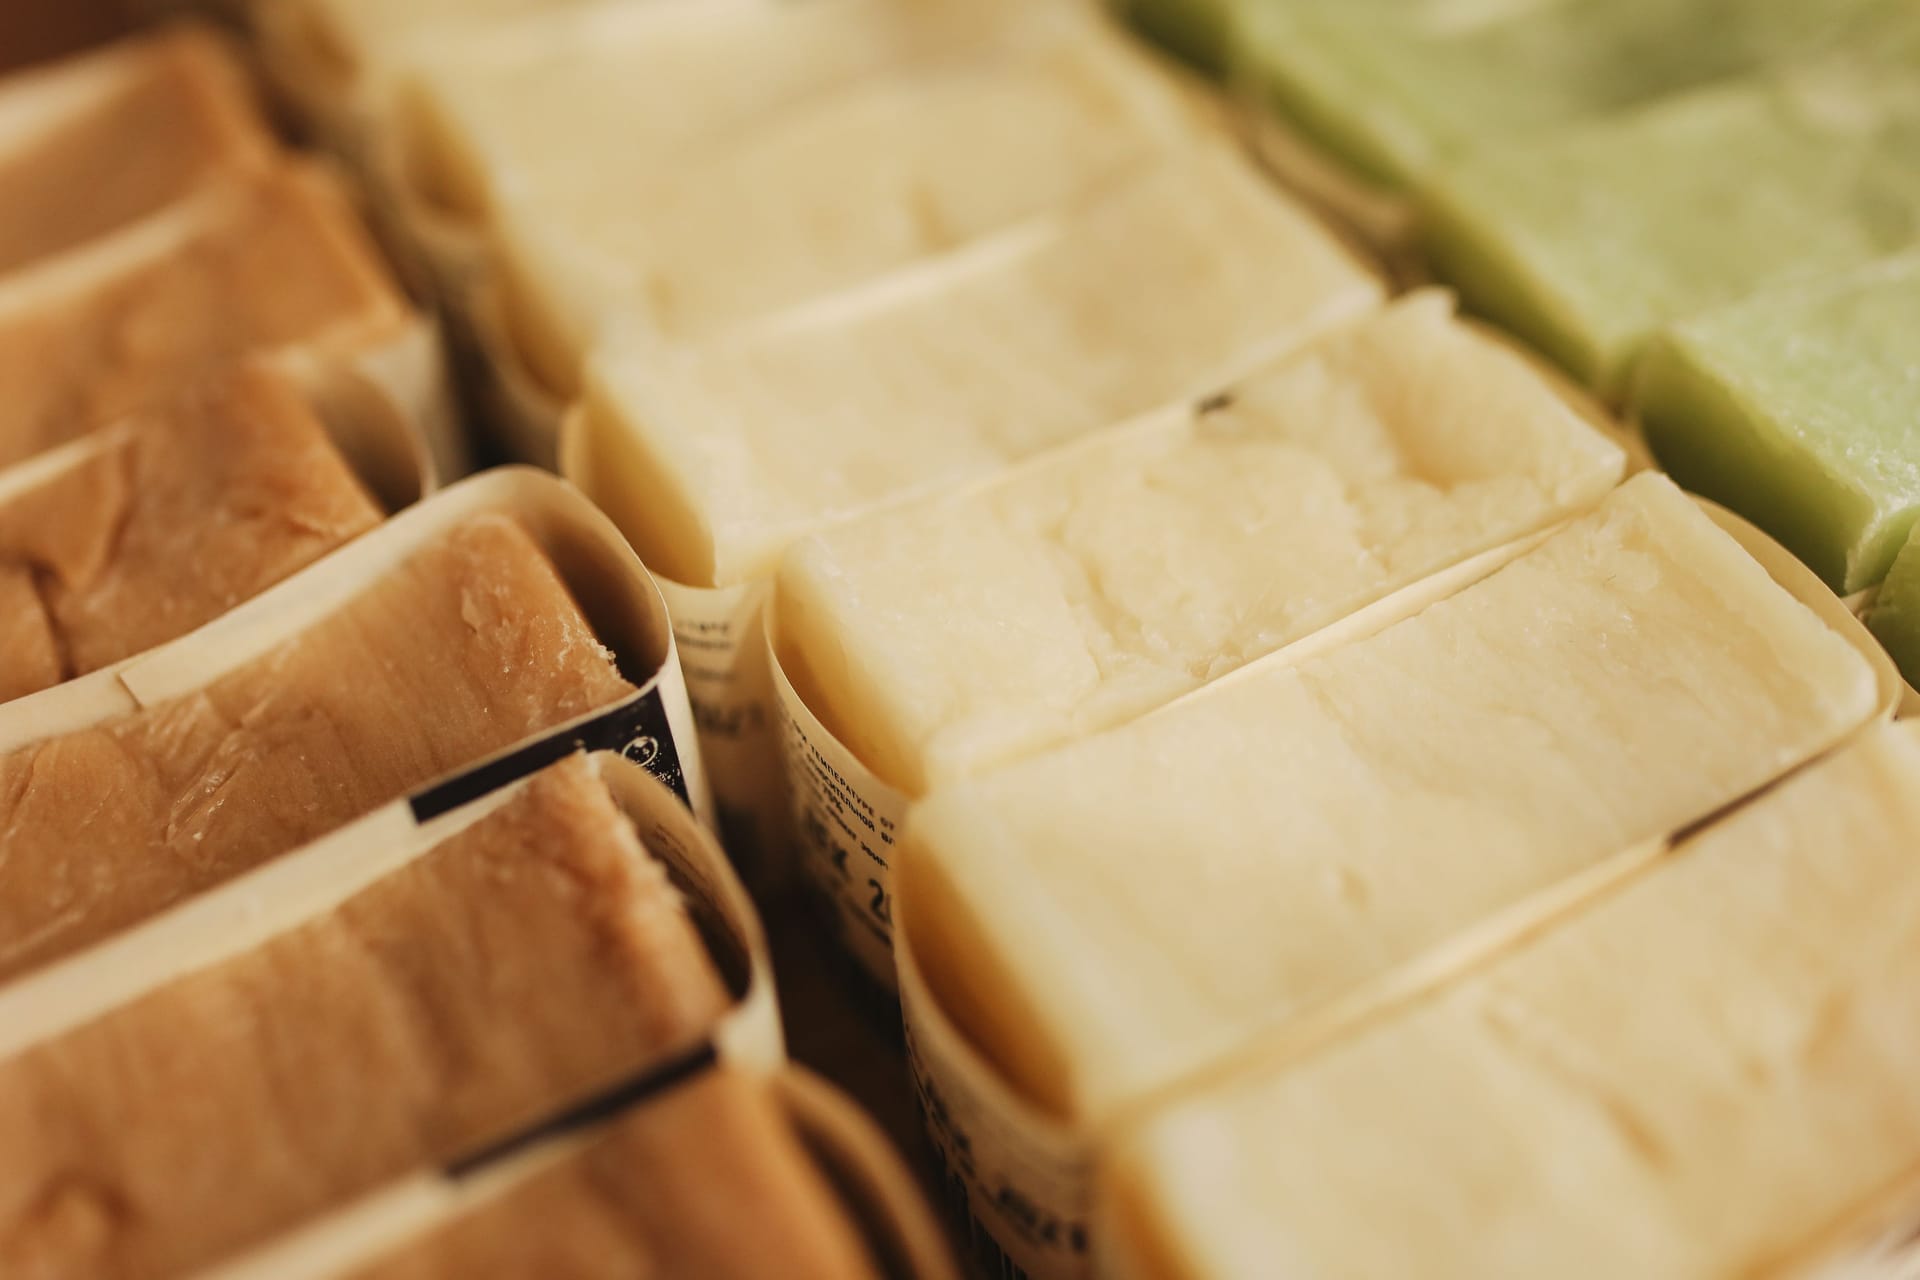
Once you've made a batch or two you'll get a feel for your wax and your containers, and the whole thing becomes second nature. From here, it's a short hop to the rest of the Natural Home crafts, and if you fancy another satisfying project, our guide on making soap at home in the UK is a natural next step.
Frequently asked questions
Sources
- Wick size chart guide for candle makers , Supplies for Candles
- A beginner's guide to soy wax candle making , Northumbrian Candleworks
- Candle safety at home , Scottish Fire and Rescue Service
- Candle making wick size chart and guide , The Soap Kitchen
Kit for this job (Ad)

Moldmaster 1.2 kg Superior Soy Wax, White
Check price on Amazon →
Australian Sandalwood Essential Oils - 100ML, Pure Premium Natural Oil for Hair Care, Sandalwood Oil for Diffuser, Body Skin Care, Aromatherapy, DIY Candle, Soap Making
Check price on Amazon →
The Natural Soap Making Book for Beginners: Do-It-Yourself Soaps Using All-Natural Herbs, Spices, and Essential Oils
Check price on Amazon →
Soy Wax for Candle Making,Candle Wax,Candle Making Kit,Candle Making Supplies 960g Soy Wax,Candle Dyed Wax,Candle Wick Sticker,Candle Making Kits for Adults Beginners-Wax Melt Kit,Make Your Own Candle
Check price on Amazon →We may earn a small commission, at no cost to you. We only list kit we'd use.
Written by
UK Homesteading Team
Editorial team
The UK Homesteading editorial team, offering UK-specific, evidence-led guidance on growing, keeping, preserving and the law.