Beekeeping has a reputation for being expensive to start, and it is true that a first hive plus a full suit plus the bees is not pocket money. But the kit list itself is surprisingly short. The British Beekeepers Association boils the minimum down to a handful of things: a hive, protective clothing, a smoker and fuel, a hive tool, a feeder and the bees. Almost everything else you will read about, from queen-marking cages to honey extractors, is either optional in year one or something you can borrow from your association.
This guide walks through that kit the way you will actually use it, grouped by job rather than dumped in one long list. First a word on the one thing to do before you spend anything, then the hive, your protective gear, the hand tools, feeding, a quick word on the harvest, and finally the bees themselves. If you are still deciding whether beekeeping is for you at all, start with our beginner's guide to keeping bees and come back here for the shopping list.
Before you buy a single thing: join, learn, find a mentor
This is the most important section on the page, so it comes first. The BBKA is blunt about it: contact your local association and, ideally, do a beginners' course and get a season's hands-on experience before you invest in equipment and bees. Beekeeping is a craft you learn by standing at an open hive with someone who knows what they are looking at, not from a catalogue.
There are hundreds of local BBKA area associations and branches across the country. Most run taster days and an "Introduction to Beekeeping" course over the winter, many can lend you equipment like an extractor, and a good number will pair you with a mentor for your first year. That mentor is worth more than any gadget: someone at the end of the phone when you open the hive and cannot work out what you are seeing. Find your nearest branch through the BBKA's "Find Beekeeping Near You" page.
The hive
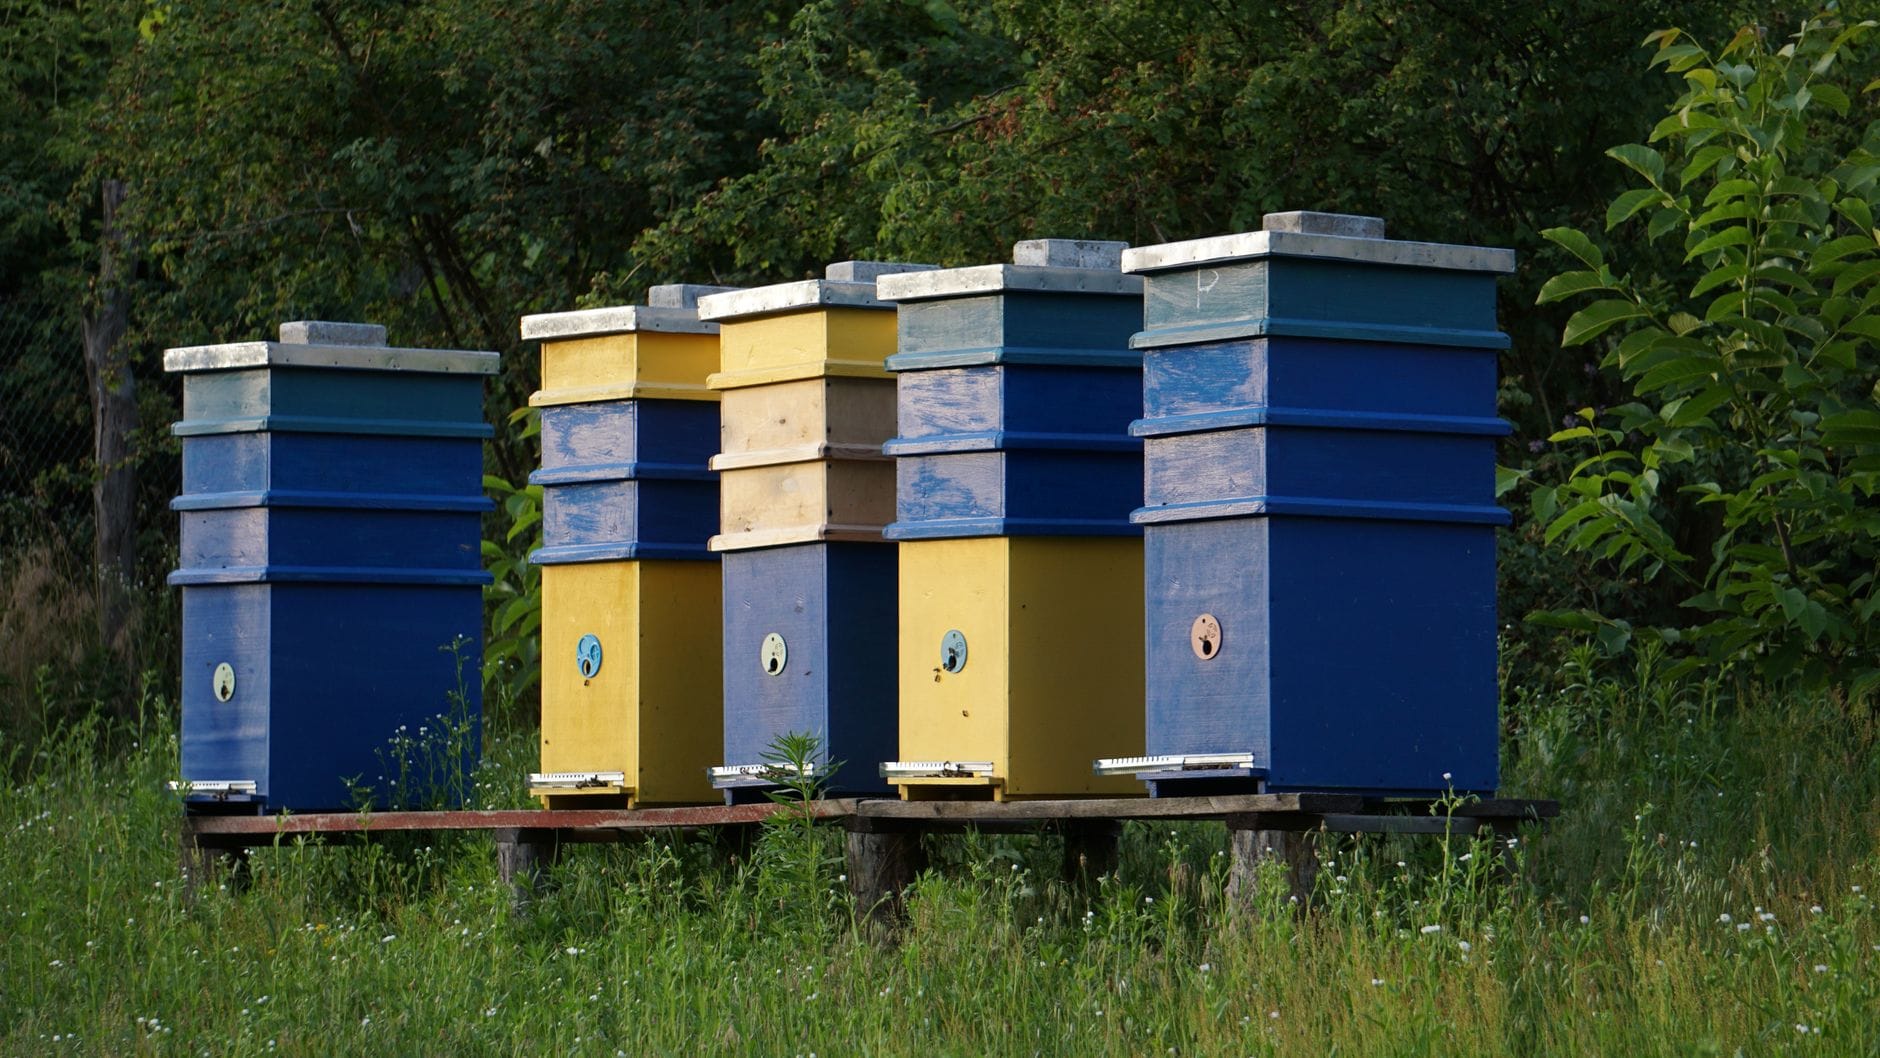
A beehive looks like a stack of wooden boxes, and essentially it is, but each part has a job. From the ground up, a standard framed hive is made of these parts:
- Stand. Keeps the hive off the damp ground and at a comfortable working height.
- Floor. The base the colony sits on. A mesh (open) floor is now standard, as it helps with ventilation and monitoring for varroa mite.
- Brood box. The main box where the queen lays and the colony raises young. This is the heart of the hive.
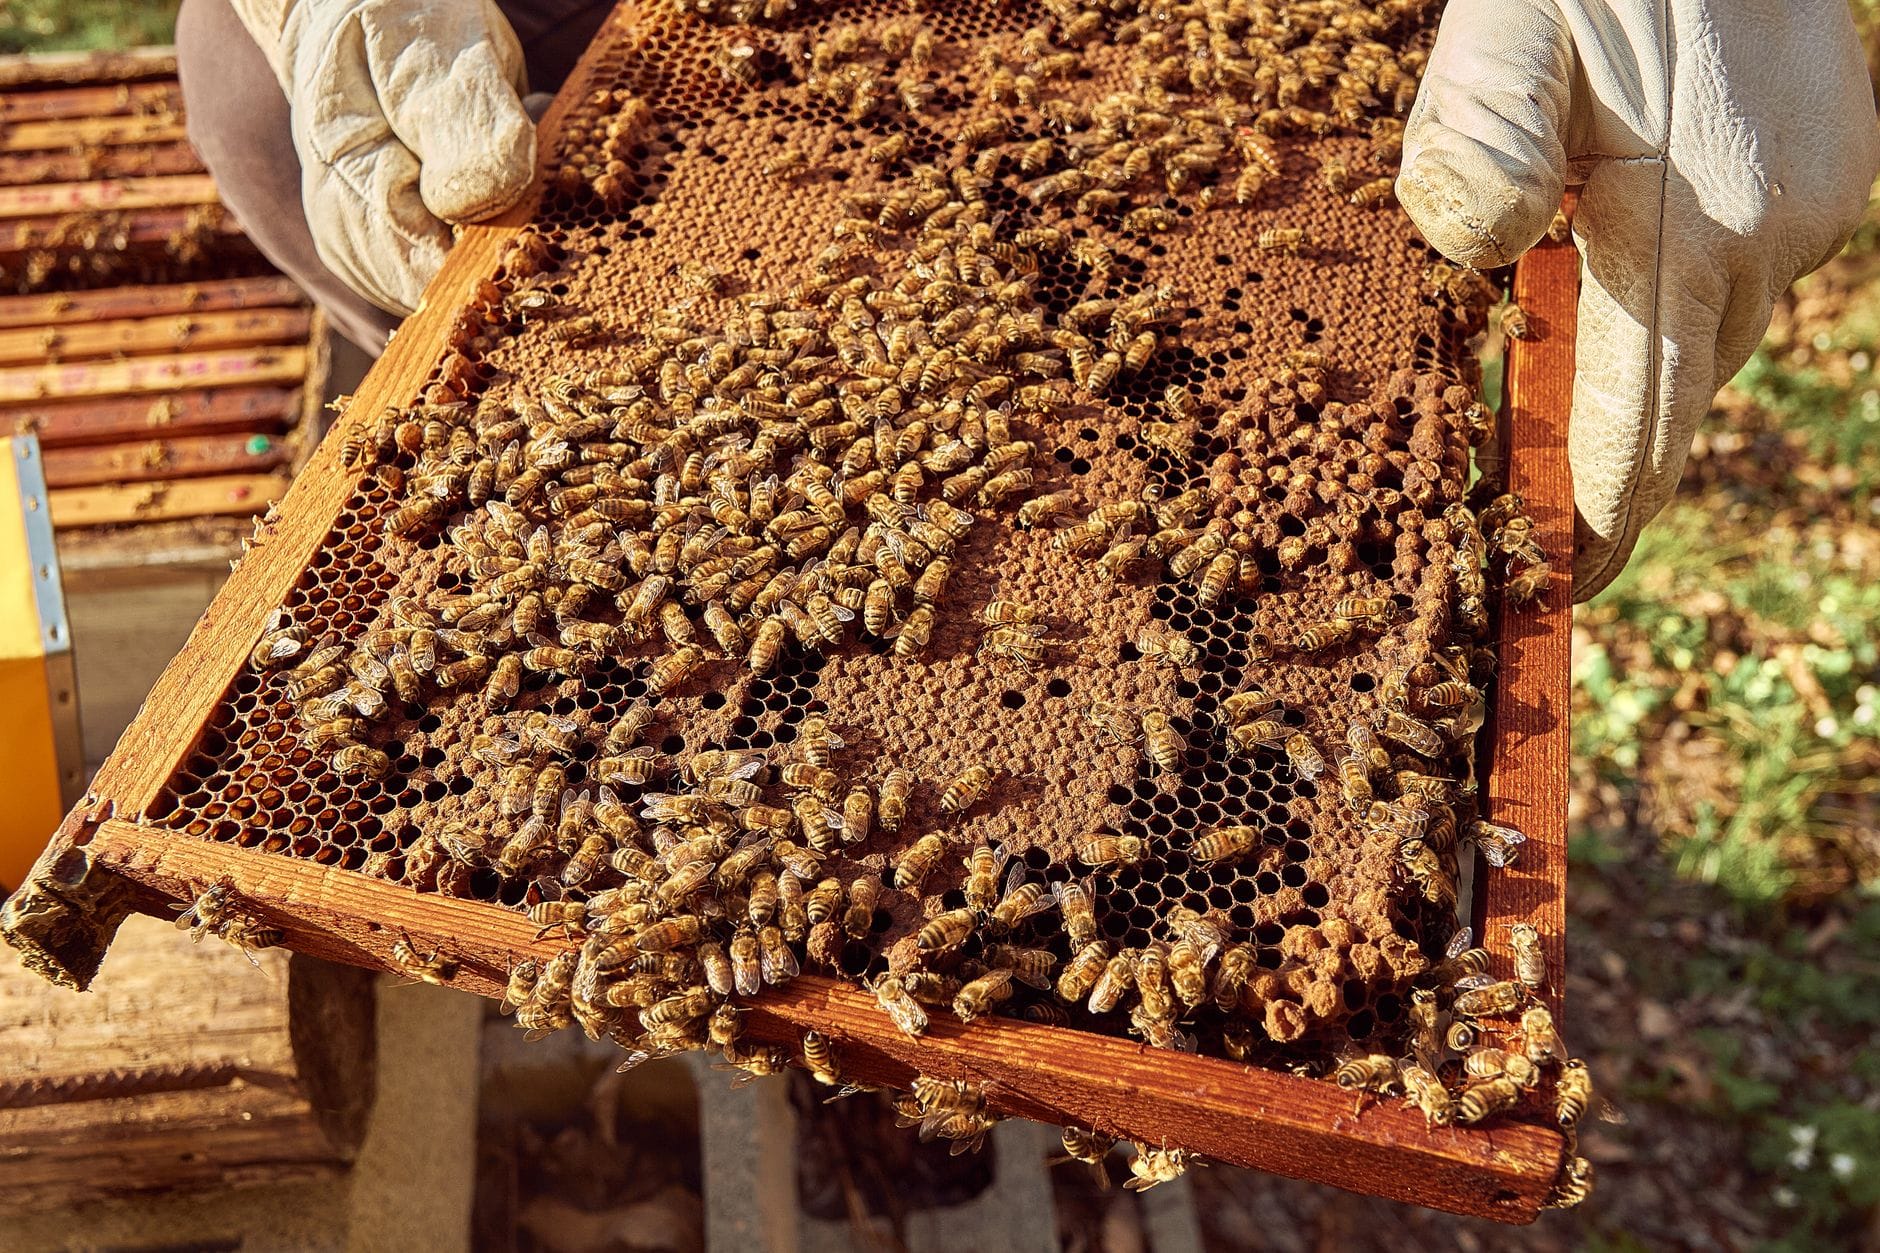
- Frames and foundation. Wooden frames hung inside the boxes, each holding a sheet of wax "foundation" that the bees draw out into comb. A brood box takes around eleven or twelve frames; supers take a similar number of shallower ones. Buy wired foundation, which is strong enough to survive being spun in an extractor.
- Queen excluder. A grid that lets workers through but is too narrow for the larger queen, so she stays down in the brood box and your honey supers stay free of brood.
- Supers. Shallower boxes that go above the excluder, where the bees store surplus honey for you to harvest. Start with a couple.
- Crown board. A flat cover that sits over the top box, under the roof, and gives you a way to feed and clear bees.
- Roof. The lid, usually metal-topped to shrug off the British weather. On an exposed site you weigh it down with a brick.
The most common hive in the UK is the National, which is exactly why it is the sensible first choice: parts, frames and secondhand kit are everywhere, and any UK beekeeper you meet will know it inside out. There are other patterns (WBC, Langstroth, Commercial, and the frame-free top-bar hives), and there is a genuine choice to make between timber and cheaper, lighter polystyrene. We cover all of that in the sibling guide to types of beehive, so here we will just say: for most beginners, a National in cedar or poly is a safe, well-supported start.
A quick note on secondhand gear. It is tempting, and it can save real money, but old woodwork can carry disease spores that survive for years. If you do buy used, scorch the inside of every wooden surface with a blowtorch to sterilise it, and never buy used comb or frames. Small items like queen cages are cheap enough to always buy new.
Protective gear
You do not need to look like a spaceman, but you do need to feel calm and protected, because nervous, jerky handling is what upsets bees in the first place.
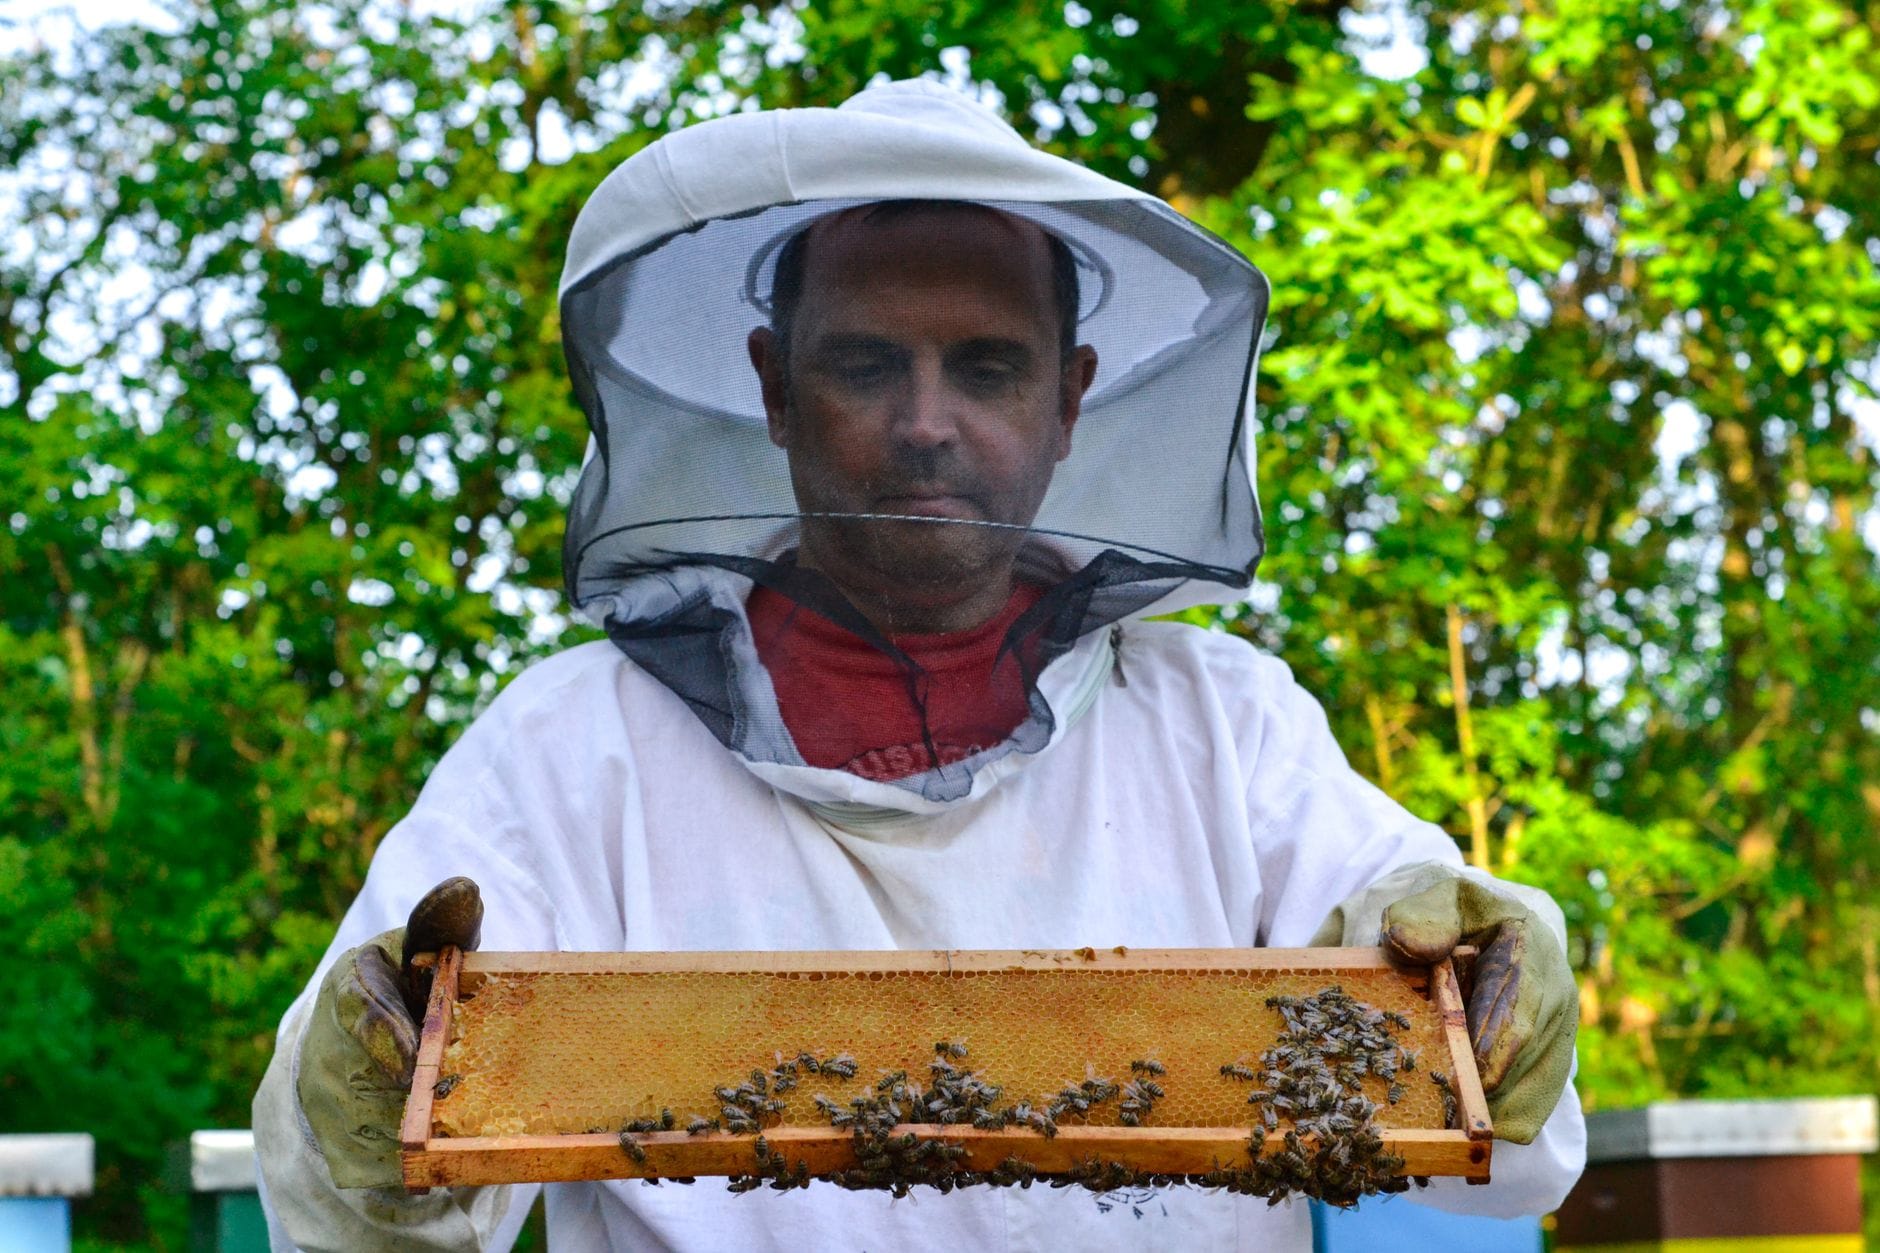
- A suit or a smock with a veil. The veil is the non-negotiable part, keeping bees away from your face and eyes. Most people go a step further with either a smock (a jacket with a built-in veil) or a full bee suit (an all-in-one with lots of pockets). A full suit is the reassuring choice for a beginner. Look for one with a good zip and elasticated or drawstring cuffs.
- Gloves. Many experienced beekeepers use thin disposable nitrile gloves, or even work bare-handed and wash between hives, because it improves dexterity and hygiene. Beginners often prefer leather gauntlets for confidence, though they quickly get sticky with propolis and are hard to keep clean. Whatever you choose, keep them clean between colonies.
- Wellies or sturdy boots. Bees walk upwards, so tuck your suit into wellingtons or boots to stop them wandering up your trouser leg. It is a small thing that prevents a lot of stings.
The tools
Three small pieces of kit do almost all the work at the hive.
- Smoker and fuel. A puff of cool smoke calms the colony and masks the alarm scent, so a good smoker is one of your most-used tools. Buy a decent stainless-steel one with a protective cage and replaceable bellows; £40 to £50 buys a smoker that lasts for years. For fuel, almost any clean, dry material that smoulders works: rotten wood, cardboard, dried grass, hessian or purpose-made smoker fuel. Avoid anything treated with fire retardants or insecticides, and aim for a cool, gentle smoke.
- Hive tool. A flat steel lever for prising apart boxes and frames that the bees have glued together with propolis. The J-shaped type is popular. Buy stainless steel, buy a decent size, and honestly, buy two, because they are easy to put down in the grass and lose.
- Bee brush. A soft brush for gently sweeping bees off a frame, for example when you are clearing a super to harvest. Cheap, and worth having.
Keep a small tub of washing-soda solution and a metal scourer with you to clean the hive tool between hives; simple hygiene like this is one of your best defences against spreading disease. And from day one, keep a notebook or use a hive-record app. You are also required to keep records of any medicines you give the bees, so the habit matters.
Feeding
Bees make honey to feed themselves through winter, and sometimes they need a hand, especially a new colony building comb from scratch, or after you have taken a honey crop. So a feeder belongs in the starter kit.
There are several designs, but a simple round plastic "rapid" feeder that sits over the hole in the crown board is the easiest to start with. You feed one of two things:
- Sugar syrup made from ordinary white granulated sugar dissolved in water, used mainly in late summer and autumn to build winter stores.
- Fondant, a soft sugar paste a bit like cake icing, laid over the crown board as emergency or winter feed when it is too cold for the bees to take syrup down.
Never feed honey from an unknown source, as it can carry disease, and only ever take a honey crop that is genuinely surplus to what the colony needs for winter. Feeding is about topping up their own stores, not replacing them.
Handling the harvest
You will not need harvest equipment in your first weeks, and possibly not in your first year, so do not rush to buy it. The big-ticket item is a honey extractor, a spinning drum that flings honey out of the comb, and this is exactly the sort of thing many associations lend to members, so there is rarely any need to buy your own to begin with. You will also eventually want a settling tank, filters, a warm room and jars. All of that, plus when to take the crop and how to leave the bees enough, is covered in the sibling guide to harvesting honey, so we will not repeat it here.
Getting the bees
Buy your kit first, get it set up, then get your bees, ideally through your association so you know exactly where they have come from. There are three ways to acquire a colony, and for a beginner they are not equal.
| Option | What it is | Good for a beginner? |
|---|---|---|
| Nucleus (nuc) | A small established colony, usually on five frames, with a laying marked queen, brood at all stages and stores. Comes ready to grow. | Yes, the recommended start. Predictable, established and quick to build up. Typically £180 to £300 from a reputable UK source. |
| Package | A box of loose bees plus a caged queen, with no comb or brood. Less common in the UK. | Occasionally, but slower to establish than a nuc and needs more confident handling. Not the usual UK beginner route. |
| Swarm | A cluster of bees that has left another hive, often collected free. Origin, temperament and health unknown. | Generally not recommended as a first colony. Better once you have experience and can assess and requeen if needed. |
Whichever route you take, two rules hold. First, buy from a reputable, local source, so the bees are of known provenance, good-tempered and suited to the UK climate. Your association can point you to trusted local beekeepers. Second, the BBKA and National Bee Unit both advise against buying imported bees and queens, which risk bringing in new pests and diseases. A gentle colony of local bees is a far better start than a bargain of unknown origin.
Register on BeeBase, and know the law on disease
Once your bees are home, register them, for free, on BeeBase, the National Bee Unit's voluntary database for beekeepers in England, Scotland and Wales. It is genuinely worth doing: you get email alerts about disease and pest outbreaks near you, and you go on the list for a visit from your regional bee inspector, whose inspections are free and a real chance to learn. Registering itself is not a legal requirement, but it is the single most useful administrative thing a new beekeeper can do.
Your first shopping list, in order
Getting equipped, step by step
- 1
Join and learn first
Join your local BBKA association, book a beginners' course for the winter, and ask about a mentor. Do this before buying kit.
- 2
Buy the hive
A National hive: stand, mesh floor, brood box, frames and wired foundation, queen excluder, two supers with frames, crown board and roof. Add a spare brood box for swarm control.
- 3
Kit yourself out
A bee suit or smock with veil, gloves and wellingtons. Comfortable, well-fitting protective gear makes you calmer, which makes the bees calmer.
- 4
Get the tools
A good stainless-steel smoker plus clean fuel, one or two hive tools, and a bee brush. Add a tub, scourer and washing soda for hygiene, and a notebook.
- 5
Add a feeder
A simple rapid feeder, plus white granulated sugar for syrup and some fondant for winter or emergencies.
- 6
Then, and only then, get bees
Order a nucleus of good-tempered local bees through your association or a reputable supplier. Avoid imported bees and unknown swarms.
- 7
Register and stay legal
Register free on BeeBase for disease alerts, keep records of any medicines, and learn to recognise notifiable disease so you can report it if you ever need to.
Get those seven steps in that order and you will start with the right kit, healthy bees and the support network that actually keeps a colony alive. The gear matters, but the association, the course and the mentor matter more. Everything on this list is available and well understood in the UK, so you are never far from someone who can help you set it up.
This guide is general information for UK beginners, not veterinary or medical advice. Bee law and disease status can change, so confirm the current position with the National Bee Unit (nationalbeeunit.com) and your local BBKA association before acting. Anyone with a known venom allergy should seek medical advice before keeping bees. Last checked July 2026.
Frequently asked questions
Sources
- Becoming a Beekeeper , British Beekeepers Association (BBKA)
- BeeBase: Home , Animal and Plant Health Agency (APHA) National Bee Unit
- Legal responsibility of beekeepers , Animal and Plant Health Agency (APHA) National Bee Unit
- Foulbrood (notifiable) , Animal and Plant Health Agency (APHA) National Bee Unit
- Honey bees: protecting them from pests and diseases , Animal and Plant Health Agency / Defra (GOV.UK)
- Beginners' guide , London Beekeepers' Association
- Buying bees , London Beekeepers' Association
Kit for this job (Ad)

Beekeeping For Dummies
Check price on Amazon →
New Bee Hive Smoker Stainless Steel w/Heat Shield Beekeeping Equipment
Check price on Amazon →
8oz Jam Jars with Lids and Sticker Labels, 24 Pack, Reusable Hexagonal Canning Storage for Preserves, Jelly, Herbs, and Spices, Clear Glass
Check price on Amazon →
Apiguard 10 Pack for Varroa Mite Control
Check price on Amazon →We may earn a small commission, at no cost to you. We only list kit we'd use.
Written by
UK Homesteading Team
Editorial team
The UK Homesteading editorial team, offering UK-specific, evidence-led guidance on growing, keeping, preserving and the law.