Heating a house off-grid in Britain is less about one clever gadget and more about getting a few unglamorous things right. Our winters are rarely brutal, but they are long, grey and damp, and that damp is the whole game. Get your home tight and your wood dry and you will be toasty on a fraction of the fuel your neighbour burns. Get it wrong and you will feed a hungry, smoky fire all winter and still feel the chill. Here is how to do it properly, and safely.
What's the best off-grid heat source in the UK?
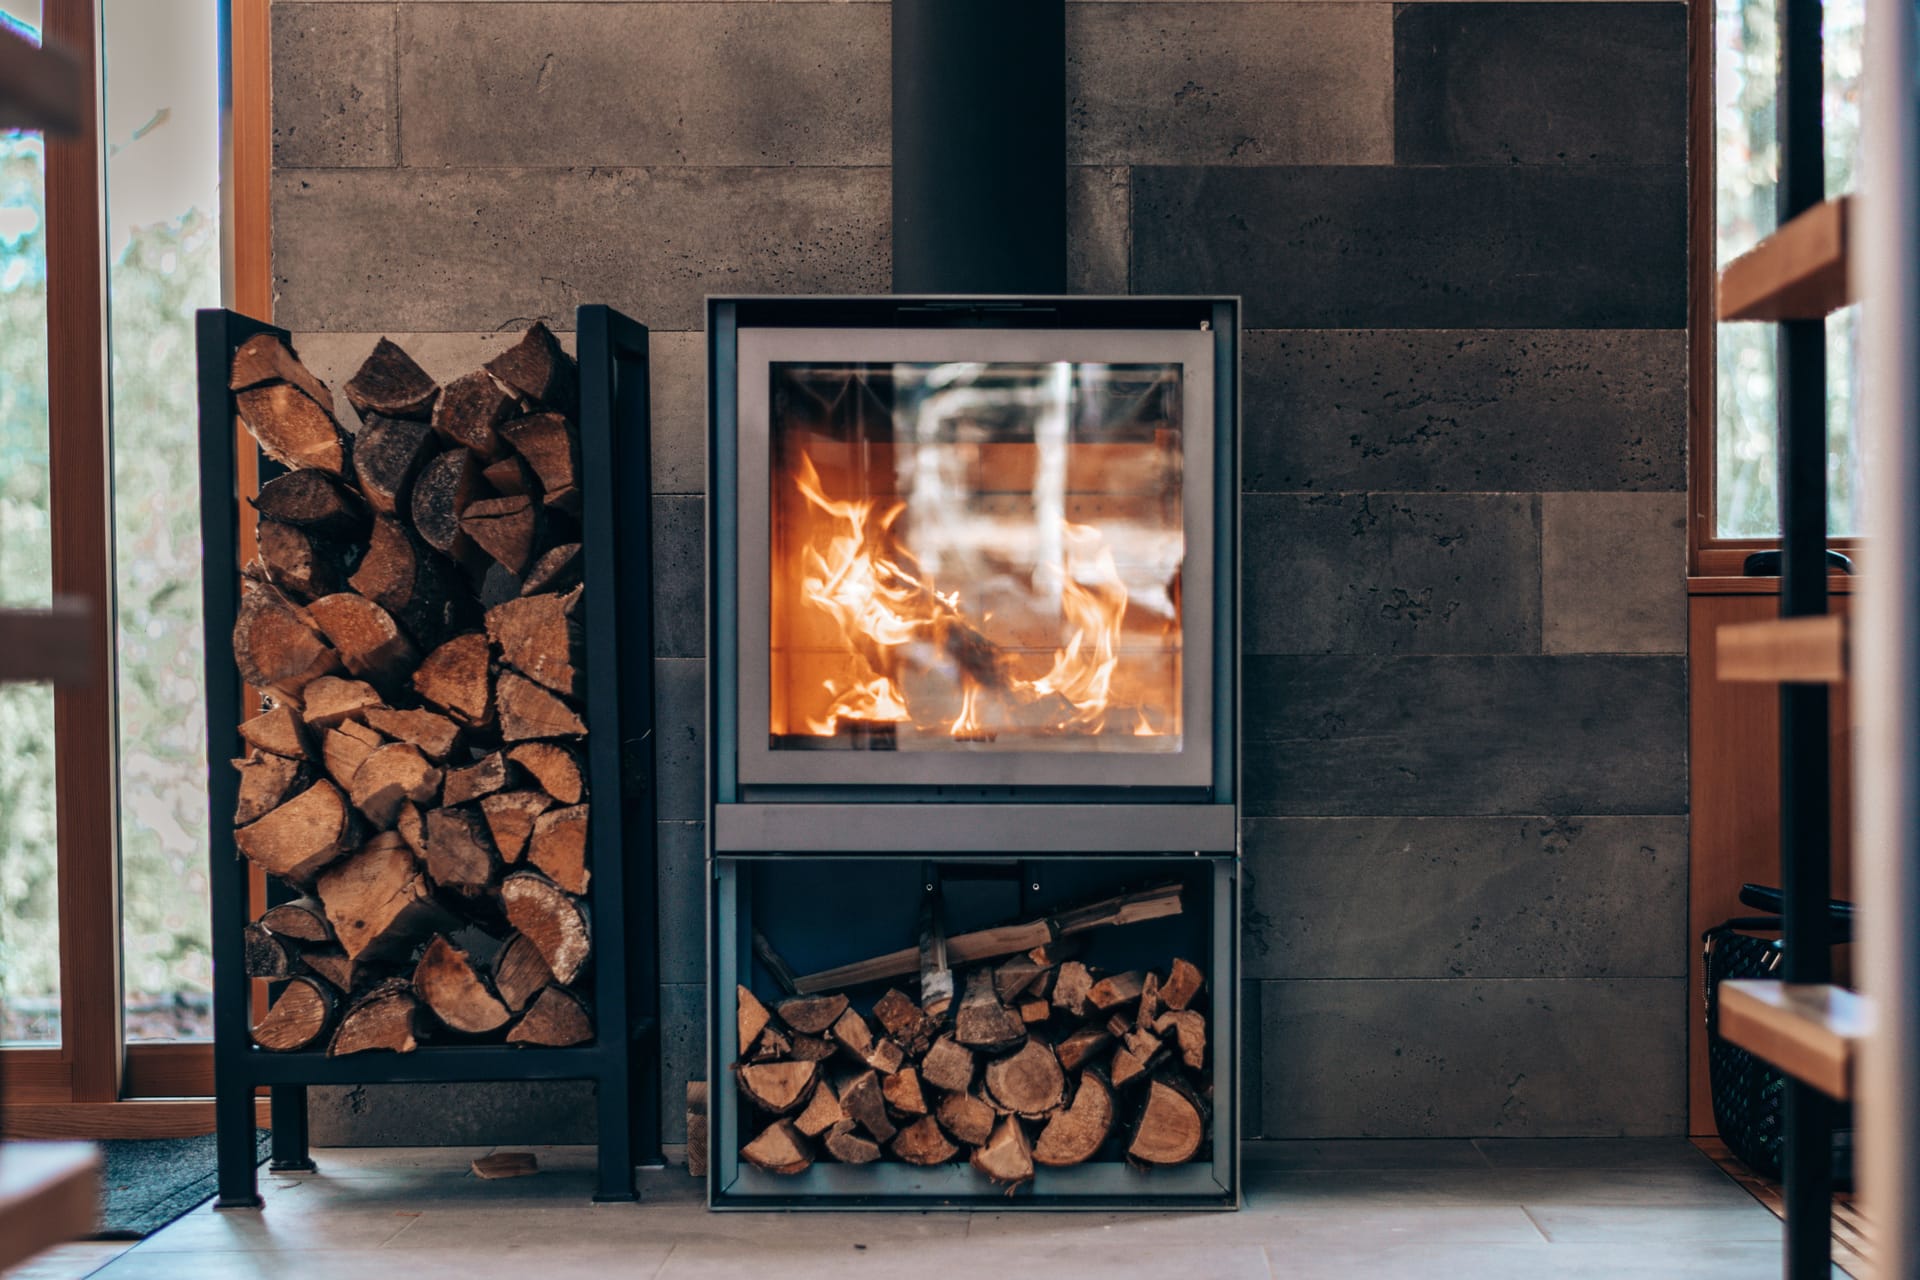
For most off-grid homes in this country, the answer is wood. It is renewable, you can store a year's worth in a shed, and it does not care whether the grid is up or down. A wood-burning stove sits at the heart of the great majority of off-grid British homes, and once you have burned your first free trailer-load of storm-fallen ash, you will understand why.
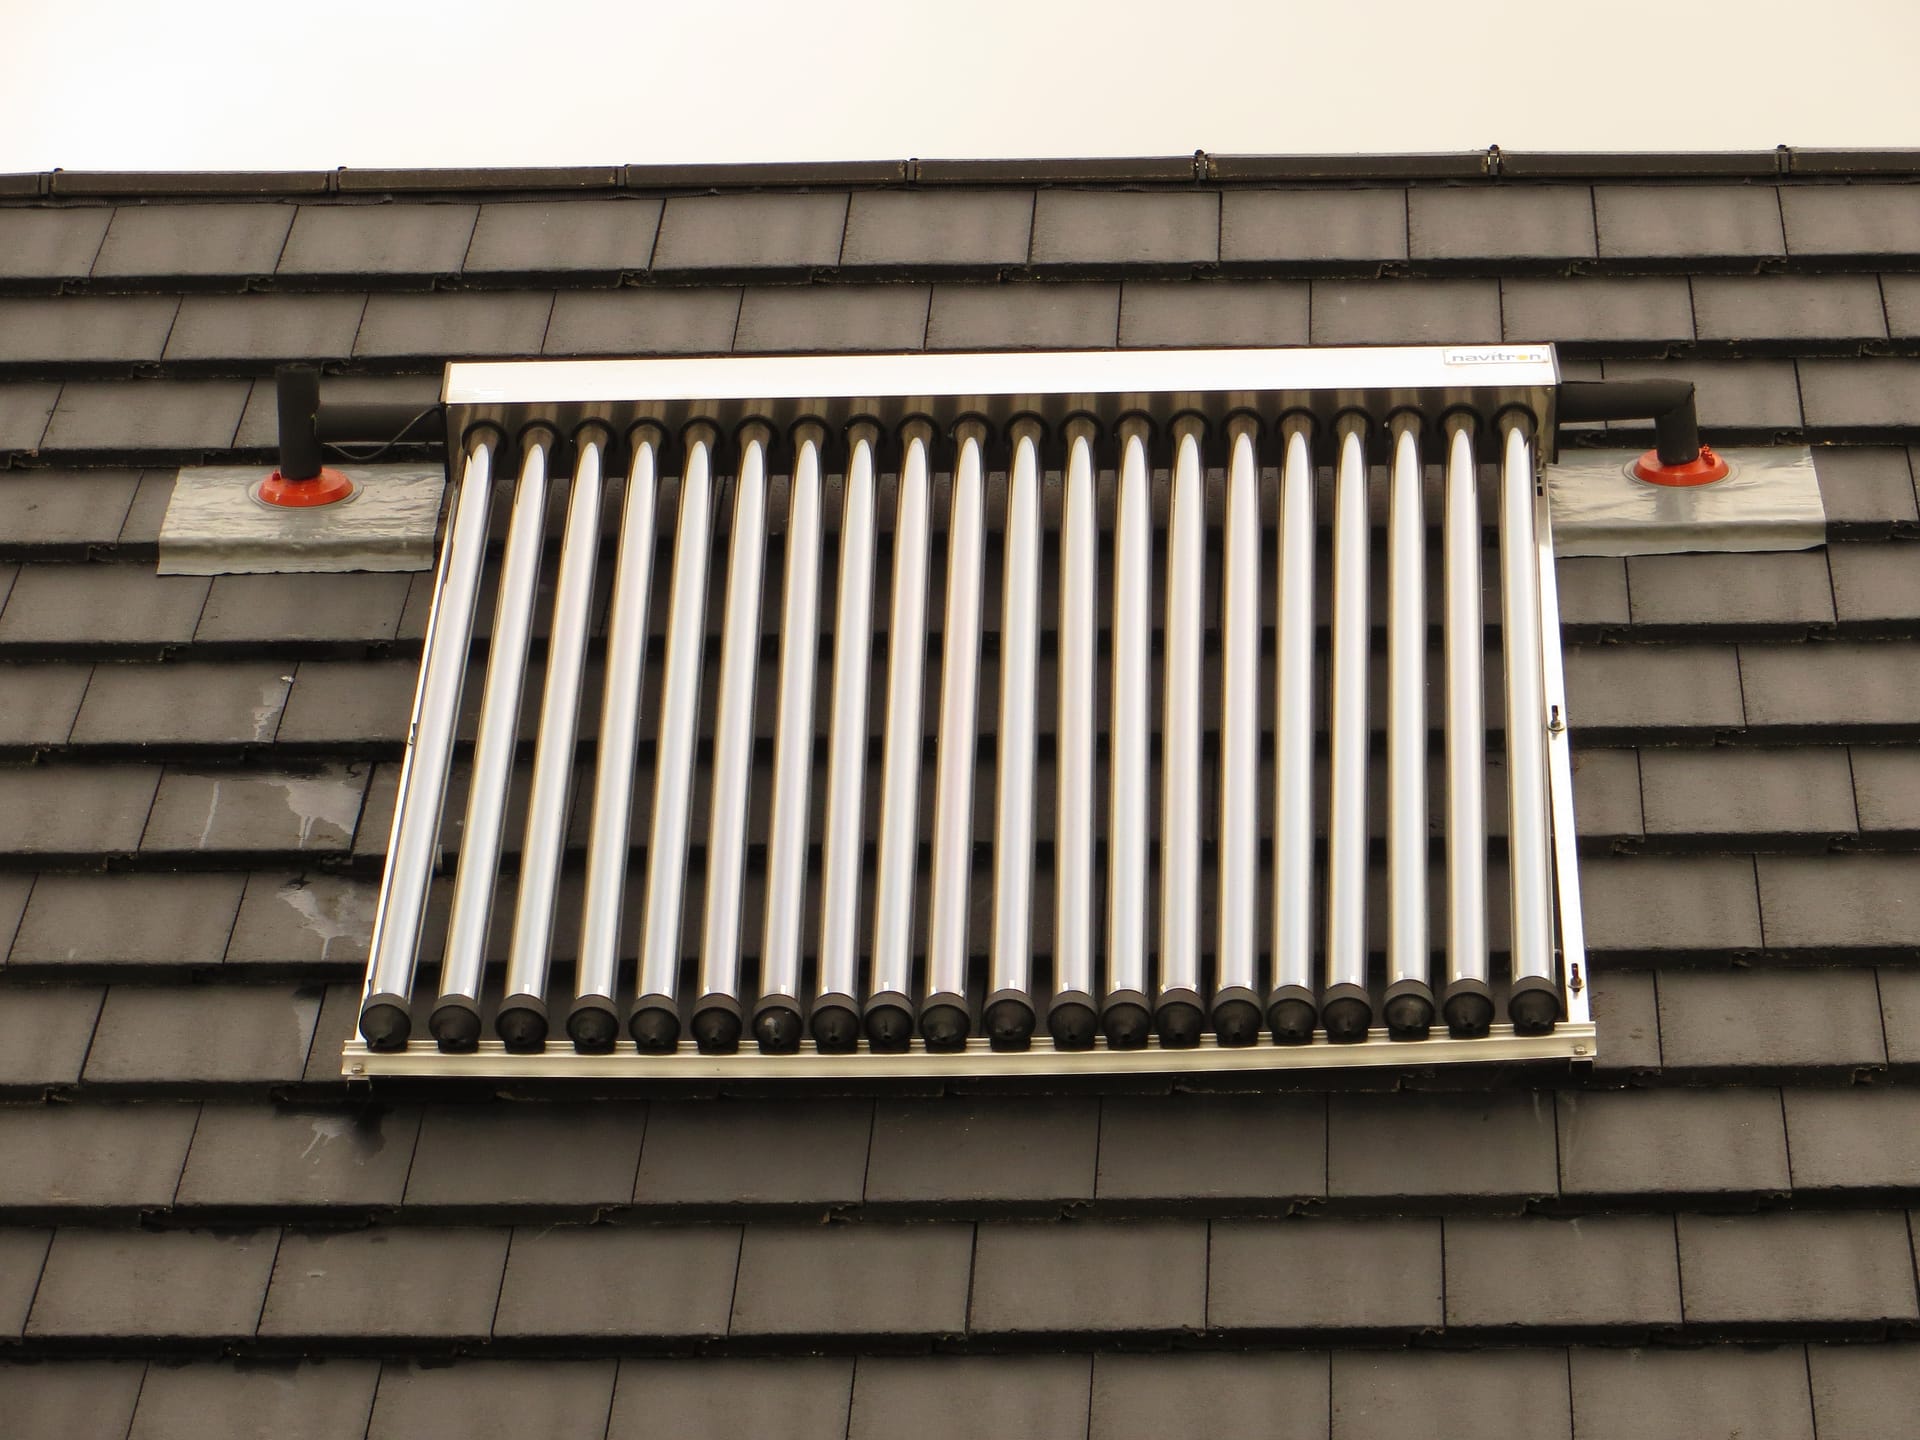
That said, do not put all your eggs in one log basket. Wood heat is at its best as the main source with a smaller backup for the coldest weeks, for mornings when you cannot be bothered to lay a fire, or for when you are away and want to keep the pipes from freezing. Bottled LPG heaters, a solid-fuel range, or a bit of stored solar-electric heating all have their place as a second string. We cover the wider picture of running a home this way in our guide to living off-grid in the UK.
The best heat source is the one you have fuel for in February, not the one that looked clever in the brochure.
Insulation first: the cheapest heat there is
I know you came here for stoves. Bear with me, because this is the part that saves you the most money and effort. Every kilowatt of heat you do not lose through the roof, the walls and the gaps round the doors is a kilowatt you never have to make.
The order that gives the best return for the least outlay is roughly: draught-proofing, loft insulation, then floors and walls. Draught-proofing is cheap, quick and often the single biggest win in an old British house. A cold home leaks warm air out of a hundred little gaps, and a fire cannot keep up with that. Loft insulation to a decent depth is the next obvious job. Heavy curtains, a chimney draught excluder for unused flues, and a door snake or two all add up.
The point is blunt. A poorly insulated house might need a 10kW stove roaring flat out to feel comfortable, while the same house, sorted, is happy with 5kW ticking over. One of those homes burns twice the wood and costs you twice the log-splitting. Insulate first. Then size the stove to the house you actually have.
Wood burners: sizing, seasoning and the rules
Sizing. Bigger is not better with a stove. An oversized burner either cooks you out of the room or, worse, gets throttled down and burns dirty, which tars up your flue and pumps out smoke. A rough industry method is to take the room volume in cubic metres and divide by 14 for an average, reasonably insulated room. For a modern, well-insulated space divide by 25. For a cold, poorly insulated one, divide by 10. In practice a typical UK living room lands around 4 to 5kW, and a lot of people buy far more stove than they need. If you want to heat more than one room, look at a stove with a back boiler feeding radiators rather than simply going bigger.
Seasoning. This is where most people go wrong. Wood must be seasoned down to under 20% moisture content before you burn it. Wet wood barely heats the room, coats your chimney in flammable tar, and chokes the air outside. In our damp climate, air-drying split hardwood such as ash, oak or beech takes roughly one to two years, stacked off the ground, open to the wind and covered on top only. Softwoods like pine dry quicker, around six to twelve months. The only honest way to know is a moisture meter, which costs a few pounds and settles every argument. Kiln-dried logs are ready straight away but you pay for the privilege.
- 1
Buy or split your logs a full year (ideally two for hardwood) before you plan to burn them.
- 2
Stack them off the ground on pallets or bearers, in single rows if you can, in a sunny and breezy spot.
- 3
Cover only the top to keep rain off. Leave the sides open so air moves through the pile.
- 4
Bring a week's worth indoors before use so the surface dries further in the warm.
- 5
Check with a moisture meter on a freshly split face. Under 20% is the target before it goes on the fire.
The rules. Two legal points catch people out. First, in a smoke control area, and most English towns and cities are one, you cannot burn wood on an ordinary open fire at all. You may only burn wood in a DEFRA-exempt appliance, a stove specifically tested and approved to burn it cleanly. Your council will confirm whether you are in a smoke control area, so check before you buy. Second, if you buy logs in volumes under two cubic metres, they must by law be certified "Ready to Burn", which guarantees the moisture is 20% or less. Traditional house coal has also been phased out for domestic sale. None of this stops you heating with wood. It just means buying the right appliance and the right fuel, or seasoning your own properly.
Backup heat for the coldest weeks
Even a committed wood-burner wants a plan B. The classic UK off-grid backup is bottled LPG, typically propane, running a flueless cabinet heater or a wall-mounted unit. It is instant, storable and independent of the grid, though it does produce moisture and combustion gases indoors, so those heaters need ventilation and are not for bedrooms or unattended overnight use. Read the manufacturer's instructions and do not ignore them.
Thermal mass is your quiet ally here. A stove sitting against a masonry chimney breast, a stone or tiled hearth, or even large water containers near the fire will soak up heat while the stove burns and release it slowly for hours after it goes out. It smooths the temperature swings and means the house does not go stone cold the moment the last log burns down. Solid-fuel ranges like the traditional cast-iron cookers double as heat stores and will run cooking, hot water and warmth off one firebox, which is why they have earned their place in so many rural kitchens. For deep-winter resilience, the winning combination is usually a good stove, a solid backup, and enough thermal mass to carry the heat through the night.
Staying safe: carbon monoxide and chimneys
This is the part I will not soften to sound friendly, because it is the part that kills people. Burning any fuel indoors produces carbon monoxide, a gas you cannot see, smell or taste. A blocked flue, a badly fitted stove or a smouldering fire on wet wood can fill a room with it, and the early symptoms feel like ordinary tiredness or a headache, so people go to sleep and do not wake up.
Get the installation right and the alarm becomes your backstop rather than your first line of defence. A stove and flue should be installed either by a HETAS-registered installer, who can self-certify the work, or signed off by your local authority Building Control. Have the chimney swept at least once a year, more if you burn a lot, by a professional sweep. Never burn wet wood, painted or treated timber, or household rubbish, all of which foul the flue and raise the risk. And keep a working smoke alarm in the house as a matter of course. Do these few things and wood heat is not just warm and cheap, it is safe for the long haul.
Off-grid heating in the UK is not complicated, but it does reward doing the boring bits properly. Seal the house, dry the wood, size the stove sensibly, respect the rules and fit the alarm. Do that and a British winter holds no fear at all.
This guide is general information, not formal legal, financial, medical or veterinary advice. UK rules, prices and best practice change, and some rules differ across England, Scotland, Wales and Northern Ireland, so always check the current position with the relevant official source (such as gov.uk, the NHS, the FSA, DEFRA or APHA, or the RHS) or a qualified professional before acting. Last checked July 2026.
Frequently asked questions
Sources
- Smoke control areas: the rules , GOV.UK
- Selling wood for domestic use in England (Ready to Burn) , GOV.UK (DEFRA)
- Approved Document J: Combustion appliances and fuel storage systems , GOV.UK / Ministry of Housing
- How to season firewood , HETAS
Kit for this job (Ad)

Kidde 5CO Carbon Monoxide Alarm and Detector with AA Batteries - 10 Year Sensor Life CO Alarm for Home
Check price on Amazon →
Kidde Carbon Monoxide Alarm
Check price on Amazon →
Brennenstuhl Moisture Detector MD (Moisture Meter/Moisture Meter for Wood or Building Materials, with LCD Display)
Check price on Amazon →
General Tools Moisture Meter, Pin Type, Digital LCD (MMD4E)
Check price on Amazon →We may earn a small commission, at no cost to you. We only list kit we'd use.
Written by
UK Homesteading Team
Editorial team
The UK Homesteading editorial team, offering UK-specific, evidence-led guidance on growing, keeping, preserving and the law.