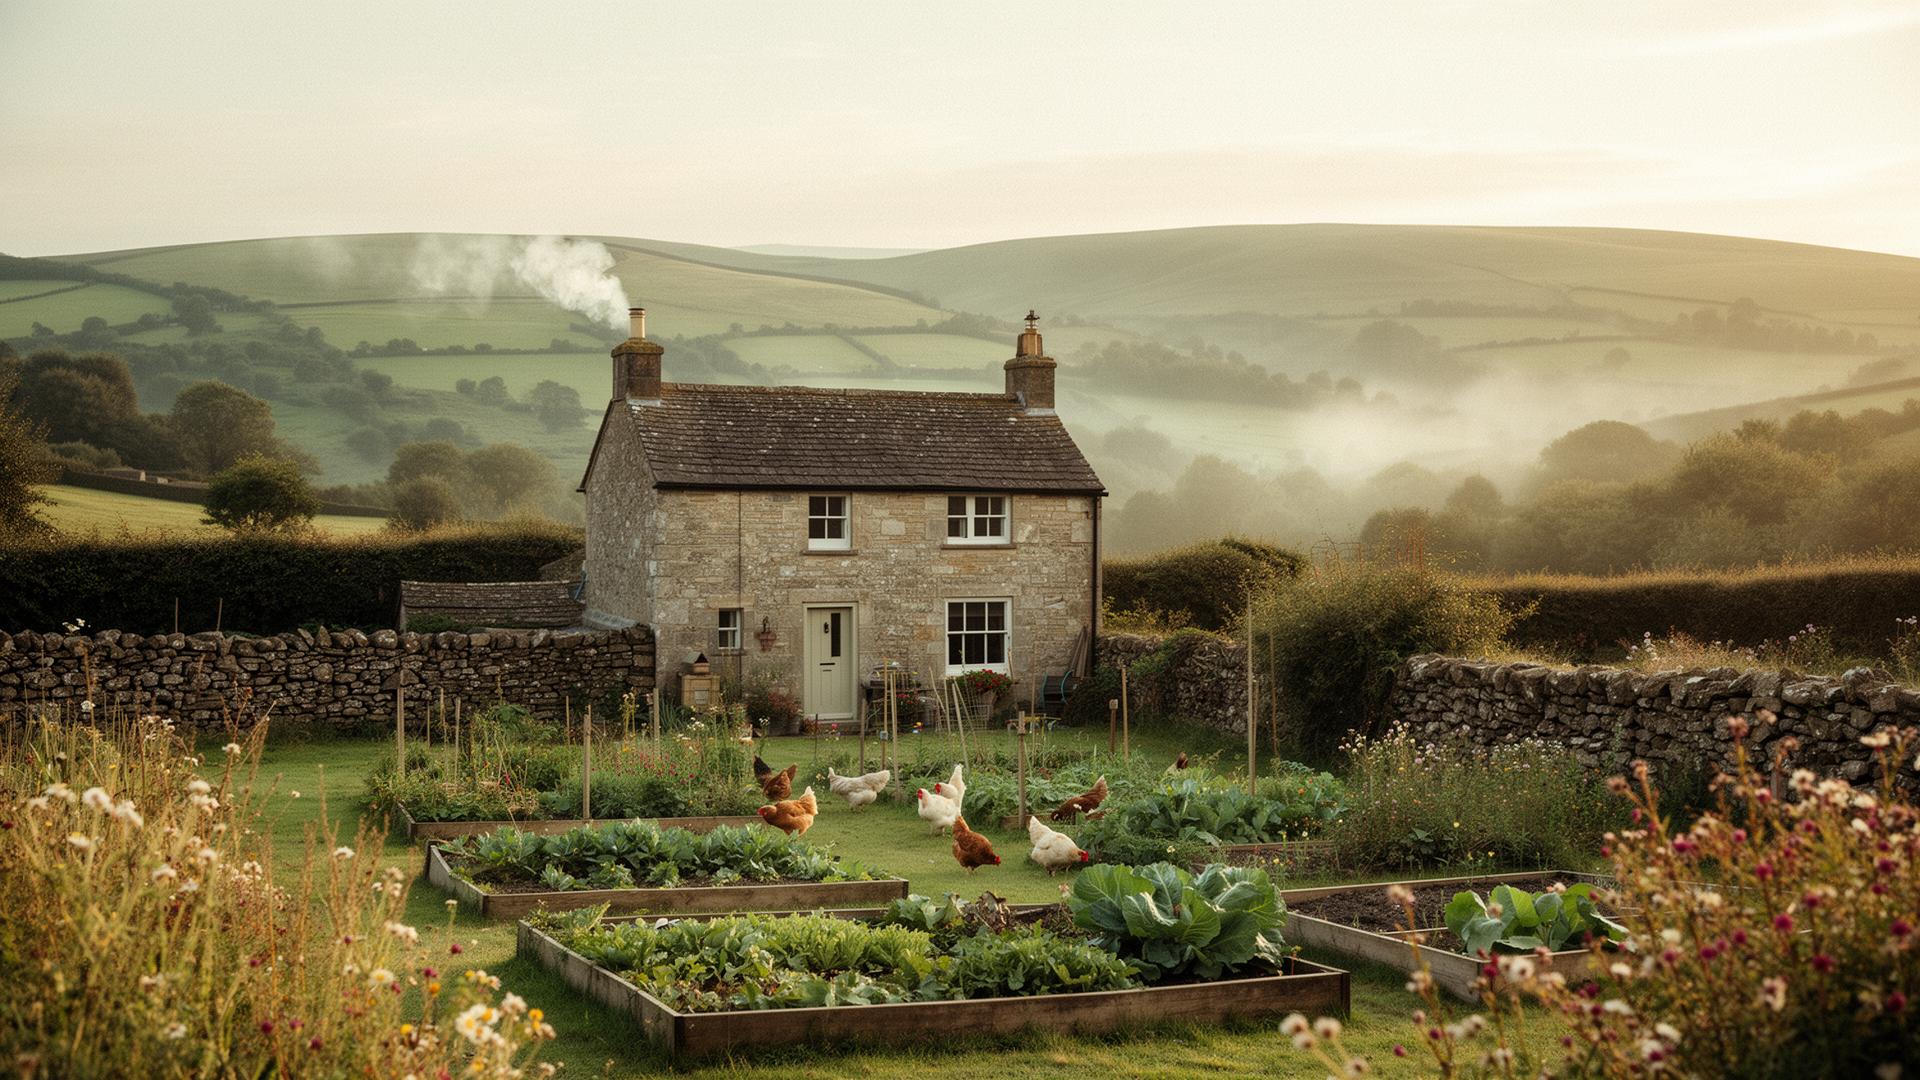
There is a particular calm that comes over a person with a knife, a stick and no reason to hurry. Whittling is the oldest and simplest of the wood crafts: no bench, no power tools, no noise, just one sharp blade shaping a piece of wood a shaving at a time. It fits a homesteading life almost perfectly. It is portable enough for the fireside, the field gate or the passenger seat, it turns a scrap of hedgerow into something you actually made, and it is about as screen-free as an evening gets. It also costs next to nothing to try.
This is a gentle way in, not a masterclass. Whittling is really learned with the knife in your hand, so what follows is the map: the wood to reach for, the one knife you need, the handful of safe cuts, the blood circle rule that keeps your thumbs where they belong, a simple method to follow, and the classic first projects. Read the safety caution below before you pick up a blade.
Why whittling suits a homestead
Whittling belongs to the make-do-and-mend spirit of a smallholding. It asks for one tool and a bit of wood, and it gives back tent pegs, spoons, spreaders, toggles, dibbers and little figures, useful things made from material that would otherwise have gone on the fire. There is real wellbeing in it, too. The slow, repetitive slicing is quietly meditative, the sort of hands-busy, mind-idle work people take up precisely to wind down at the end of a long day outdoors.
It is also gloriously portable. A knife and a stick drop into a coat pocket, so whittling comes with you anywhere: the fireside, the bench by the polytunnel, the gate while you keep half an eye on the stock. And if you manage a bit of woodland or a hedge, it closes a satisfying loop, because the offcuts from coppicing for firewood are exactly the straight, knot-free lengths a whittler wants. The craft ties directly back to the land it came from.
The wood: green versus dry, and the easy beginner choices
Wood makes or breaks the whole experience, so it pays to start with the kind that helps you. There are two things to understand: how wet it is, and how hard it is.
Green versus dry. Green wood is freshly cut and still full of sap, and it carves softly and cleanly, which is why spoon carvers prize it. Dry, or seasoned, wood has lost that moisture and is firmer and more stable. Green wood is the natural choice if you are cutting your own, but it can crack as it dries, so rough the shape out and then let it season slowly somewhere cool before final smoothing. Dry lime, bought as a block, will not move on you and is the more predictable option for learning your cuts and carving small figures.
Hard versus soft. For your first weeks, softer is kinder. The standout beginner's wood is lime, which is sold under several names, so do not be thrown: lime, linden, Tilia and basswood are all the same pale, soft, fine-grained wood, and it carves beautifully in almost any direction. From your own hedge or coppice, fresh green willow, birch and sycamore are all forgiving, with willow the softest. Steer clear of hard, stringy woods like oak and ash to begin with, and avoid anything knotty or twisted, because knots and wild grain are where a beginner's knife jams and skips.
The knife, and how to hold it
You need one knife to start, and getting a decent one is the single best thing you can do for your enjoyment. Reach for a dedicated whittling or sloyd knife: a fixed-blade carving knife with a straight, general-purpose edge of roughly 40mm to 50mm. High-carbon steel is the usual pick because it takes a very keen edge and is easy to bring back on a strop, though stainless carving knives exist too. A Scandinavian carving knife is the classic starting point and will do almost everything you ask of it for a long time. If you must use a folding knife, use only one whose blade locks open, never a floppy penknife that can fold onto your fingers.
Two grips cover most of what you will do:
- The basic grip. Hold the knife in your dominant hand with your thumb on one side of the handle and your fingers wrapped round the other, thumb resting about 25mm back from where the blade meets the handle. Firm, but not white-knuckled. This is your everyday grip and drives the push and paring cuts.
- The chest-lever grip. For heavier stock removal, hold the wood out in front of you, brace your knife-hand's wrist against your chest, and open your arms to draw the blade through in a controlled, powerful pull. Your body becomes a stable anchor, which sounds alarming but is genuinely one of the most controlled cuts there is once you have tried it.
A whittling knife has to be sharp to be safe and pleasant, and it dulls with use, so learning to bring the edge back is part of the craft. Our guide to sharpening a knife walks through stones, stropping and the angles that matter. Do not skip it: half of a beginner's frustration is really a blunt blade in disguise.
The safe cuts to learn
Whittling is built from a small handful of cuts. Learn these three and you can shape almost anything.
The three core cuts
- 1
The push cut (roughing out)
Your workhorse for removing wood and establishing the rough shape. With the basic grip, set the blade against the wood at a shallow angle, around 30 degrees, and push it away from your body in controlled strokes. Take small shavings with multiple light passes rather than trying to carve off a big chunk at once.
- 2
The pull or paring cut (smoothing)
Like peeling a potato towards yourself, but with the wood and your thumb positioned so the blade stops safely. Hold the knife at a shallow angle and draw thin, even shavings across the surface. This is your finishing and detailing cut, giving smooth planes and fine control.
- 3
The thumb-push (lever) cut (controlled detail)
For short, precise cuts in tight spots. Brace the thumb of your non-knife hand on the back of the blade (never the edge) and use it to push the blade forward a little at a time. Because that thumb both guides and powers the cut, you get real control and little chance of overshooting.
You will also meet the stop cut before long: a straight cut pushed down into the wood, met by a second angled cut, to lift out a clean wedge and define an edge such as the neck of a figure. It is worth knowing, but the three above are what turn a stick into a shape.
The blood circle: your safe zone
Before any of those cuts, set your safe zone. The old bushcraft name for it is the blood circle, and it is exactly as vivid as it sounds.
The core method, step by step
Once your wood, knife and safe zone are sorted, most projects follow the same rhythm.
How to whittle a piece from stick to finish
- 1
Choose and prepare your stick
Pick a straight, knot-free length of soft wood roughly the size of your finished piece plus a margin. Peel off the bark with the knife or a potato peeler, and trim it to length so you have clean, pale wood to read as you work.
- 2
Rough out the shape, with the grain
Using the push cut and, for bigger removals, the chest-lever grip, cut away the obvious waste to block out the basic form. Work with the grain, take light passes, and keep turning the piece so the shape stays even. Do not chase detail yet.
- 3
Refine the form
Switch to the pull or paring cut and the thumb-push cut to bring in the shape, smooth the planes and add any detail. Slow down, take thinner shavings, and stop often to look at the piece from every angle.
- 4
Sand it, or leave it tooled
Decide on your finish. A tooled finish keeps the crisp facets left by the knife, which many carvers love and which suits spoons and figures. Or sand it smooth, working up through the grits, for a softer, rounded look. Both are correct; it is a matter of taste.
Classic first projects
Pick something small and useful, and resist anything fiddly until the cuts feel natural.
| Project | Why it is a good starter | Teaches you |
|---|---|---|
| Pointed tent peg | Simple, useful, and hard to get wrong | The push cut, reading the grain, controlled tapering |
| Butter knife or spreader | Flat and forgiving, no hollowing needed | Shaping a form, smoothing planes, an edge |
| Simple spoon | The classic make everyone wants | Working green wood, plus a hook knife for the bowl |
| Gnome or mushroom | Low-stakes fun with no function to fail | Rounding, detail cuts and the stop cut |
The pointed tent peg is the perfect first thing: shaping a clean, even point drills the push cut and grain-reading, and you end up with something you will actually use. A butter knife or spreader comes next, flat and simple. A spoon is the make most people are really chasing, but the hollow of the bowl needs a hook knife or a small gouge, so treat it as your third or fourth project rather than your first. A little gnome or toadstool is a cheerful, no-pressure shape for practising rounding and detail. Whatever you choose, keep it small: a finished small thing beats an abandoned ambitious one every time.
Finishing: food-safe oil for spoons
A tent peg or gnome needs no finish at all. But anything that touches food, a spoon, a spreader, a bowl, wants a food-safe oil to seal the grain and shrug off water. The traditional choices are drying oils that harden in the wood: raw linseed (flax) oil, which cures slowly over a couple of weeks, or walnut oil, which hardens over several days. Walnut oil gives a lovely finish but is best avoided for anyone with a nut allergy. Mineral oil is food-safe and simple but never truly hardens, so it needs topping up regularly. Beeswax, often blended with oil into a "wood butter", adds a soft sheen over the top. Give the piece a couple of thin coats, wiping off the excess and letting each dry, and re-oil it once or twice a year. Avoid ordinary varnishes and shop finishes on anything you will eat from unless the label clearly states it is food-safe once cured.
Common beginner mistakes
Almost everyone hits the same few snags. Knowing them in advance takes most of the frustration out.
None of these mean you are no good at it. They are the normal wobbles of a new pair of hands, and every one of them sorts itself out within a project or two of relaxed practice.
Kitting up
You can buy everything in one go or piece by piece. If you would rather start with a boxed set, a whittling kit for beginners usually bundles a carving knife, some practice wood and a thumb guard together, which is a tidy way to start. If you prefer to choose the parts yourself, look at a dedicated whittling knife, a few blocks of lime carving wood to learn on, and a cut-resistant thumb guard to protect your hands. Add a leather strop to keep the edge keen, and later, when you want to carve spoons, a hook knife for the bowls. That is a complete beginner's setup for the price of a takeaway or two.
Where whittling leads
Once the cuts feel natural, whittling quietly becomes part of the homestead's rhythm. Spoons and spreaders for the kitchen, pegs and dibbers for the garden, toggles and buttons for mending, little figures for the mantelpiece, all made from wood that would otherwise have been burnt. If you manage a bit of woodland, read our guide to coppicing for firewood to see where a steady supply of straight, carvable offcuts comes from, and keep your knife sharp so the craft stays a pleasure rather than a fight.
Whittling involves sharp tools. This is a friendly starting guide, not formal tuition or safety certification, so learn the cuts slowly, keep to the safety rules above, and supervise children closely. Some links above are affiliate links, which means we may earn a small commission if you buy through them, at no extra cost to you (see our disclosure). Last checked July 2026.
Frequently asked questions
Sources
- Essential Knife Techniques for Beginning Whittlers , Schaaf Tools
- Best Woods for Beginners Carving in the UK , School of Woodcarving
- Sourcing Wood , The Greenwood Guild
- Knife Safety & Making a Blood Circle , Wilderness Youth Project
- Whittling Knives , Morakniv
- Food Safe Finishes for Wood , Ploughshare Institute for Sustainable Culture
Kit for this job (Ad)

BeaverCraft Wood Carving Knife Kit S15 Whittling Kit for Beginners, Kids - Wood Carving Tools Set with Detail Chip Knife Sloyd Whittling Knives & Leather Strop, Polishing Compound and Tutorials
Check price on Amazon →
BeaverCraft Wood Carving Knife C4 8 cm Whittling Sloyd Knife for Roughing - Spoon Carving Tools for Beginner to Pro Carver - Whittling Knives for Woodworking
Check price on Amazon →
SHARPAL 208H 4 OZ(106g) Polishing Compound Fine Green Buffing Compound Leather Strop Sharpening Stropping Compounds (2-Pack, Total 4 Oz.)
Check price on Amazon →
Bahco 10-30-23 Bowsaw 30In
Check price on Amazon →We may earn a small commission, at no cost to you. We only list kit we'd use.
Written by
UK Homesteading Team
Editorial team
The UK Homesteading editorial team, offering UK-specific, evidence-led guidance on growing, keeping, preserving and the law.