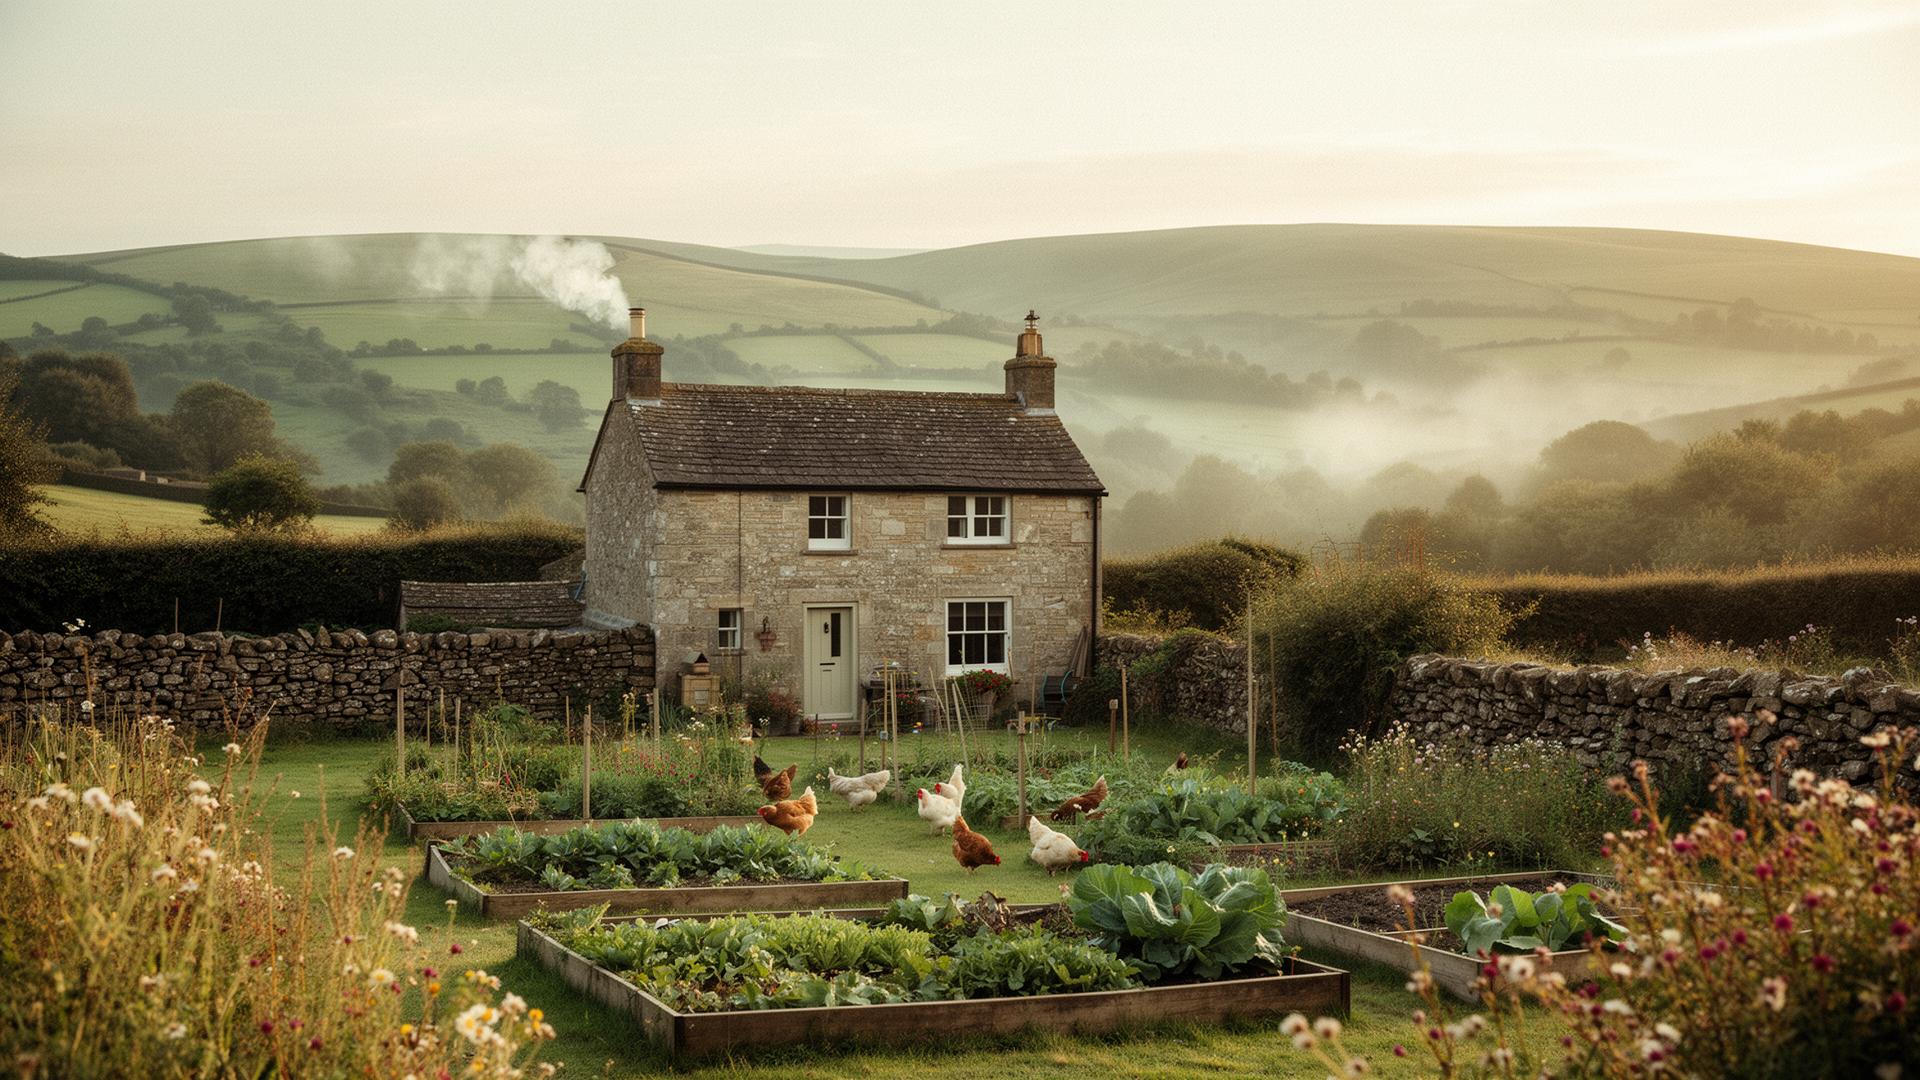
A raised bed is one of the most useful things you can build on a homestead, and one of the most forgiving to a first-time DIYer. At its simplest it is just a frame of timber sitting on the ground, filled with good soil, so you grow in a defined block you never walk on. That single habit, never treading on the soil, is most of the magic: the ground stays loose and open, roots run freely, and water drains instead of sitting.
For UK growers there are some very practical reasons to bother. On heavy clay, a raised bed lets you garden in a lovely free-draining mix sitting on top of the sticky stuff, instead of fighting it, which is exactly the situation covered in no-dig on heavy British clay. The soil in a raised bed also warms up faster in spring, so you can sow a couple of weeks earlier than in cold open ground. There is less bending, which your back will thank you for. And a bed with a clear edge is the natural home for the no-dig method, where you feed the surface with compost and leave the soil undisturbed.
This is a plain, do-it-in-a-weekend guide: how to size a bed so it actually works, what to build it from, the build itself, and how to fill it without spending a small fortune on bagged compost.
Why build a raised bed
Raised beds are enclosed, freestanding beds sitting above ground level, and they earn their place for several reasons at once. They improve growing conditions, because you fill them with a fertile, free-draining mix, which the RHS notes is especially good where the garden soil is poor, or heavy and prone to waterlogging. They warm up earlier in spring, giving crops a head start. They make the ground more accessible, with less bending and a defined block you can easily net or cover against frost and pests. And they give you a tidy, permanent bed that suits crop rotation and no-dig growing.
The trade-off worth knowing up front: because they drain so well, raised beds dry out faster than open ground, so you will water more in a hot, windy spell. Site them near a water source and that becomes a non-issue.
The golden rule: size it so you never tread on it
Get the width right and everything else is easy. The single most important number is this: do not make a bed wider than you can reach into from both sides, because standing on the soil compacts it and undoes the whole point.
- Width. For a bed you can get at from both sides, keep it to about 1.2m (4ft). Most adults comfortably reach in around 60cm, so 1.2m lets you tend the middle from either edge. The RHS advises keeping widths under 1.5m so you can reach the centre without standing on the soil. If a bed sits against a wall or fence and you can only reach one side, keep it to about 60cm.
- Length. Whatever suits your space. Long single runs can be a nuisance to walk around, so several shorter beds are often easier to manage than one big one.
- Depth. For most vegetables on open ground, 15 to 30cm of good soil is plenty, because the roots grow on down into the ground below. The RHS reckons 30cm is enough for salad leaves, strawberries and dwarf bulbs, while fruit bushes, shrubs and hungrier plants prefer 45cm or more. Over a hard surface, where roots cannot escape downwards, build deeper.
- Paths. Leave a path of at least 45cm between beds for a wheelbarrow, or 1m if a wheelchair needs to pass.
Materials compared
What you build the frame from is mostly a question of budget, looks and how long you want it to last. Here is how the common UK options stack up.
| Material | Cost | Lifespan | Good to know |
|---|---|---|---|
| Scaffold boards (second-hand) | Cheap | A few years untreated | The homestead favourite: chunky, easy to screw together. Line the inside to slow rot. |
| New treated softwood / sleepers | Moderate | Many years | Pressure-treated (tanalised) softwood is the practical all-rounder for veg beds. |
| Reclaimed hardwood / oak | Higher | Very long | Handsome and durable, but heavier and dearer to buy in. |
| Brick or block | Higher | Decades | Needs footings and some bricklaying skill; best for a permanent feature. |
| Raised bed kit | Moderate | Varies | Flat-packed boards with corner brackets; quickest for a first-timer, less choice of size. |
A few pointers. Scaffold boards are where most homesteaders start: second-hand boards are cheap, satisfyingly solid (usually 38mm thick) and simple to join with corner battens or metal brackets. Untreated timber like scaffold boards and old pallets has a shorter life than treated wood, but you can extend it by lining the inside of the frame with cardboard or old compost bags so wet soil is not sitting straight against the wood. Pressure-treated softwood sleepers are, as the RHS puts it, an attractive and economical alternative to hardwoods and last for many years. Brick and stone make a beautiful permanent bed but need concrete footings and are the most expensive and skilled option.
Building it: a weekend job
Here is the straightforward timber-framed build. A cordless drill, some long screws or coach screws, and a spirit level are most of what you need.
Build a timber-framed raised bed
- 1
Mark out and dig a shallow trench
Set the shape out with canes and string. Dig a shallow trench to the exact size, just wide enough to seat the timbers, so the first layer sits snug and level.
- 2
Lay and level the first layer
Set the boards or sleepers into the trench. Check they are level along their length and diagonally, using a spirit level. Getting this layer true makes everything above it easy.
- 3
Join the corners
Drill pilot holes and screw the ends together, corner to corner. For strength, screw a vertical batten (or a metal corner bracket) inside each corner to lock the sides together.
- 4
Add height if you want it
For a deeper bed, add a second layer of timbers on top, overlapping the joints below like brickwork for strength, and screw down into the layer beneath. Fix the vertical corner battens up through both layers.
- 5
Prepare the base
For a shallow bed on soil, lift any turf and lightly fork the ground to loosen it. For a no-dig bed, skip the digging: lay plain cardboard straight over the grass and weeds to smother them (water it in dry weather).
- 6
Part-fill deep beds to save soil
For a deep bed, fill the bottom third or so with bulky material: rubble, subsoil, upturned turves, or a woody hugelkultur base of logs and branches that rots down over time.
- 7
Fill with a good soil mix
Top up with a mix of topsoil and organic matter. The RHS suggests roughly three parts organic matter (garden compost, leafmould or well-rotted manure), two parts sharp sand and seven parts topsoil for most beds.
- 8
Firm, settle and top up
Fill to about 5cm below the rim, firm it gently, and leave it a couple of weeks to settle. Top up the level, and you are ready to sow or plant.
Filling it without spending a fortune
The cost of a raised bed is rarely the timber, it is the soil. Filling a deep bed entirely with bagged branded compost is an easy way to spend far more than you need to. Two habits keep it cheap.
First, part-fill the base with bulky material and save the good compost for the top 15 to 20cm where the roots actually feed. The RHS suggests filling the base of deep beds with rubble, subsoil or turves laid upside down, which rot down and enrich the soil while cutting the amount of bought soil you need. A woody base, the hugelkultur idea, does the same job: a layer of logs, branches, prunings and twigs in the bottom slowly rots, holds moisture like a sponge, and gives you free volume. It will sink over the first year or two as the wood breaks down, so expect to top the bed up.
Second, buy soil in bulk, not bags. A trailer or bulk bag of topsoil and well-rotted manure from a local supplier works out far cheaper per litre than branded compost bags, and you only really need good compost near the surface.
If you are going the no-dig route, the filling is simpler still: lay cardboard over the ground, then a good layer of compost on top, and that is your bed. Charles Dowding suggests roughly 5cm of compost where the ground is not weedy, and 7 to 12cm where there are weeds to smother. No frame is even essential, which brings us to the next point.
What you need
For a basic timber bed you need: boards or sleepers cut to length, long screws or coach screws and battens (or corner brackets) to join them, plain cardboard for a no-dig base, and topsoil, compost and manure to fill it. A cordless drill, a spade and a spirit level cover the tools.
You can compare boards, brackets and bulk soil at the usual UK suppliers and merchants. If it helps to browse, here are some tagged Amazon UK searches: raised bed corner brackets, raised bed kits, and ground cover weed membrane. For a longer-lasting, more contained build you might prefer new pressure-treated sleepers from a timber merchant.
Common mistakes
- Making the bed too wide. If you cannot reach the middle from the side, you will end up treading on the soil and compacting it. Keep it to about 1.2m.
- Lining the base with impermeable plastic. It traps water and drowns roots. Use cardboard on soil, or permeable membrane only over gravel or paths.
- Filling a deep bed entirely with bought compost. Expensive and unnecessary. Use a bulky or woody base and save compost for the top.
- Building too shallow over a hard surface. With no soil below to root into, a shallow bed on paving struggles. Go deeper and add drainage holes.
- Using creosote-treated railway sleepers around food. Keep those for non-food structures and reach for pressure-treated softwood instead.
- Forgetting to water. Raised beds drain fast and dry out quicker than open ground, so keep an eye on them in warm, windy weather and mulch the surface to hold moisture.
Where to go next
Once you have the frame skill, the same joinery makes plenty of other useful things. A cold frame is essentially a shallow raised box with a lid, for hardening off and early sowing, and a compost bin built from the same offcuts turns your kitchen and garden waste into the very compost your beds want. And if your ground is heavy clay, the raised bed and no-dig approaches work beautifully together, as covered in no-dig on heavy British clay.
This is practical guidance to help you build well, not a formal safety document. The note about creosote-treated railway sleepers reflects the RHS position that they should not be used in the garden; if you are handling old treated timber, follow the RHS advice on gardening safely and wear protective clothing. Material choices and prices change, so check current guidance with your supplier. Last checked July 2026.
Frequently asked questions
Sources
- How to make a raised bed , Royal Horticultural Society (RHS)
- No dig: Beginner's Guide , Charles Dowding (No Dig)
- Waterlogging and flooding , Royal Horticultural Society (RHS)
- How to garden safely , Royal Horticultural Society (RHS)
Kit for this job (Ad)

Quick-Grip Clamps, One-Handed, Mini Bar, 6-Inch, 4-Pack (1964758) , Black
Check price on Amazon →
DEWALT XR 18V Brushless Combi Drill Driver, Compact Cordless Hammer Drill with 2 x 2Ah XR Li-Ion Batteries, Charger, Kitbox, High Torque, LED Light, Versatile Performance - DCD778D2T-QW
Check price on Amazon →
RYOBI 18 V ONE plus Cordless Combi Drill Starter Kit, Hyper Green, With 2 x 1.5 Ah Batteries
Check price on Amazon →
T5462EL7 QUICK-GRIP 150mm (6) Mini Clamp - 2 Pack, Multi
Check price on Amazon →We may earn a small commission, at no cost to you. We only list kit we'd use.
Written by
UK Homesteading Team
Editorial team
The UK Homesteading editorial team, offering UK-specific, evidence-led guidance on growing, keeping, preserving and the law.