Drying is the oldest form of food preservation we have, and it is still one of the simplest. Take a glut of apples, tomatoes, plums or courgettes, pull the water out of them with gentle heat and moving air, and you turn a boxful that would rot in a fortnight into a few jars that keep for a year. There is no canning kit to buy, no freezer space to find, and no pressure to eat everything at once. Better still, drying concentrates flavour: a dried apple ring tastes intensely of apple, and fruit leathers rarely need any added sugar because the natural sweetness is packed into a smaller space.
This is a practical, fruit-and-vegetable guide. Herbs dry too, but they want much lower heat to protect their colour and oils, so they have their own method over in our guide to drying herbs. Meat and jerky are a different matter again, with real food-safety rules, and we will come to why this page deliberately leaves them alone.
One honest note on sources before we start. Home drying has been researched most thoroughly by US university extension services and the USDA, and there is no equivalent UK government home-drying standard. So the temperatures below are drawn from that US work and given in °C as sensible ranges. The science of removing moisture is the same in a Yorkshire kitchen as a Georgia one, but treat the numbers as well-founded guidance rather than a British legal figure.
Why drying works
Fresh food spoils because it is full of water, and that water lets enzymes, bacteria, yeasts and moulds do their thing. Take enough of the moisture away and none of them can get going, so the food keeps. That is the whole principle. Along the way it also shrinks dramatically, which is part of the appeal: drying is the most compact way to store a harvest, and a large tray of sliced fruit reduces to a modest handful.
The craft, such as it is, comes down to three things: gentle even heat, air moving across the food to carry the moisture away, and drying for long enough that a cooled piece is properly done. Get those right and the rest is detail.
The kit: dehydrator, oven or open air
You do not need a dehydrator to start, but if you dry food regularly one is worth having.
An electric dehydrator is simply a heating element plus a fan and vents, designed to hold a low, steady temperature, usually around 60°C, and to move air past the food. The key detail when buying is airflow direction. Horizontal-airflow machines, with the element and fan on the side, push heat evenly across every tray, so nothing needs rotating, flavours do not mix between trays, and juicy foods will not drip onto the food below. Vertical-airflow machines, with the element in the base, are cheaper but dry less evenly, so the bottom trays finish first and you have to shuffle them.
Your oven will do the job for fruit and veg if it holds a low enough temperature, ideally about 60 to 65°C or its lowest setting. Prop the door open by 5 to 7.5 centimetres so the moisture can escape instead of steaming the food, and use the fan setting if you have one. The downsides are that it is slower, less even and monopolises your cooker, and you will need to turn the trays through the drying time.
Open-air and sun drying is the traditional method in hot, dry climates, but the UK is neither, and our humidity makes it unreliable for most foods. Where it does work is for naturally low-moisture things like herbs, chillies and some mushrooms hung in a warm, airy spot. For juicy fruit and veg, stick to a dehydrator or the oven.
| Method | Temperature control | Evenness | Best for |
|---|---|---|---|
| Dehydrator (horizontal airflow) | Steady, set-and-leave | Very even, no tray rotation | Regular drying of fruit, veg and leathers |
| Dehydrator (vertical airflow) | Steady | Less even, rotate trays | Budget starting point, occasional use |
| Oven | Low setting, door propped open | Uneven, rotate trays | Trying drying before buying a machine |
| Open air | None | Weather-dependent | Herbs, chillies, mushrooms only in the UK |
Temperatures, and the case-hardening trap
For fruit and most vegetables, work within a band of about 57 to 62°C. Different US sources sit at slightly different points in that band, with some using a flat 60°C and others starting near 62°C for the first hour then easing to around 57 to 60°C, so you do not need to hit a precise figure. Anywhere in that range dries food safely and reasonably quickly.
The instinct to turn the heat higher to speed things up is exactly the mistake to avoid. If the surface dries too fast it hardens and seals, trapping moisture inside the piece. This is called case hardening, and the piece then feels dry on the outside while still being damp in the middle, which is a recipe for mould in the jar. Low and slow genuinely is the right approach.
Herbs are the outlier. They dry much cooler, at roughly 35 to 43°C, because higher heat drives off the volatile oils that give them their flavour and fades their colour. That gap in temperature is the main reason we keep herbs on their own page rather than lumping them in here.
Preparing and pre-treating
Good drying starts with good prep. Wash everything, then slice it thin and, above all, even, because pieces of the same thickness dry at the same rate and you avoid a tray where some slices are done and others are still wet. A few millimetres is a good general thickness for fruit and veg.
Two optional treatments make a real difference.
An acid dip for pale fruit. Apples, pears, bananas and apricots go brown as they dry. To keep them looking appetising, soak the slices for about 10 minutes before drying in a simple acid dip. The easy version is equal parts bottled lemon juice and water. Beyond keeping the colour, the acid also reduces vitamin loss, helps the fruit keep longer, and adds a measure of safety. Ascorbic or citric acid solutions do the same job if you prefer.
Blanching for many vegetables. Briefly steaming or boiling vegetables before drying, then draining them, slows down the enzymes that otherwise keep degrading colour and flavour, and it speeds up both the drying and the later rehydrating. Firm vegetables such as carrots, beans and peas benefit most. A few do not need it, including onions, garlic and peppers, and herbs are never blanched.
Telling when it is done
This is the step people most often rush, so it is worth a clear rule: always test a piece that has cooled down. Warm food is more flexible than it will be at room temperature, so a piece that feels nicely leathery straight off the tray can turn out tacky once cool.
- Fruit should be pliable and leathery. Squeeze or fold a cooled piece: no beads of moisture should appear, and pieces should not stick together.
- Vegetables should be drier again, tough to brittle, often crisp or even crunchy.
If a cooled piece is still soft, tacky or damp, keep drying. Under-drying is the single biggest cause of a batch spoiling later.
Conditioning dried fruit
Conditioning is a genuine, recommended step for dried fruit, and it is the safety net that catches uneven drying before it becomes mould. Because individual pieces of fruit hold slightly different amounts of moisture, conditioning lets that moisture even out and shows you if the batch as a whole is dry enough.
How to condition dried fruit
- 1
Pack loosely
Once the fruit is fully cooled, pack it loosely into clean jars, filling them about two thirds full so the pieces can move.
- 2
Seal and place
Put the lids on and keep the jars somewhere warm, dry and out of direct sun.
- 3
Stir and check daily
Shake or stir the jars once a day for about a week, up to two, so the pieces do not clump and so you can watch for moisture.
- 4
React to condensation
If any condensation appears on the glass, the fruit was not dry enough. Return the whole batch to the dryer, then condition again.
Brittle, fully dried vegetables do not need conditioning, because they hold very little moisture to begin with.
Storing your dried food
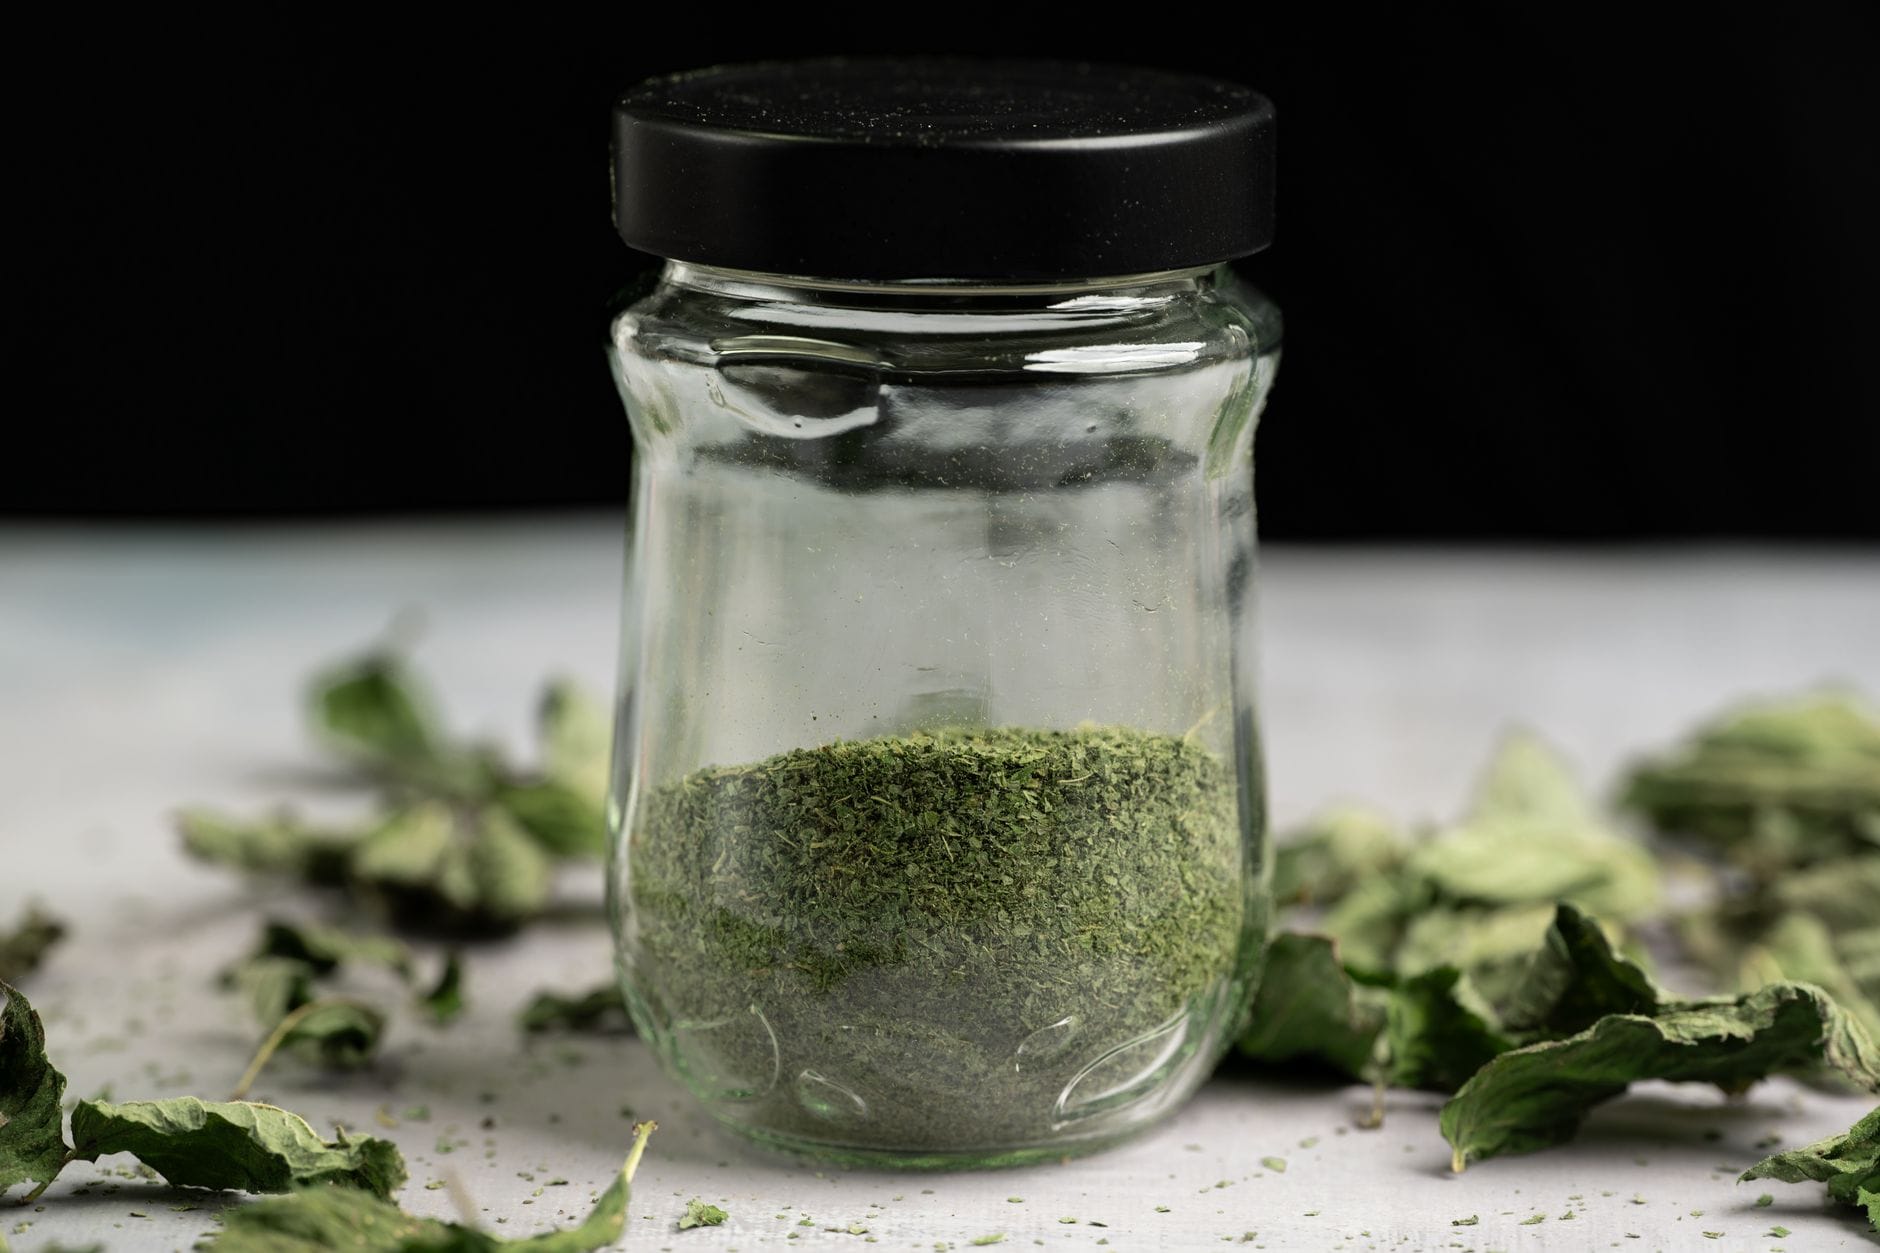
Once dried, and conditioned if it is fruit, pack food into clean, airtight containers such as jars or vacuum-seal bags. Store them somewhere cool, dark and dry, and label and date every container. The darkness is not fussiness: light slowly breaks down vitamins and colour, so a cupboard beats a sunny shelf.
Correctly dried fruit and vegetables commonly keep for a year or more, with vegetables generally outlasting fruit. Keeping dried fruit in the fridge or freezer extends its life further. Check jars over the first week for condensation, which signals the food was not fully dry, and return that batch to the dryer if you see it.
Rehydrating and using dried food
Much dried food is ready to eat as it is, from apple rings to tomato slices to fruit leather. When you want to cook with dried vegetables, rehydrate them first by soaking or simmering in water until they plump up and soften. Vegetables that were blanched before drying rehydrate noticeably faster, which is one of the quiet benefits of that step. Dried tomatoes, mushrooms and beans are especially good dropped straight into soups, stews and sauces, where they soften as the dish cooks and lend a concentrated flavour.
Before you start: a quick checklist
- Slice everything thin and, above all, even, so a whole tray finishes together.
- Dip pale fruit in equal parts bottled lemon juice and water for about 10 minutes, and blanch firm vegetables before drying.
- Set fruit and veg to a steady 57 to 62°C, resisting the urge to crank the heat and risk case hardening. Herbs go far lower.
- Test a cooled piece: leathery with no moisture beads for fruit, brittle or crisp for veg.
- Condition dried fruit in loosely filled jars for a week or two, stirring daily, and send it back to the dryer if you see condensation.
- Store airtight, cool, dark and labelled, and discard any batch that smells off or shows mould.
For anything involving meat, follow the USDA-FSIS jerky guidance rather than a home shortcut, and when in doubt about whether a batch is dry enough, dry it a little longer.
The drying temperatures and food-safety figures in this guide are drawn from US university extension services and the USDA, as there is no equivalent UK government home-drying standard, and were last checked in July 2026. They are well-founded and the underlying science travels, but treat them as sensible guidance rather than a UK legal figure. When a food is destined to be stored for a long time, err on the side of drying a little longer, and for anything involving meat follow the full USDA-FSIS jerky guidance.
Frequently asked questions
Sources
- Drying Fruits and Vegetables (home food preservation guidance) , National Center for Home Food Preservation, University of Georgia (US)
- Food Dehydrators (types and airflow) , National Center for Home Food Preservation, University of Georgia (US)
- Let's Preserve: Drying Fruits and Vegetables , Penn State Extension (US)
- Jerky and Food Safety , USDA Food Safety and Inspection Service (US)
- Drying and conditioning fruits and vegetables at home , Utah State University Extension (US)
- Food dehydrators and home drying (UK guidance, US-derived) , Benchfoods Dehydrators (UK)
Kit for this job (Ad)

Mesliese Vacuum Sealer Machine Powerful 90Kpa Precision 6-in-1 Compact Vacuum Food Preservation System Built-in Cutter, 2 Bag Rolls & 5 Pre-cut Bags, Dry&Moist Modes Smart Suction (Gray)
Check price on Amazon →
Clip Top Jar 2 Litre (2000ml) Airtight Glass Storage Jar for Preserving Fruits Vegetables Coffee Tea Rice Flour Nuts Pasta | Preserves fruits, vegetables, coffee, tea, rice, flour, pasta, and dry ingredients to prevent food spoilage and waste.
Check price on Amazon →
Clip Top Jar 1 Litre (1000ml) Airtight Glass Storage Jar for Preserving Fruits Vegetables Coffee Tea Rice Flour Nuts Pasta | Preserves fruits, vegetables, coffee, tea, rice, flour, nuts and pasta with a secure 1000ml airtight seal.
Check price on Amazon →
YASHE Food Storage Containers with Lids Airtight, Set of 10 * 1.5L, Plastic Cereal Storage Containers, BPA Free, Kitchen Storage Containers for Dry Food, Flour & Sugar, with Labels, Marker & Spoon
Check price on Amazon →We may earn a small commission, at no cost to you. We only list kit we'd use.
Written by
UK Homesteading Team
Editorial team
The UK Homesteading editorial team, offering UK-specific, evidence-led guidance on growing, keeping, preserving and the law.